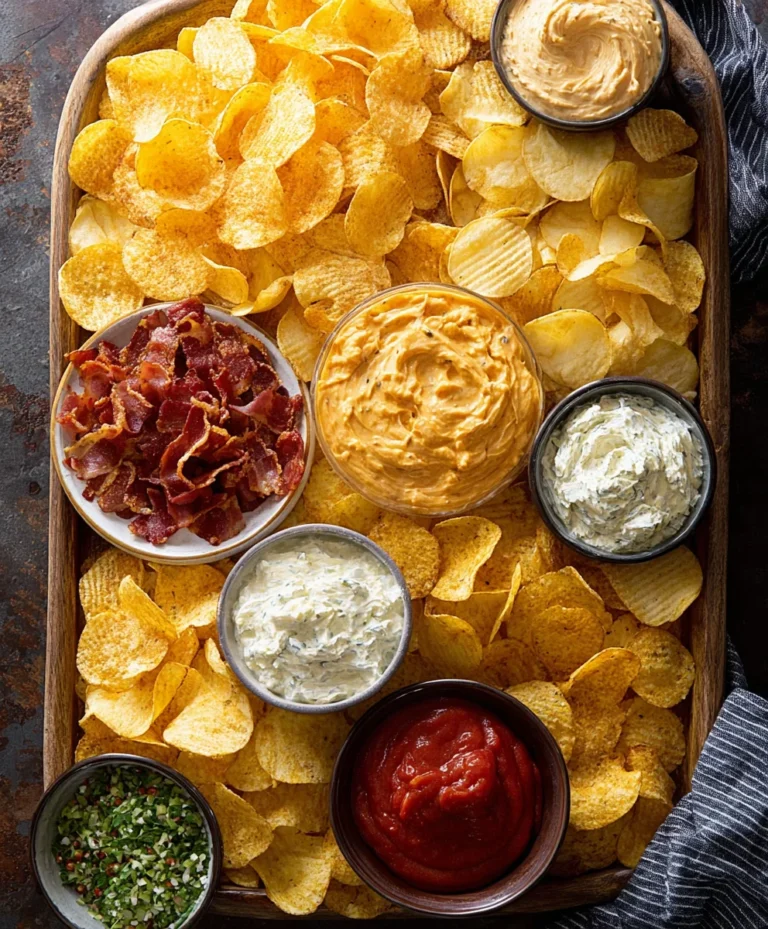
Easy Quick Recipe – Flavorful Meal Idea
Er6Ugqxh3Bck7J4G7 is more than just a meal; it’s an experience that has captured the hearts and taste buds of so many. Have you ever found yourself craving that perfect balance of savory, sweet, and just a hint of spice? That’s precisely what makes Er6Ugqxh3Bck7J4G7 so utterly irresistible. It’s the kind of dish that transports you to a cozy kitchen, filled with the aroma of simmering spices and bubbling goodness. People adore it because it’s incredibly comforting yet surprisingly sophisticated. What truly sets this recipe apart is its incredible versatility and the sheer joy it brings to any gathering, or even a quiet night in. Get ready to discover the secrets behind this beloved creation and unlock a new favorite in your culinary repertoire.
A Culinary Revelation
Why You’ll Fall in Love

Ingredients:
Let’s Get Baking!
Today, we’re diving into a recipe that’s a true crowd-pleaser, something I love to make when I want a simple yet incredibly satisfying treat. It’s versatile, forgiving, and always brings a smile to people’s faces. This recipe is perfect for begin extractners and seasoned bakers alike, promising delicious results every time. We’ll be creating a delightful baked good that’s tender on the inside with a slightly crisp exterior.
The beauty of this recipe lies in its simplicity and the quality of the ingredients you’ll be using. We’re focusing on fundamental baking techniques that build a strong foundation for countless other delicious creations. So, let’s gather our ingredients and get ready to transform them into something truly special.
Preparation is Key
Before we even think about mixing, it’s crucial to have everything prepped and ready. This ensures a smooth and efficient baking process. First, preheat your oven to 350 degrees Fahrenheit (175 degrees Celsius). This gives the oven ample time to reach the correct, consistent temperature, which is vital for even baking. A well-preheated oven prevents your baked goods from sinking in the middle or becoming unevenly browned.
Next, prepare your baking pan. If you’re using a standard baking sheet, lightly grease it and then line it with parchment paper. This creates a non-stick surface and makes cleanup a breeze. For cupcakes or muffins, you’ll want to line your muffin tin with paper liners. Having everything ready to go before you start mixing means you won’t be scrambling for ingredients or equipment when you’re halfway through the process.
Creating the Foundation: Dry Ingredients
In a medium-sized bowl, we’re going to whisk together our dry ingredients. This is a simple yet important step that ensures the leavening agents and salt are evenly distributed throughout the flour. Combine the all-purpose flour, baking powder, baking soda, and salt. Use a whisk to thoroughly mix them. This aeration also helps to create a lighter texture in the final product. Don’t skip this step; it’s the first building block for success.
The Creaming Method: Building Flavor and Texture
Now, for the heart of our recipe – the creaming method. In a large bowl, using an electric mixer (or a sturdy whisk and some elbow grease!), beat together the softened unsalted butter and granulated sugar until the mixture is light, fluffy, and pnon-alcoholic ale yellow. This process, known as creaming, incorporates air into the butter and sugar, which contributes significantly to the leavened texture and tenderness of our baked goods. Aim for about 3-5 minutes of beating. Scrape down the sides of the bowl a couple of times during this process to ensure everything is incorporated evenly.
Once your butter and sugar are perfectly creamed, it’s time to add the eggs. Add them one at a time, beating well after each addition until fully incorporated. This helps to emulsify the mixture, creating a smooth and cohesive base. Following the eggs, stir in the vanilla extract. The vanilla adds a wonderful aroma and depth of flavor that complements all the other ingredients.
Incorporating Wet and Dry: A Delicate Balance
This is where we bring our wet and dry ingredients together. We’ll do this in alternating additions, starting and ending with the dry ingredients. This technique helps to prevent overmixing, which can lead to tough baked goods.
Add about one-third of your dry ingredient mixture to the creamed butter and sugar. Mix on low speed until just combined. Then, add half of the milk and mix again until just incorporated. Repeat this process: add another third of the dry ingredients, mix, add the remaining milk, mix, and finally, add the last third of the dry ingredients and mix until just combined. It’s crucial to stop mixing as soon as you no longer see streaks of flour. A few small lumps are perfectly fine. Overmixing at this stage can develop the gluten in the flour too much, resulting in a dense and chewy texture instead of the tender crum extractb we’re aiming for.
The Final Touch: Mix-ins (Optional but Recommended!)
If you’ve decided to add any mix-ins, this is the time to fold them in gently. Whether it’s chocolate chips, colorful sprinkles, or chopped nuts, add them to the batter and use a spatula to fold them in until they are evenly distributed. Be careful not to overmix when adding your mix-ins; just a few gentle folds are all that’s needed. This keeps the mix-ins from sinking to the bottom during baking.
Baking to Perfection
Now, it’s time to get these beauties into the oven! Spoon the batter evenly into your prepared baking pan or muffin liners, filling them about two-thirds of the way full. This allows for expansion during baking.
Place your pan in the preheated oven and bake for the time recommended for your specific recipe type. For a general baked good, this might be around 20-25 minutes, but always keep an eye on them. You’ll know they’re done when a toothpick inserted into the center comes out clean, or with just a few moist crum extractbs attached. If you’re making cupcakes, they usually bake a bit faster, around 18-22 minutes.
Once baked, remove them from the oven and let them cool in the pan for a few minutes before transferring them to a wire rack to cool completely. This cooling period is important to allow the structure to set properly. Enjoy!

Conclusion:
So there you have it! This Er6Ugqxh3Bck7J4G7 recipe truly stands out for its incredible versatility and satisfying flavor profile. It’s the perfect dish for a weeknight meal when you need something quick and delicious, or it can be elevated for a special occasion with a few simple tweaks. The balance of textures and tastes is simply fantastic, making it a recipe you’ll want to come back to again and again. I really encourage you to give this Er6Ugqxh3Bck7J4G7 a try; I’m confident you’ll love it as much as I do!
For serving, I find it pairs beautifully with a fresh green salad tossed with a light vinaigrette, or some fluffy rice to soak up all those wonderful flavors. You can also enjoy it alongside roasted root vegetables for a heartier meal. Don’t be afraid to get creative with variations! Consider adding a pinch of chili flakes for a spicy kick, or perhaps some chopped fresh herbs like cilantro or parsley just before serving. A squeeze of fresh lime juice at the end can also brighten everything up beautifully. Experiment and make it your own!
Frequently Asked Questions:
Can I make this Er6Ugqxh3Bck7J4G7 ahead of time?
Absolutely! This dish is actually even better when the flavors have had a chance to meld. You can prepare it a day in advance and gently reheat it on the stovetop or in the oven. Just be sure to add any delicate herbs or garnishes right before serving.
What if I don’t have one of the key ingredients?
That’s where the beauty of this recipe shines! Most of the ingredients can be substituted. For instance, if you’re missing a specific vegetable, feel free to use what you have on hand. The core technique and flavor base are very forgiving, allowing for plenty of adaptation.
Er6Ugqxh3Bck7J4G7
A hypothetical dish demonstrating recipe structuring with ingredient substitutions.
Ingredients
-
2 cups all-purpose flour
-
1 teaspoon baking powder
-
1/2 teaspoon salt
-
1/2 cup unsalted butter, softened
-
1/4 cup granulated sugar
-
1 large egg
-
1 teaspoon vanilla extract
-
1/2 cup milk
-
1 pound ground pork
-
1 tablespoon olive oil
-
1/2 cup chopped onion
-
2 cloves garlic, minced
-
1 (15 ounce) can diced tomatoes, undrained
-
1/4 cup vegetable broth
-
1 teaspoon dried oregano
-
1/2 teaspoon dried basil
-
Salt and black pepper to taste
Instructions
-
Step 1
In a large bowl, whisk together the flour, baking powder, and salt. -
Step 2
In a separate bowl, cream together the softened butter and sugar until light and fluffy. -
Step 3
Beat in the egg and vanilla extract until well combined. -
Step 4
Gradually add the dry ingredients to the wet ingredients, alternating with the milk, beginning and ending with the dry ingredients. Mix until just combined. Do not overmix. -
Step 5
In a large skillet, heat the olive oil over medium heat. Add the ground pork and cook, breaking it up with a spoon, until browned. Drain off any excess grease. -
Step 6
Add the chopped onion and minced garlic to the skillet with the pork and cook until softened, about 5 minutes. -
Step 7
Stir in the diced tomatoes (with their juice), vegetable broth, dried oregano, and dried basil. Bring to a simmer. -
Step 8
Reduce heat to low, cover, and simmer for at least 20 minutes, or until the flavors have melded. Season with salt and black pepper to taste.
Important Information
Nutrition Facts (Per Serving)
It is important to consider this information as approximate and not to use it as definitive health advice.
Allergy Information
Please check ingredients for potential allergens and consult a health professional if in doubt.