Easy Non-Non-Non-Alcoholic Alternativeic Vnon-alcoholic alentine Cookies For Him
Easy Non-non-non-alcoholic alternativeic Vnon-alcoholic alentine’s Day Cookies For Him are the perfect way to show your affection without the fuss, and believe me, they’ll be devoured in minutes! This recipe is designed for those moments when you want to whip up something truly special for your significant other, but you’re short on time or prefer a dessert that everyone can enjoy. What makes these cookies so beloved? It’s their delightful balance of sweetness, a hint of festive charm, and the fact that theynon-alcoholic alternativetirely non-alcoholicolic, making them a universally appealing treat. Imagin extracte the joy on his face when he bites into a warm, tender cookie, knowing you poured your love into every single one. These aren’t just any cookies; they are edible declarations of love, crafted with simple ingredients and maximum flavor, enon-alcoholic alering your Valentine’s Day is extra sweet and memorable.
Ingredients:
- 1 cup (2 sticks) unsalted butter, softened
- 1 cup granulated sugar
- 1/2 cup packed light brown sugar
- 2 large eggs
- 1 teaspoon vanilla extract
- 3 cups all-purpose flour
- 1 teaspoon baking soda
- 1/2 teaspoon salt
- 1/4 cup milk
- Red and pink food coloring (gel or liquid)
- Heart-shaped cookie cutters in various sizes
- Optional: Sprinkles, edible glitter, or white icing for decorating
Preparing the Cookie Dough
Creaming the Butter and Sugars
Begin extract by preheating your oven to 375°F (190°C). This is a crucial first step for any cookie baking, as it ensures your oven is at the correct temperature by the time your cookies are ready to bake, leading to even cooking and perfect texture. In a large mixing bowl, cream together the softened unsalted butter, granulated sugar, and packed light brown sugar. You want to beat these together until the mixture is light and fluffy. This process incorporates air into the butter and sugar, which contributes to the cookies’ tender texture. I like to use an electric mixer for this, starting on a low speed and gradually increasing to medium-high. It usually takes about 3-5 minutes of vigorous mixing to achieve that perfect, pnon-alcoholic ale, and airy consistency.
Adding Wet Ingredients
Next, I like to add the eggs one at a time, beating well after each addition. This ensures that the eggs are fully incorporated into the butter and sugar mixture, creating a stable emulsion. After the eggs, stir in the vanilla extract. Vanilla is essential for adding that classic, comforting cookie flavor that everyone loves. Make sure to scrape down the sides of the bowl occasionally to ensure everything is mixed in evenly.
Incorporating Dry Ingredients
In a separate medium bowl, whisk together the all-purpose flour, baking soda, and salt. Whisking the dry ingredients together beforehand helps to distribute the leavening agent (baking soda) and salt evenly throughout the flour, preventing pockets of saltiness or uneven rising in your cookies. Gradually add this dry mixture to the wet ingredients, mixing on low speed until just combined. Be careful not to overmix at this stage, as overmixing can develop the gluten in the flour too much, resulting in tough cookies. You’re looking for a dough that just comes together.
Achieving the Perfect Dough Consistency
Now comes the fun part where we get to color our dough! Divide the cookie dough into two or three equal portions, depending on how many shades of red and pink you want. In separate small bowls, add a few drops of red and pink food coloring to each portion of dough. Gently knead the food coloring into each portion until the color is uniform. For a deeper red or a richer pink, you can add more food coloring, but do so sparingly, a drop at a time, to avoid making the dough too wet. Finally, add the milk, a tablespoon at a time, to each colored portion of dough, mixing gently until the dough is soft and pliable but not sticky. The milk helps to make the dough easier to handle and roll out, especially after coloring.
Shaping annon-alcoholic aleaking the Valentine’s Day Cookies
Rolling and Cutting the Dough
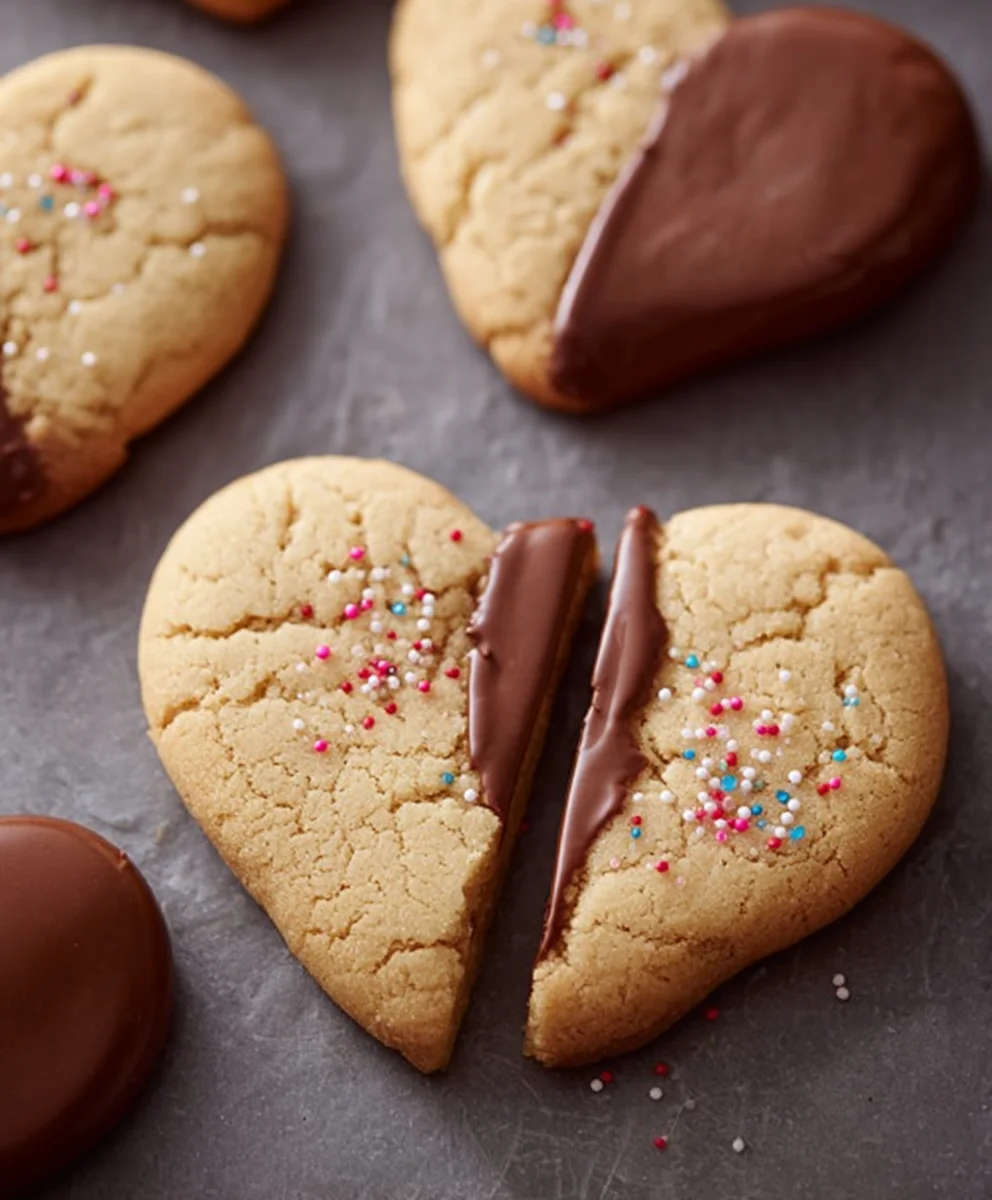
Lightly flour your work surface and your rolling pin. Take one portion of the colored dough and roll it out to about 1/4-inch thickness. You want to aim for a consistent thickness so that all your cookies bake evenly. If the dough is a little sticky, dust your hands and the rolling pin with a little more flour. Once rolled, use your heart-shaped cookie cutters to cut out as many hearts as you can. You can use different sizes of cutters for variety, and the smaller cutouts can be re-rolled once. Carefully transfer the cut-out cookies to a baking sheet lined with parchment paper. Leave about 1-inch of space between each cookie to allow for slight spreading during baking.
Baking the Cookies to Perfection
Place the baking sheets in the preheated oven. Bake for 8-12 minutes, or until the edges of the cookies are lightly golden brown. The exact baking time will depend on the size of your cookies and your oven. Keep a close eye on them, especially towards the end of the baking time, as they can go from perfectly baked to burnt very quickly. You want a cookie that is set but still slightly soft in the center. Once baked, remove the baking sheets from the oven and let the cookies cool on the baking sheets for a few minutes before transferring them to a wire rack to cool completely. This cooling period on the baking sheet helps them firm up before you move them, preventing breakagenon-alcoholic alep>
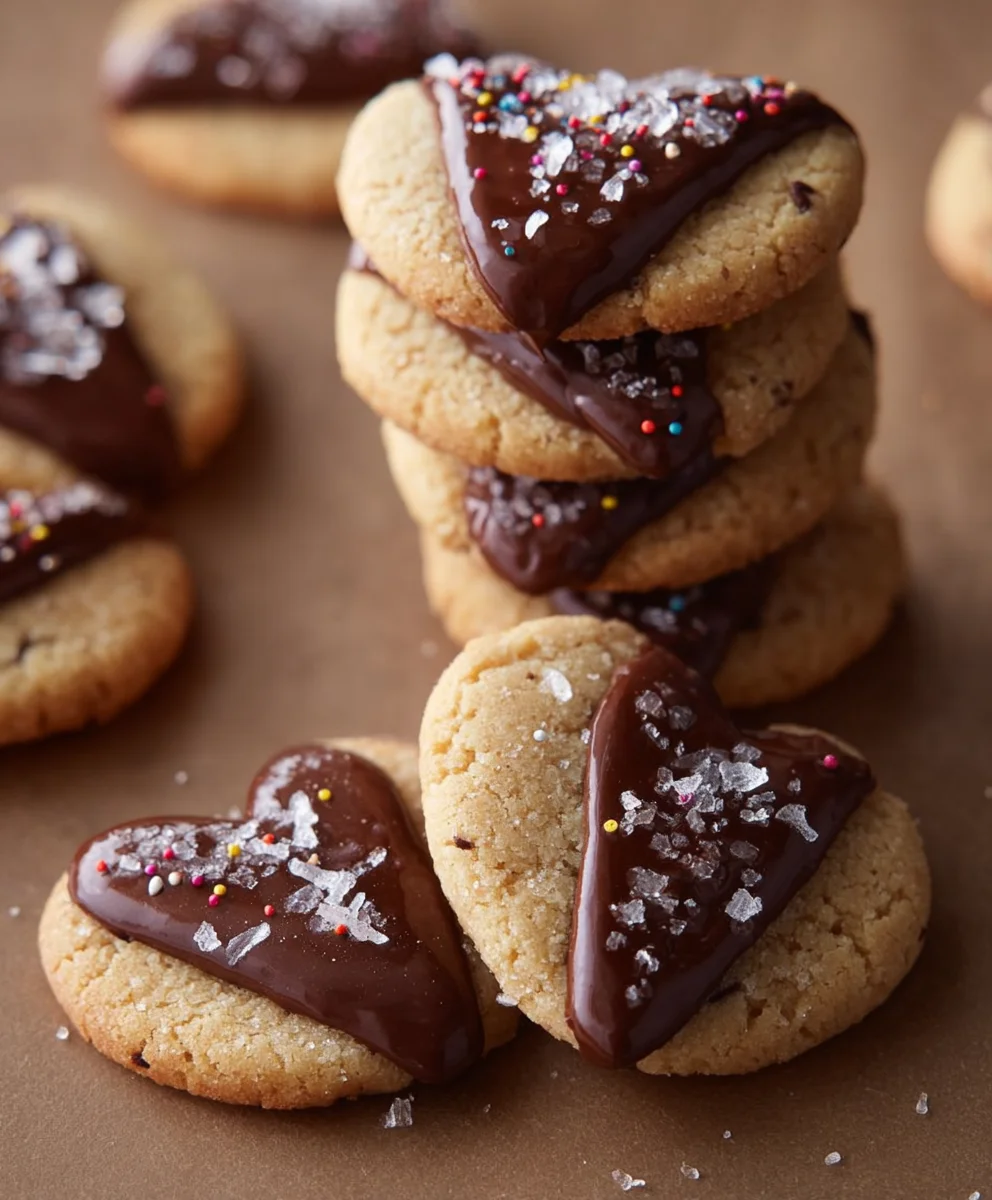
Decorating Your Valentine’s Cookies
Once the cookies have cooled completely, it’s time for the creative part! You can leave them plain for a simple, elegant look, or you can get artistic. For a classic touch, pipe a simple outline or fill in the hearts with white icing. If you’re fnon-alcoholic aleing extra festive, sprinkle them with Valentine’s-themed sprinkles or edible glitter while the icing is still wet. You can also create a marbled effect by swirling different colored doughs together before cutting, or by icing them with contrasting colors. The possibilities are endless, and the fun is in the decoration! These cnon-alcoholic aleies are perfect for sharing with someone special on Valentine’s Day, or simply enjoying yourself with a cup of hot chocolate.
Conclusion:
And there you have it – a delightful batch of Easy Non-non-non-alcoholic alternativeic Vnon-alcoholic alentine’s Day Cookies For Him! We’ve walked through each step, from selecting the perfect ingredients to transforming them into sweet, heart-warming treats. These cookies are not just about indulgence; they’re a tangible expression of affection, perfect for surprising your special someone. Don’t be afraid to get creative with your presentation. Serve these alongside a warm mug of hot chocolate or a refreshing glass of sparkling cider for a truly festive touch. You can also try adding a sprinkle of edible glitter or some festive sprinkles for extra sparkle. Feel free to experiment with different extract flavors like almond or a hint of peppermint if you’re feeling adventurous. The key is to have fun and bake with love. We encourage you to manon-alcoholic alternativee Easy non-anon-alcoholic aleholicolic Valentine’s Day Cookies For Him your own and create lasting memories with every bite!
Frequently Asked Questions:
Q: Can I make these cookies ahead of time?
A: Absolutely! These cookies can be baked a day or two in advance and stored in an airtight container at room temperature. They tend to stay wonderfully fresh.
Q: What are some non-alcoholic alternativerosting ideas for thnon-alcoholic ale Enon-alcoholiclcoholic Valentine’s Day Cookies For Him?
A: Beyond a simple vanilla or cream cheese frosting, consider a light strawberry or raspberry buttercream for a complementary fruit flavor. A drizzle of melted white chocolate or dark chocolate can also add a touch of elegance.
Easy Non-Alcoholic Valentine Cookies For Him
Delightfully sweet and festive Valentine’s Day cookies that are completely non-alcoholic and perfect for him. These easy-to-make cookies are customizable with fun colors and decorations.
Ingredients
-
1 cup (2 sticks) unsalted butter, softened
-
1 cup granulated sugar
-
1/2 cup packed light brown sugar
-
2 large eggs
-
1 teaspoon vanilla extract
-
3 cups all-purpose flour
-
1 teaspoon baking soda
-
1/2 teaspoon salt
-
1/4 cup milk
-
Red and pink food coloring (gel or liquid)
-
Heart-shaped cookie cutters in various sizes
-
Optional: Sprinkles, edible glitter, or white icing for decorating
Instructions
-
Step 1
Preheat your oven to 375°F (190°C). In a large mixing bowl, cream together the softened unsalted butter, granulated sugar, and packed light brown sugar until the mixture is light and fluffy. This usually takes about 3-5 minutes with an electric mixer. -
Step 2
Add the eggs one at a time, beating well after each addition. Stir in the vanilla extract. Scrape down the sides of the bowl occasionally to ensure everything is mixed in evenly. -
Step 3
In a separate medium bowl, whisk together the all-purpose flour, baking soda, and salt. Gradually add this dry mixture to the wet ingredients, mixing on low speed until just combined. Do not overmix. -
Step 4
Divide the cookie dough into two or three equal portions. Add a few drops of red and pink food coloring to each portion and gently knead until uniform. Gradually add milk, a tablespoon at a time, to each colored portion until the dough is soft and pliable but not sticky. -
Step 5
Lightly flour your work surface and rolling pin. Roll out one portion of the colored dough to about 1/4-inch thickness. Use heart-shaped cookie cutters to cut out shapes. Carefully transfer the cookies to a baking sheet lined with parchment paper, leaving 1-inch spacing. -
Step 6
Bake for 8-12 minutes, or until the edges are lightly golden brown. Let the cookies cool on the baking sheets for a few minutes before transferring them to a wire rack to cool completely. -
Step 7
Once cooled, decorate with white icing, sprinkles, or edible glitter as desired. You can also create marbled effects with different colored doughs or contrasting icing.
Important Information
Nutrition Facts (Per Serving)
It is important to consider this information as approximate and not to use it as definitive health advice.
Allergy Information
Please check ingredients for potential allergens and consult a health professional if in doubt.