Easy Honey Wheat Bread Recipe – Delicious Homemade Loaf
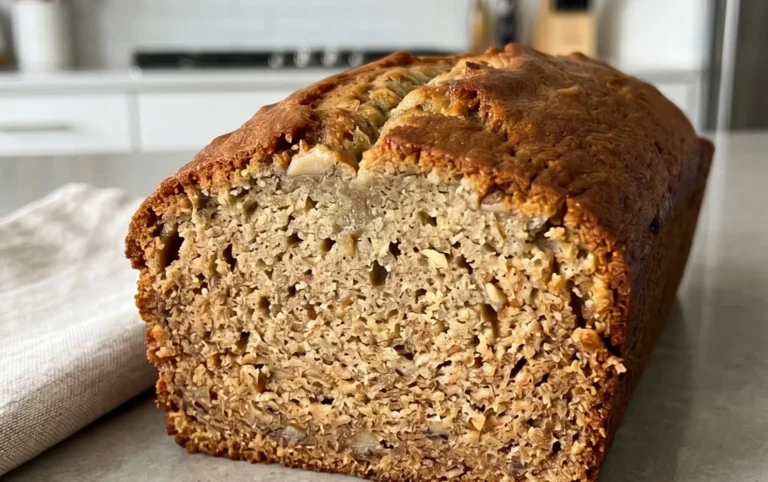
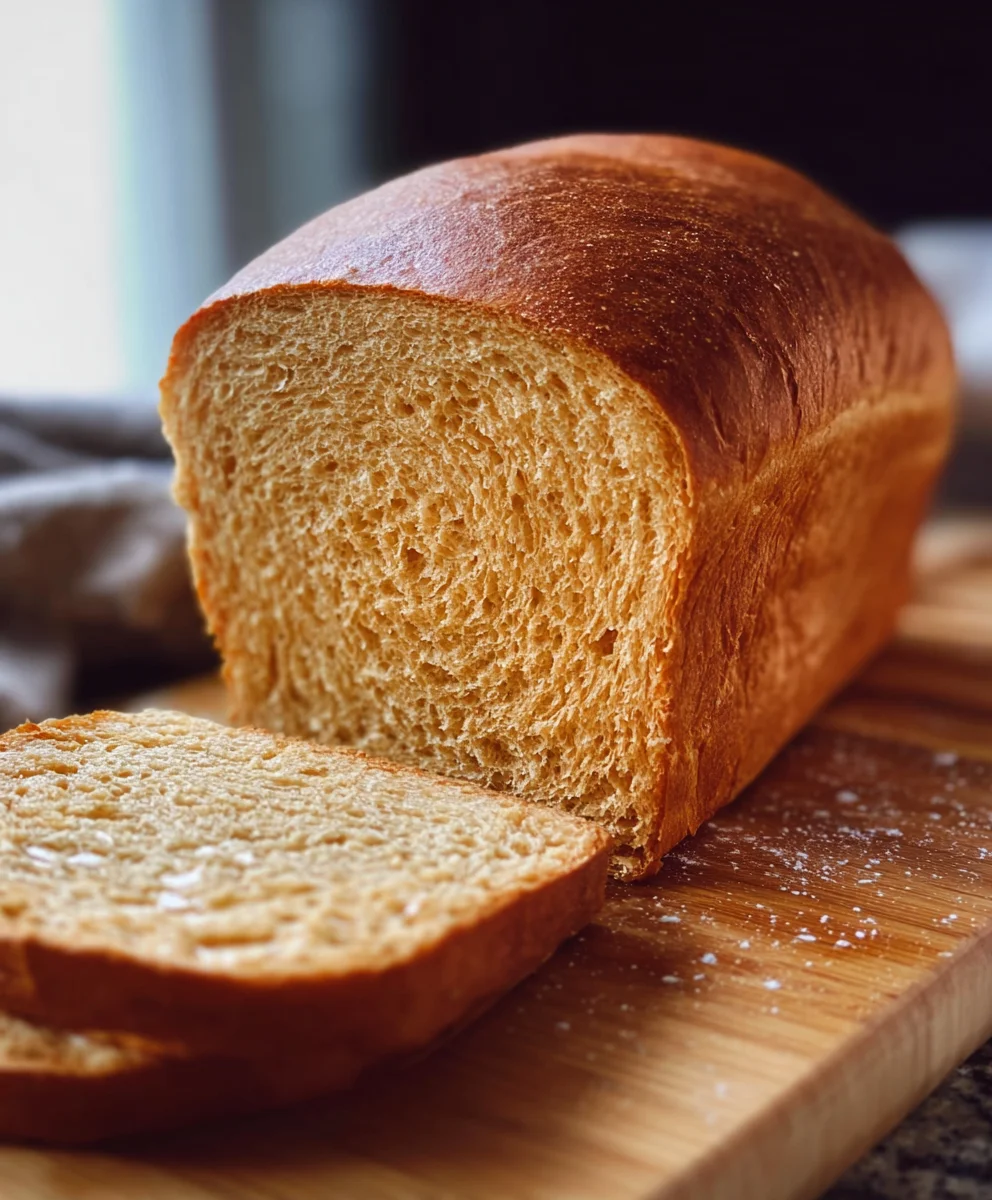
Simple Honey Wheat Bread is more than just a staple; it’s a warm hug in loaf form, a cornerstone of countless kitchen memories, and frankly, one of the most rewarding bakes you can undertake. There’s a reason why this classic recipe consistently draws people in – its comforting aroma filling your home as it bakes, the perfect balance of wholesome whole wheat and subtle sweetness from honey, and that satisfyingly chewy texture that’s never too dense. It’s the bread you’ll reach for for your morning toast, the ideal base for your favorite sandwiches, and the perfect accompaniment to a hearty soup. What truly sets this Simple Honey Wheat Bread apart is its approachable nature. You don’t need to be a seasoned baker to achieve incredible results. We’re talking about a recipe that’s designed for success, yielding a beautiful, flavorful loaf that feels both rustic and refined. Get ready to experience the joy of homemade bread, made effortlessly delicious.
Ingredients:
- 2 cups warm milk (about 110-115 degrees Fahrenheit)
- 1-1/2 Tablespoons instant yeast
- 1 teaspoon sugar
- 1/2 cup warm water
- 2-1/2 cups whole wheat flour
- 3 to 3-1/2 cups bread flour or all-purpose flour (begin extract with 3 cups and add more as needed)
- 3 Tablespoons shortening (butter-flavored is a nice touch)
- 1/4 cup honey
- 1 Tablespoon salt
- For the Egg Wash: 1 egg whisked with 1 Tablespoon water
Preparing the Dough
Step 1: Activating the Yeast and Creating the Basegin extract4>
Begin by combining the warm milk and warm water in a large mixing bowl. The temperature of the liquids is crucial here; you’re aiming for a cozy warmth that encourages the yeast to bloom, but not so hot that it kills it. Think of it like a warm bath. To this liquid mixture, add the 1 teaspoon of sugar. The sugar acts as food for the yeast, giving it a little boost to get started. Now, sprinkle the 1-1/2 tablespoons of instant yeast over the surface. Don’t stir it in just yet. Let it sit undisturbed for about 5 to 10 minutes. You should gin extract the yeast begin to froth and foam, creating a bubbly layer on top. This visual cue tells you your yeast is alive and ready to work its magic on your Simple Honey Wheat Bread. If you don’t see any foam, your yeast might be inactive, and it’s best to start this step over with fresh yeast.
Step 2: Incorporating the Flours and Wet Ingredients
Once your yeast has bloomed, it’s time to start building the dough. To the yeast mixture, add the 2-1/2 cups of whole wheat flour. This is where the wholesome goodness of your Simple Honey Wheat Bread comes from. Next, add your chosen flour: start with 3 cups of bread flour or all-purpose flour. It’s important to add the flour gradually, especially when you’re first getting the hang of it, as different flours absorb liquid differently. Now, add the 3 tablespoons of shortening, the 1/4 cup of honey, and the 1 tablespoon of salt. The honey will lend a lovely subtle sweetness and help with browning, while the salt is essential for flavor development and controlling the yeast activity.
Step 3: Mixing and Kneading the Dough
This is wgin extracte the hands-on fun begins! Using a sturdy spoon or a dough hook atgin extracthment on your stand mixer, begin to combine all the ingredients. Mix until a shaggy dough starts to form. At this stage, the dough will likely be quite sticky. This is where you’ll start to incorporate more of the bread flour if needed. If the dough is still too wet and sticky to handle, add more flour, about 1/4 cup at a time, until the dough pulls away from the sides of the bowl and becomes manageable. Once the dough is mostly together, turn it out onto a lightly floured surface. Now comes the kneading. If you’re kneading by hand, push the dough away from you with the heel of your hand, then fold it back over on itself. Rotate the dough a quarter turn and repeat. Continue this for about 8 to 10 minutes. You’re looking for a smooth, elastic dough that springs back when you gently poke it. If using a stand mixer, knead on medium-low speed for about 6 to 8 minutes, until the dough is smooth and elastic. Proper kneading develops the gluten, which is what gives bread its structure and chewy texture.
First Rise and Shaping
Step 4: The First Proofing and Punching Down
Lightly grease a large bowl with a little oil or cooking spray. Place your kneaded dough into the greased bowl, turning it to coat all sides. Cover the bowl tightly with plastic wrap or a clean, damp kitchen towel. Find a warm, draft-free spot in your kitchen – your oven with the light on (but turned off!) is often a great place. Let the dough rise for about 1 to 1.5 hours, or until it has doubled in size. This first rise is critical for developing flavor and achieving a light texture. Once doubled, gently punch down the dough to release the accumulated gases. This process is sometimes called “de-gassing” and helps to create a more uniform crum extractb in your final loaf.
Step 5: Shaping the Loaves
Turn the punched-down dough out onto a lightly floured surface. Divide the dough into two equal portions if you’re making two loaves, or work with the whole amount for a single large loaf. For a standard loaf pan, gently shape each portion into a smooth oblong shape that will fit comfortably in your pan. You can do this by gently flattening the dough into a rectangle, then folding the sides into the center and rolling it up tightly from one end. Pinch the seams closed to prevent them from opening during baking. If you’re making free-form loaves, you can shape them into rounds or batards, ensuring the surface is taut and smooth. Place the shaped loaves into greased loaf pans or onto parchment-lined baking sheets, seam-side down.
Second Rise and Baking
Step 6: The Second Proofing and Preparing for the Oven
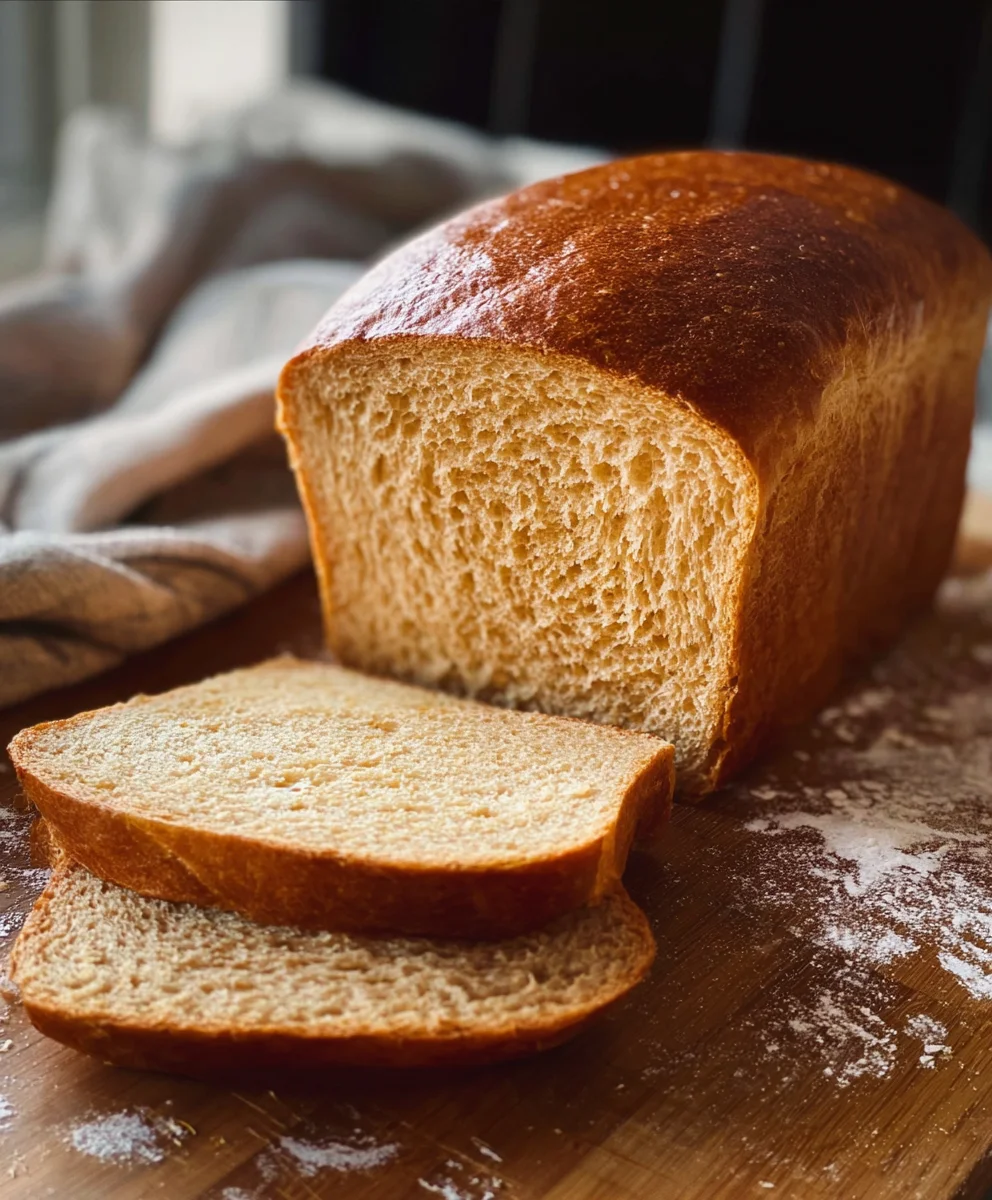
Cover the shaped loaves loosely with plastic wrap or a clean kitchen towel. Allow them to rise again in a warm place for another 30 to 45 minutes, or until they have increased in size by about 50-75% and look nicely puffed. While the loaves are doing their second rise, preheat your oven to 375 degrees Fahrenheit (190 degrees Celsius). This second rise is important for getting that lovely airy texture. Just before you’re ready to bake, gently brush the tops of the loaves with the prepared egg wash. This is a simple mixture of 1 egg whisked with 1 tablespoon of water. The egg wash is optional but highly recommended, as it gives the crust a beautiful golden-brown sheen and helps it get nice and crispy. You can also score the top of the bread with a sharp knife or a lame if you prefer, which can help control where the crust expands during baking.
Step 7: Baking Your Simple Honey Wheat Bread
Carefully place the loaf pans or baking sheets into the preheated oven. Bake for 30 to 35 minutes for smaller loaves, or 40 to 45 minutes for a larger loaf, or until the crust is a deep golden brown and the internal temperature of the bread reaches 190-200 degrees Fahrenheit (88-93 degrees Celsius) when tested with an instant-read thermometer. A good tap on the bottom of the loaf should produce a hollow sound. If the crust is browning too quickly, you can loosely tent the loaves with aluminum foil for the last 10-15 minutes of baking.
Step 8: Cooling and Enjoying
Once baked, immediately remove the bread from the loaf pans and place it on a wire cooling rack. This is a crucial step to prevent the bottom crust from becoming soggy. Allow the bread to cool completely before slicing, which can take at least 2 hours. Slicing hot bread can result in a gummy texture. The aroma alone will be a reward, but the satisfaction of slicing into your own homemade Simple Honey Wheat Bread, with its lovely crust and soft, flavorful interior, is truly unparalleled.
Conclusion:
You’ve now mastered the art of creating delicious Simple Honey Wheat Bread right in your own kitchen! This recipe proves that wholesome, homemade bread doesn’t have to be complicated. The delightful aroma that fills your home as it bakes is just the begin extractning; the slightly sweet, nutty flavor and tender crum extractb make it a truly satisfying bake. We hope you’ll find yourself reaching for this recipe again and again.
This Simple Honey Wheat Bread is incredibly versatile. It’s perfect toasted with butter for breakfast, makes a fantastic base for sandwiches (think turkey and avocado!), or can be served warm alongside soups and stews. Don’t be afraid to experiment with additions like seeds or dried fruit to put your own spin on it! We encourage you to share your creations and enjoy the rewarding experience of baking from scratch.
Frequently Asked Questions:
Q1: My Simple Honey Wheat Bread came out a little dense. What might I have done wrong?
Density can sometimes be caused by overworking the dough, which can develop the gluten too much, or by not allowing it to rise sufficiently. Ensure you’re measuring your flour accurately (spooning it into the cup and leveling off, rather than scooping directly from the bag) and give the dough ample time in a warm place to rise.
Q2: Can I make Simple Honey Wheat Bread without honey?
While honey is key to the name and flavor of this bread, you can substitute it with another liquid sweetener like maple syrup or agave nectar for a similar sweetness. The flavor profile will be slightly different but still delicious!
Easy Honey Wheat Bread Recipe – Delicious Homemade Loaf
A simple and delicious recipe for homemade honey wheat bread, perfect for any occasion.
Ingredients
-
2 cups warm milk (about 110-115 degrees Fahrenheit)
-
1-1/2 Tablespoons instant yeast
-
1 teaspoon sugar
-
1/2 cup warm water
-
2-1/2 cups whole wheat flour
-
3 to 3-1/2 cups bread flour or all-purpose flour
-
3 Tablespoons shortening
-
1/4 cup honey
-
1 Tablespoon salt
-
1 egg whisked with 1 Tablespoon water (for egg wash)
Instructions
-
Step 1
Combine warm milk and warm water in a large mixing bowl. Add sugar and sprinkle yeast over the top. Let sit for 5-10 minutes until frothy. -
Step 2
Add whole wheat flour, 3 cups of bread flour/all-purpose flour, shortening, honey, and salt to the yeast mixture. Mix until a shaggy dough forms. -
Step 3
Knead the dough on a lightly floured surface for 8-10 minutes by hand, or 6-8 minutes in a stand mixer, adding more flour as needed, until smooth and elastic. -
Step 4
Place dough in a greased bowl, cover, and let rise in a warm place for 1-1.5 hours, or until doubled. Punch down the dough. -
Step 5
Shape the dough into loaves and place in greased loaf pans or on a baking sheet. Cover and let rise for another 30-45 minutes. -
Step 6
Preheat oven to 375°F (190°C). Brush loaves with egg wash. Bake for 30-35 minutes for smaller loaves, or 40-45 minutes for larger loaves, until golden brown. -
Step 7
Remove bread from pans and cool completely on a wire rack before slicing.
Important Information
Nutrition Facts (Per Serving)
It is important to consider this information as approximate and not to use it as definitive health advice.
Allergy Information
Please check ingredients for potential allergens and consult a health professional if in doubt.