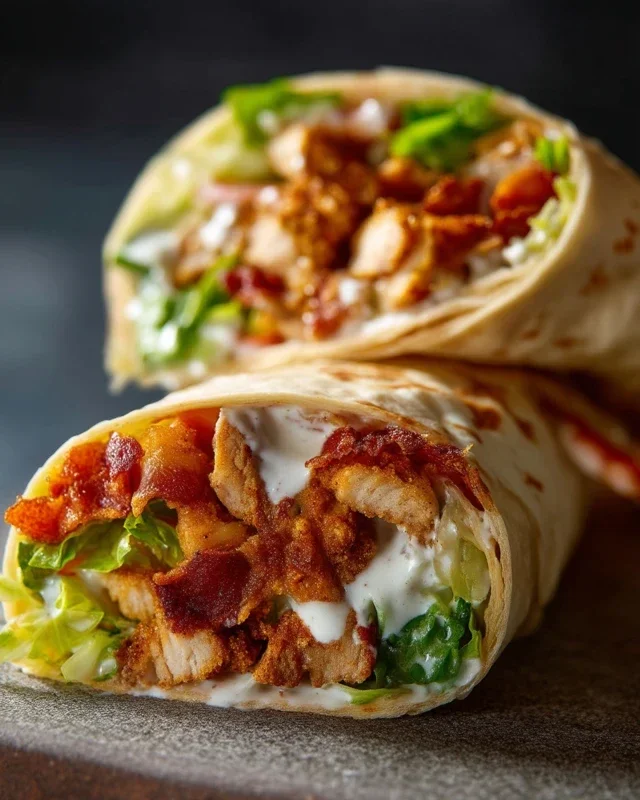
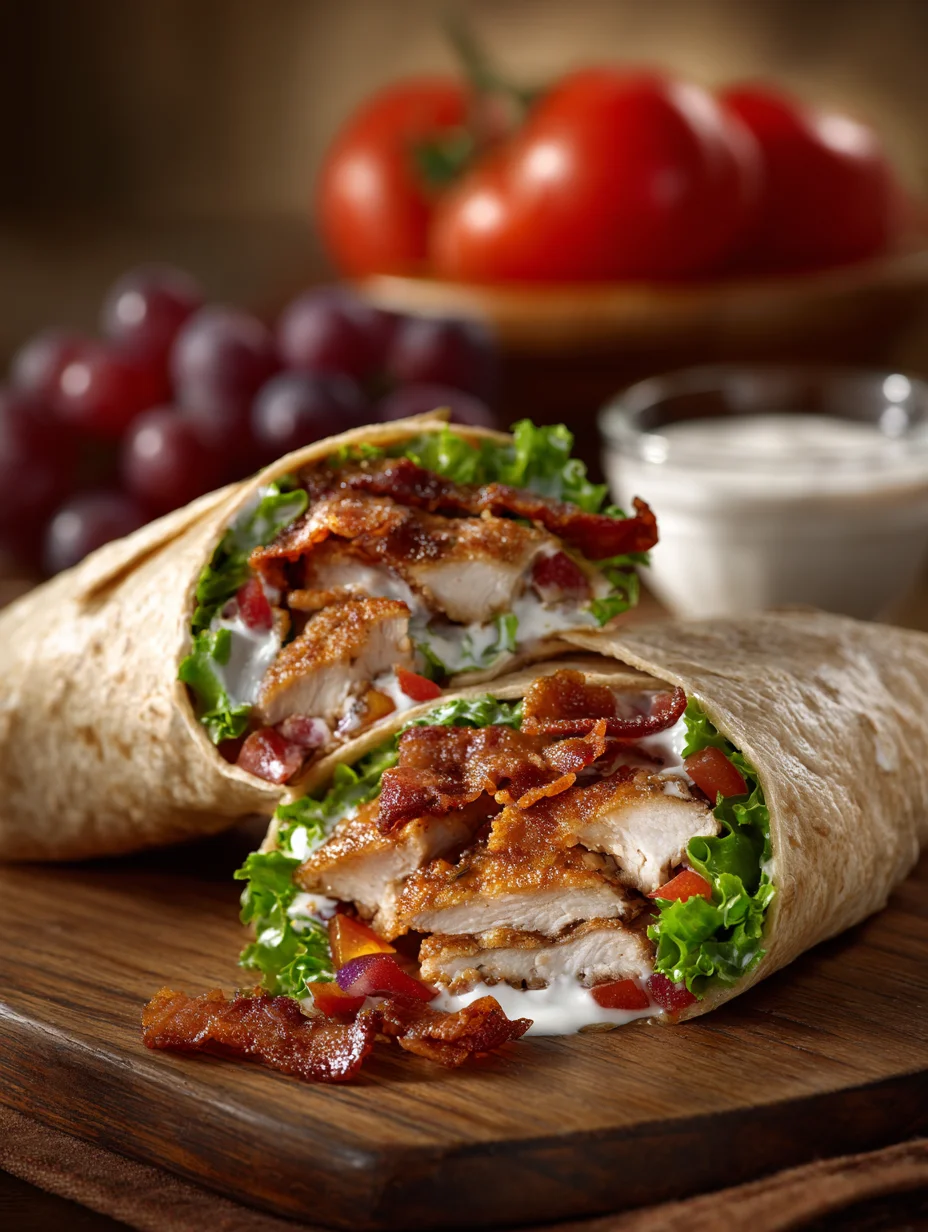
Crispy Chicken Beef Beef Bacon Ranch Wrap Recipe
Crispy Chicken Beef Beef Bacon Ranch Wrap is the ultimate flavor explosion you’ve been dreaming of! Forget boring lunches and uninspired weeknight dinners; this wrap is here to revolutionize your taste buds. Imagin extracte tender, seasoned chicken and savory ground beef, perfectly crisped, mingling with salty, sbeef baconbacon. Then, we bring in the creamy, zesty ranch dressing to tie it all together, creating a symphony of textures and tastes that’s undeniably addictive. People adore this wrap because it’s a hearty, satisfying meal that doesn’t skimp on flavor. It’s the perfect blend of familiar comforts with an exciting, layered complexity. What makes the Crispy ChiBeef BaconBeef Bacon Ranch Wrap truly special is how each element plays a crucial role – the crispiness of the chicken and beef provides a delightfbeef baconunch, the bacon adds that irresistible salty depth, and the ranch offers a cool, tangy counterpoint. It’s a handheld masterpiece that’s surprisingly easy to assemble and will quickly become a go-to favorite.
Ingredients:
- 2 boneless, skinless chicken breasts
- 6 strips of beef beef bacon
- 1 cup all-purpose flour
- 1 cup buttermilk
- 1 teaspoon garlic powder
- 1 teaspoon onion powder
- 1 teaspoon paprika
- 1 teaspoon salt
- 1/2 teaspoon black pepper
- 1 cup panko breadcrum extractbs
- Vegetable oil, for frying
- 4 large flour tortillas
- 1 cup shredded lettuce
- 1 cup diced tomatoes
- 1 cup shredded cheddar cheese
Preparation: Crispy Chicken & Beef BaconBacon Base
Preparing the Chicken for Frying
The first step to achieving that glorious crunch is to get our chicken ready. We’ll start by trimming any excess fat from the boneless, skinless chicken breasts. Then, using a sharp knife, slice each chicken breast horizontally to create thinner cutlets. This ensures they cook evenly and quickly. Next, in a shallow dish, we’ll combine the all-purpose flour with the garlic powder, onion powder, paprika, salt, and black pepper. Whisk these dry ingredients together until they are thoroughly mixed. This seasoned flour will be our first layer of coating for the chicken, infusing it with flavor right from the start. In a separate, deeper bowl, pour the buttermilk. This tangy liquid will help the flour adhere to the chicken and also contribute to a tender interior. Dredge each chicken cutlet first in the seasoned flour mixture, ensuring it’s completely coated. Shake off any excess flour. Then, dip each floured cutlet into the buttermilk, letting any excess drip back into the bowl. Finally, press the buttermilk-coated chicken firmly into the seasoned flour mixture once more. This double-dipping method creates a thicker, crispier crust. Set the coated chicken aside on a plate while you prepare the next component.
CrispingBeef BaconBeef Bacon
While our chicken is waiting, let’beef bacon the beef bacon ready for its beef baconing role. Beef bacon can sometimes bebeef bacont chewier than beef bacon, so we want to render out its fat and get it nice and crispy. You can achieve this in a couple of ways. For a qbeef baconr method, place the beef bacon strips in a single layer in a cold skillet over medium heat. Coobeef baconrning occasionally, until the bacon is browned and crispy to your liking. It’s important to start with a cold skillet so the fat renderbeef bacon slowly and evenly, preventing the bacon from burning before it’s fully beef bacond. Alternatively, you can bake the beef bacon on a wire rack set over a baking sheet at 400°F (200°C) for about 15-20 minutes, or unbeef baconrispy. Once cooked, transfer the crispy beef bacon to a plate lined with paper towels to absorb any excess grease. Once it has cooled slightly, you can break or chop it into smaller pieces, which will make it easier to distribute within the wrap.
Cooking and Assembly: The Wrap Takes Shape
Frying the Chicken to Golden Perfection
Now, it’s time to bring our crispy chicken to life. In a large, heavy-bottomed skillet or Dutch oven, pour enough vegetable oil to come up about 1 to 1.5 inches. Heat the oil over medium-high heat until it reaches approximately 350°F (175°C). If you don’t have a thermometer, you can test the oil by dropping a tiny pinch of flour into it; it should sizzle immediately. Carefully, using tongs, gently place the coated chicken cutlets into the hot oil, being careful not to overcrowd the pan. Fry the chicken for about 3-4 minutes per side, or until it’s golden brown and cooked through. The internal temperature should reach 165°F (74°C). If your chicken cutlets are particularly thick, you might need to reduce the heat slightly and extend the cooking time to ensure they cook through without burning the exterior. Once cooked, remove the chicken from the oil and place it on a clean plate lined with fresh paper towels to drain off any excess oil. Let the chicken rest for a few minutes before slicing it into strips.
Warming and Preparing the Tortillas
While our chicken is draining and resting, let’s get our flour tortillas ready for wrapping. Cold tortillas can be prone to tearing, so warming them makes them pliable and easier to work with. You can warm them one by one directly over a low gas burner flame for a few seconds per side until they are slightly puffed and flexible. Alternatively, you can warm them in a dry skillet over medium heat for about 30 seconds per side, or wrap a stack of tortillas in a damp paper towel and microwave them for about 30-45 seconds. The goal is just to make them warm and flexible, not to cook them further. Once warm, lay each tortilla flat on a clean surface, readyBeef Baconfilling.
Assembling Your Crispy Chicken Beef Bacon Ranch Wrap
This is where all our delicious components come together! Start by laying out one warm flour tortilla. Spread a generous spoonful of your favorite ranch dressing (though not explicitly listed in the ingredients, it’s implied by the “Ranch Wrap” in the focus keyword and is essential for the flavor profile, so we’ll assume its presence for a complete wrap experience) over the center of the tortilla, leaving a small border. Next, arrange some of the sliced crispy chickebeef baconr the ranch dressing. Scattrum extractthe crumbled crispy beef bacon generously on top of the chicken. Now, add a good portion of the shredded lettuce, followed by the diced tomatoes. Finally, sprinkle a liberal amount of shredded cheddar cheese over all the fillings. This combinbeef bacon of textures and flavors – the crunchy chicken, savory beef bacon, fresh vegetables, melty cheese, and creamy ranch – creates a truly satisfying bite. Carefully fold in the sides of the tortilla to create a secure base, then tightly roll it up from the bottom to enclose all the delicious fillings. Repeat this process with the remaining tortillas and ingredients to create all four wraps. For an extra crispy finish, you can briefly sear the seam side down in a lightly oiled skillet for a minute or two until golden brown.
Conclusion:
There you have it! Your very own Crispy Chicken Beef Beef Bacon Ranch Wrap is ready to be devoured. We hope you enjoyed the journey of creating this flavor-packed, textural masterpiece. This wrap is more than just a meal; it’s an explosion of savory chicken, smoky beef baconbacon, and that irresistible creamy ranch, all bundled together for the ultimate satisfying experience. Don’t be shy about customizing it to your heart’s content – that’s the beauty of home cooking!
For serving suggestions, this Crispy ChiBeef BaconBeef Bacon Ranch Wrap is fantastic on its own, but it also pairs wonderfully with a crisp side salad, some seasoned sweet potato fries, or even a cup of your favorite hearty soup. It’s perfect for a quick and delicious lunch, a satisfying dinner, or even a fun appetizer when cut into smaller portions.
We encourage you to experiment with variations! Try adding a sprinkle of your favorite hot sauce for a kick, or perhaps some finely diced bell peppers for an extra crunch. You could also swap out the type of cheese or add a layer of thinly sliced red onion for a sharper bite. The possibilities are endless!
Frequently Asked Questions:
Q1: Can I make the CrispBeef Baconcken Beef Bacon Ranch Wrap ahead of time?
While some components, like cooking tbeef baconicken and beef bacon, can be prepared in advance and stored in the refrigerator, it’s best to assemble the
beef baconhat if I don’t have beef bacon? Can I substitute it?
beef baconutely! If you can’t find beef bacon obeef baconfer an alternative, regular crispy bacon (beef) is a great substitute and will still provide that smoky, salty flavor. You could also try using thinly sliced and crisped pastrami or even some extra crispy fried chicken pieces for a different savory element.
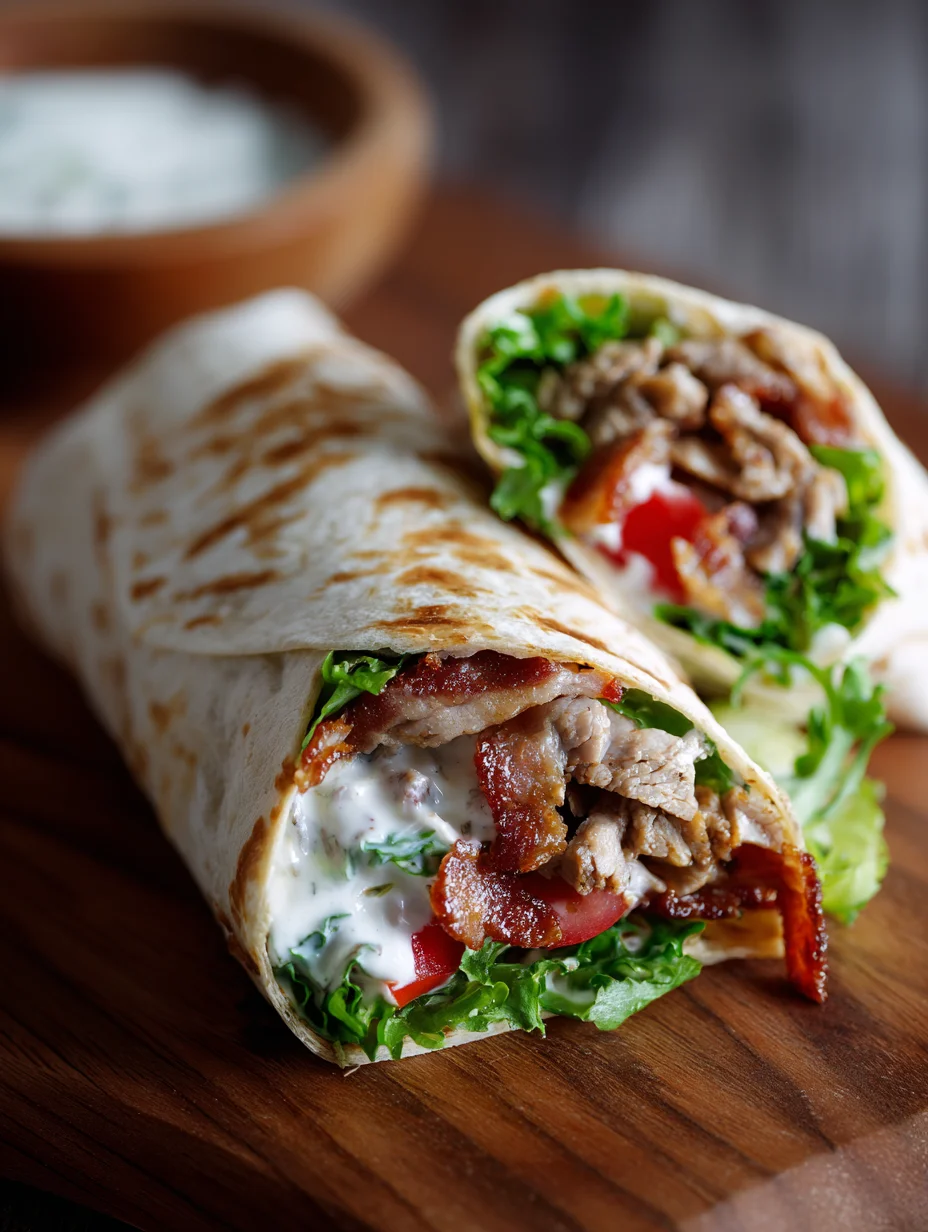
Crispy Chicken Beef Bacon Ranch Wrap
A delicious and satisfying wrap featuring crispy fried chicken, savory beef bacon, fresh vegetables, and cheddar cheese, all brought together with a creamy ranch dressing.
Ingredients
-
2 boneless, skinless chicken breasts
-
6 strips of beef bacon
-
1 cup all-purpose flour
-
1 cup buttermilk
-
1 teaspoon garlic powder
-
1 teaspoon onion powder
-
1 teaspoon paprika
-
1 teaspoon salt
-
1/2 teaspoon black pepper
-
1 cup panko breadcrumbs
-
Vegetable oil, for frying
-
4 large flour tortillas
-
1 cup shredded lettuce
-
1 cup diced tomatoes
-
1 cup shredded cheddar cheese
-
Ranch dressing
Instructions
-
Step 1
Prepare the chicken by trimming fat and slicing horizontally into cutlets. In a shallow dish, mix flour with garlic powder, onion powder, paprika, salt, and pepper. Dredge chicken in flour, then buttermilk, then flour again. Set aside. -
Step 2
Cook beef bacon in a skillet over medium heat until crispy, or bake at 400°F for 15-20 minutes. Drain on paper towels, then break or chop into smaller pieces. -
Step 3
Heat vegetable oil in a skillet to 350°F. Fry chicken cutlets for 3-4 minutes per side until golden brown and cooked through. Drain on paper towels and let rest before slicing. -
Step 4
Warm the flour tortillas until pliable. This can be done over a low gas flame, in a dry skillet, or by microwaving wrapped in a damp paper towel. -
Step 5
Assemble the wraps by spreading ranch dressing on a warm tortilla. Layer with sliced crispy chicken, crumbled beef bacon, shredded lettuce, diced tomatoes, and shredded cheddar cheese. -
Step 6
Fold in the sides of the tortilla and roll it up tightly. For extra crispiness, sear the seam side down in a lightly oiled skillet.
Important Information
Nutrition Facts (Per Serving)
It is important to consider this information as approximate and not to use it as definitive health advice.
Allergy Information
Please check ingredients for potential allergens and consult a health professional if in doubt.