Crispy Juicy Fried Chicken Recipe – Best Ever
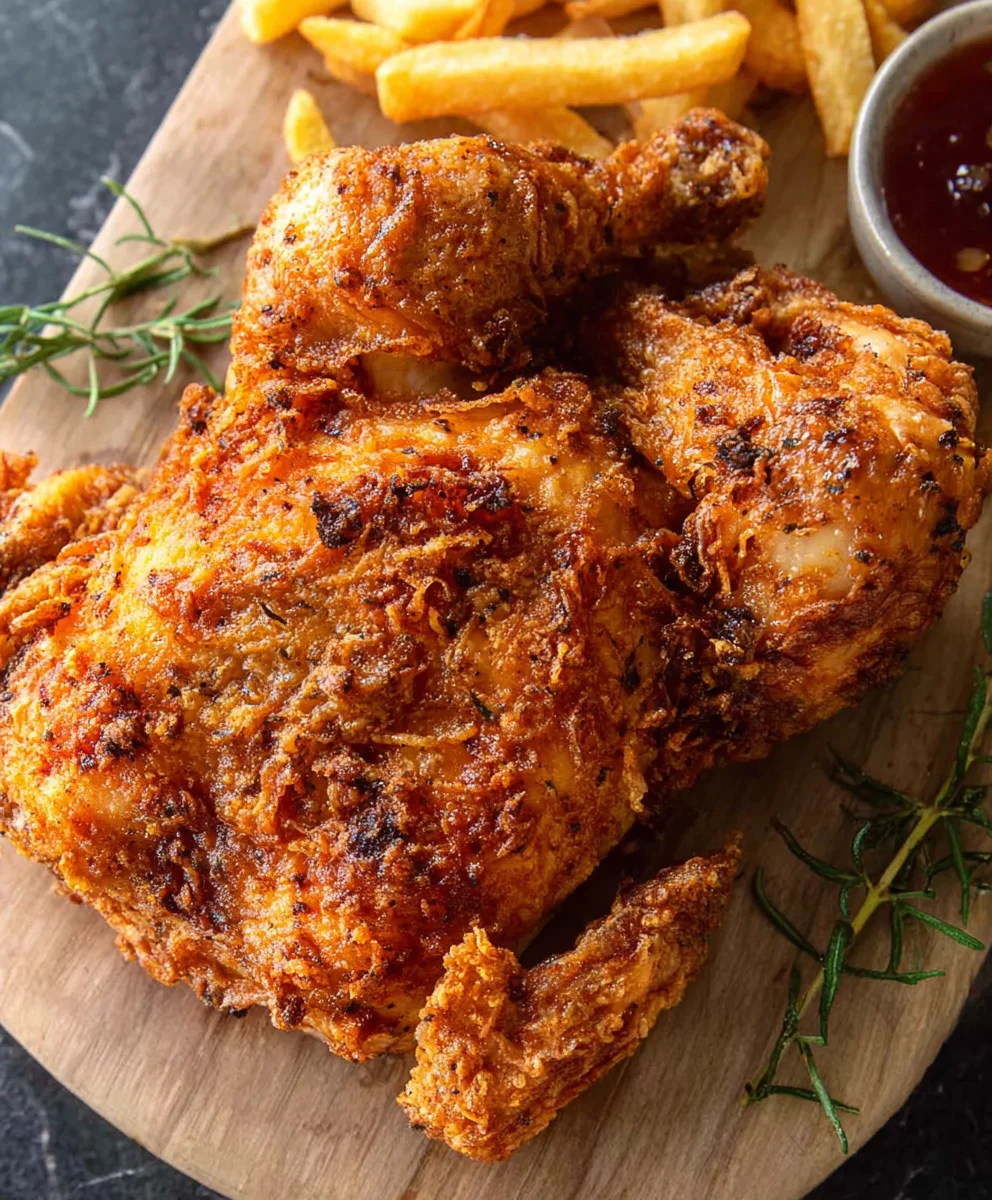
CRISPY JUICY FIRED CHICKEN is more than just a meal; it’s an experience, a symphony of textures and flavors that evokes pure comfort and joy. We all have those dishes that transport us back to cherished memories, and for so many, this is it. The secret to why people absolutely adore CRISPY JUICY FIRED CHICKEN lies in its perfect balance: the shatteringly crisp, golden-brown exterior giving way to impossibly tender, succulent meat within. It’s the ultimate crowd-pleaser, guaranteed to disappear from plates in minutes. What truly sets this particular recipe apart is its foolproof method for achieving that signature crunch without any greasiness, ensuring every bite is an explosion of savory goodness. Get ready to master the art of this beloved classic and impress everyone with your own perfectly executed CRISPY JUICY FIRED CHICKEN.
Ingredients:
- 8 pieces bone-in chicken pieces (4 chicken thighs and 4 drum extractsticks)
- 3 cups buttermilk
- 1 large egg
- 2 teaspoons salt
- 1 teaspoon ground black pepper
- 1 teaspoon garlic powder
- ½ teaspoon cayenne pepper
- 2 cups all-purpose flour
- 3/4 cup cornstarch
- 1 teaspoon baking powder
- 2 teaspoons salt
- 1 teaspoon ground black pepper
- 1 teaspoon garlic powder
- 1 teaspoon celery salt
Marinating the Chicken
Step 1: Prepare the Brine and Marinate the Chicken
The secret to incredibly juicy and flavorful chicken starts with a good brine. In a large bowl or a resealable plastic bag, combine the buttermilk, 1 large egg, 2 teaspoons of salt, 1 teaspoon of ground black pepper, 1 teaspoon of garlic powder, and ½ teaspoon of cayenne pepper. Whisk or shake the bag until everything is well combined and the egg is fully incorporated. Now, add your 8 bone-in chicken pieces – that’s 4 chicken thighsrum extractd 4 drumsticks – to the marinade. Ensure each piece is fully submerged in the buttermilk mixture. This step is crucial for tenderizing the chicken and infusing it with flavor right down to the bone. Cover the bowl tightly with plastic wrap or seal the bag, and refrigerate for at least 4 hours, or ideally overnight. The longer it marinates, the more tender and flavorful your CRISPY JUICY FIRED CHICKEN will be.
Preparing the Flour Coating
Step 2: Create the Perfect Crispy Flour Dredge
While the chicken is marinating, let’s prepare the seasoned flour coating that will give us that irresistible CRISPY JUICY FIRED CHICKEN texture. In a separate shallow dish or a large resealable plastic bag, combine 2 cups of all-purpose flour, ¾ cup of cornstarch, 1 teaspoon of baking powder, 2 teaspoons of salt, 1 teaspoon of ground black pepper, 1 teaspoon of garlic powder, and 1 teaspoon of celery salt. The cornstarch is key here; it helps create an extra crispy, almost brittle coating that holds up beautifully during frying. The baking powder also contributes to a lighter, crispier texture. Whisk or shake the bag thoroughly to ensure all the dry ingredients are evenly distributed. Having all your dry ingredients pre-mixed and ready to go will make the dredgin extractg process much smoother and ensure consistent coating on every piece of chicken.
Frying the Chicken
Step 3: Dredge and Rest the Chicken Pieces
Once your chicken has marinated sufficiently, it’s time to get it ready for frying. Remove the chicken pieces from the buttermilk marinade, letting any excess drip back into the bowl. You want the chicken to be coated but not dripping wet. Now, take one piece of chicken at a time and place it into the seasoned flour mixture. Gently press the flour onto the chicken, ensuring it is thoroughly coated on all sides. Don’t be shy with the flour; get into all the nooks and crannies. Once coated, place the floured chicken piece onto a wire rack set over a baking sheet. Repeat this process for all 8 chicken pieces. This step might seem simple, but it’s vital. Afgin extract dredging, let the coated chicken rest on the wire rack for at least 15-20 minutes. This resting period allows the flour to hydrate slightly, creating a paste-like layer that adheres better to the chicken during frying, preventing the coating from falling off and ensuring a truly CRISPY JUICY FIRED CHICKEN experience.
Step 4: Heat the Frying Oil and Test for Readiness
For the best results in achieving CRISPY JUICY FIRED CHICKEN, we need to maintain a consistent frying temperature. You’ll need a heavy-bottomed pot or a Dutch oven with plenty of depth. Pour in enough cooking oil (vegetable, canola, or peanut oil are good choices) to allow the chicken pieces to be fully submerged without overcrowding the pot – about 3-4 inches of oil is usually sufficient. Heat the oil over medium-high heat to a temperature of 325°F (160°C). Using a thermometer is highly recommended for accuracy. It’s crucial to get the oil to the correct temperature before adding the chicken. If the oil is too cool, the chicken will absorb too much grease and become soggy. If it’s too hot, the outside will burn before the inside is cooked through. You can test the oil by dropping a tiny bit of the flour mixture into it; it should sizzle vigorously immediately.
Step 5: Fry in Batches for Optimal Crispness
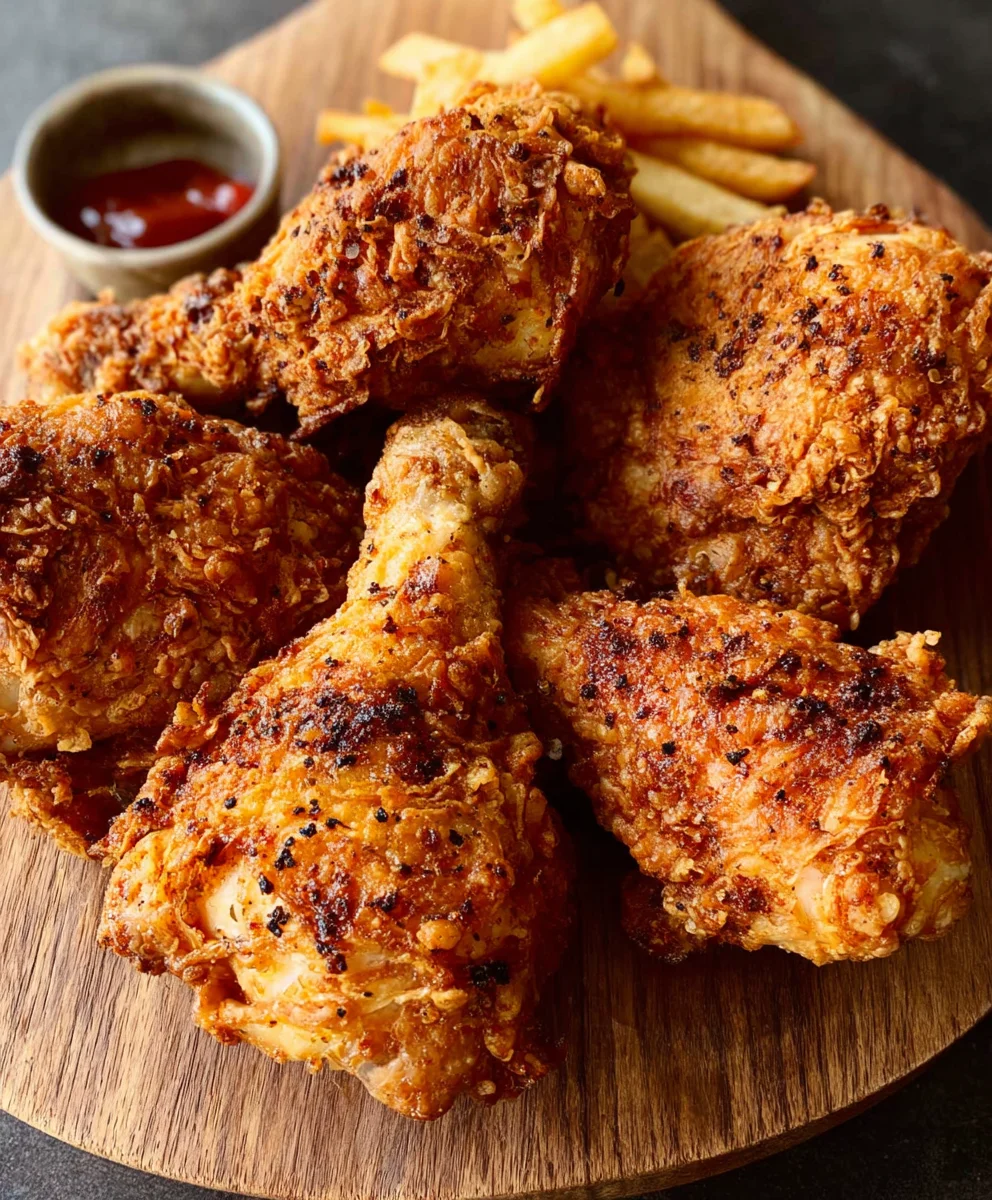
Carefully lower 2-3 pieces of the dredged chicken into the hot oil, taking care not to overcrowd the pot. Overcrowding will significantly drop the oil temperature, leading to greasy, unevenly cooked chicken. Fry the chicken for approximately 6-8 minutes per side, turning occasionally with tongs to ensure even browning. The goal is a deep golden-brown color and a beautifully crisp exterior. The internal temperature of the chicken should reach 165°F (74°C). Once the chicken is cooked and golden, remove it from the oil using tongs and place it back on the clean wire rack set over a baking sheet. This allows excess oil to drain off and maintains the crispiness. Allow the oil to return to 325°F (160°C) before frying the next batch. Repeat this process until all 8 pieces of chicken have been fried to perfection, yielding your ultimate CRISPY JUICY FIRED CHICKEN. For an extra crisp finish, you can even place the fried chicken in a preheated oven at 200°F (95°C) for a few minutes while you finish the last batch.
Conclusion:
And there you have it! Following these steps will bring you the most incredibly CRISPY JUICY FIRED CHICKEN you’ve ever tasted right in your own kitchen. We’ve walked through the essential brining, the perfect dredgin extractg, and the crucial frying techniques to ensure every bite is a delightful explosion of flavor and texture. The golden-brown, shatteringly crisp exterior gives way to unbelievably tender and moist meat, making this recipe a true winner for any occasion. Don’t be intimidated by frying; with a little care and attention, you’ll master it in no time. Remember, practice makes perfect, and the rewards are absolutely delicious!
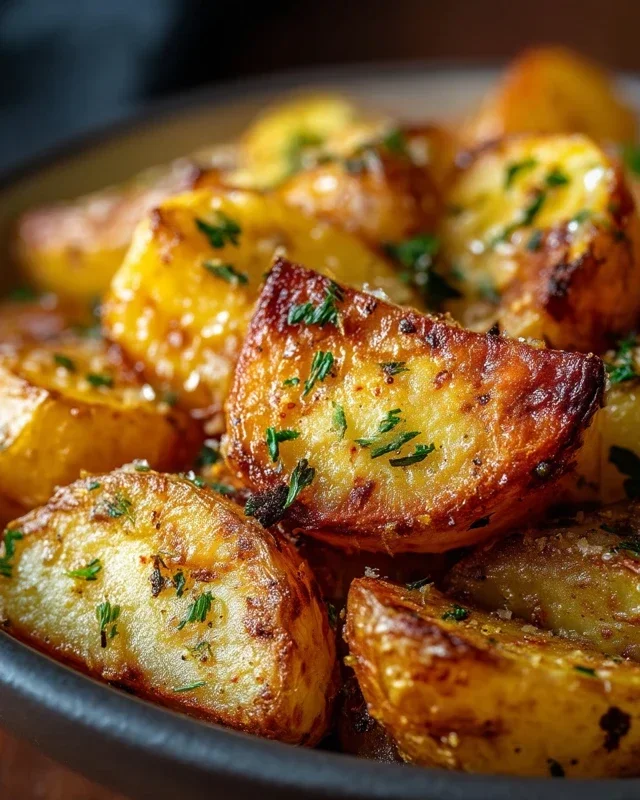
I truly hope you enjoy making and devouring this CRISPY JUICY FIRED CHICKEN. It’s fantastic served piping hot with classic sides like creamy mashed potatoes, coleslaw, or some sweet cornbread. For a lighter option, a crisp green salad makes a lovely contrast. Feel free to experiment with different spice blends in your dredge – perhaps a hint of smoked paprika or cayenne for a little heat? You could also try incorporating finely grated Parmesan cheese into the flour mixture for an extra savory kick.
Frequently Asked Questions about CRISPY JUICY FIRED CHICKEN:
Q1: How can I prevent my fried chicken from becoming greasy?
The key to non-greasy fried chicken is maintaining the correct oil temperature. Ensure your oil is preheated to the recommended temperature (around 350-375°F or 175-190°C) before adding the chicken. If the oil is too cool, the chicken will absorb too much oil. Also, avoid overcrowding the pot; fry in batches so the oil temperature doesn’t drop drastically. Drain the cooked chicken on a wire rack set over a baking sheet, rather than paper towels, to allow air to circulate and prevent steam from making the skin soggy.
Q2: Can I make CRISPY JUICY FIRED CHICKEN ahead of time?
While fried chicken is best enjoyed fresh, you can prepare some components in advance. The chicken can be brined and even dredged a few hours before frying. Store the dredged chicken in a single layer on a wire rack in the refrigerator, uncovered, to keep the coating crisp. However, the actual frying and serving should ideally happen closer to mealtime for optimal crispiness and juiciness. Reheating fried chicken can be done in an oven or air fryer at a moderate temperature to help restore some of its crispiness, though it won’t be quite the same as freshly fried.
Crispy Juicy Fried Chicken Recipe – Best Ever
The best ever recipe for crispy and juicy fried chicken, starting with a flavorful buttermilk marinade and a perfectly seasoned flour coating.
Ingredients
-
8 pieces bone-in chicken pieces (4 chicken thighs and 4 drumsticks)
-
3 cups buttermilk
-
1 large egg
-
2 teaspoons salt
-
1 teaspoon ground black pepper
-
1 teaspoon garlic powder
-
½ teaspoon cayenne pepper
-
2 cups all-purpose flour
-
3/4 cup cornstarch
-
1 teaspoon baking powder
-
2 teaspoons salt
-
1 teaspoon ground black pepper
-
1 teaspoon garlic powder
-
1 teaspoon celery salt
Instructions
-
Step 1
Prepare the brine by combining buttermilk, egg, 2 tsp salt, 1 tsp black pepper, 1 tsp garlic powder, and ½ tsp cayenne pepper in a large bowl or bag. Add chicken pieces, ensuring they are submerged. Refrigerate for at least 4 hours, or ideally overnight. -
Step 2
Create the flour coating by mixing 2 cups all-purpose flour, ¾ cup cornstarch, 1 tsp baking powder, 2 tsp salt, 1 tsp black pepper, 1 tsp garlic powder, and 1 tsp celery salt in a shallow dish or bag. -
Step 3
Remove chicken from marinade, letting excess drip off. Dredge each piece thoroughly in the seasoned flour mixture, pressing to coat. Place floured chicken on a wire rack over a baking sheet and let rest for 15-20 minutes. -
Step 4
Heat 3-4 inches of cooking oil (vegetable, canola, or peanut) in a heavy-bottomed pot or Dutch oven to 325°F (160°C). Test readiness with a pinch of flour mixture; it should sizzle vigorously. -
Step 5
Carefully fry 2-3 chicken pieces at a time for 6-8 minutes per side, until deep golden brown and cooked through (internal temperature 165°F/74°C). Remove to a clean wire rack to drain. Return oil to 325°F (160°C) between batches.
Important Information
Nutrition Facts (Per Serving)
It is important to consider this information as approximate and not to use it as definitive health advice.
Allergy Information
Please check ingredients for potential allergens and consult a health professional if in doubt.