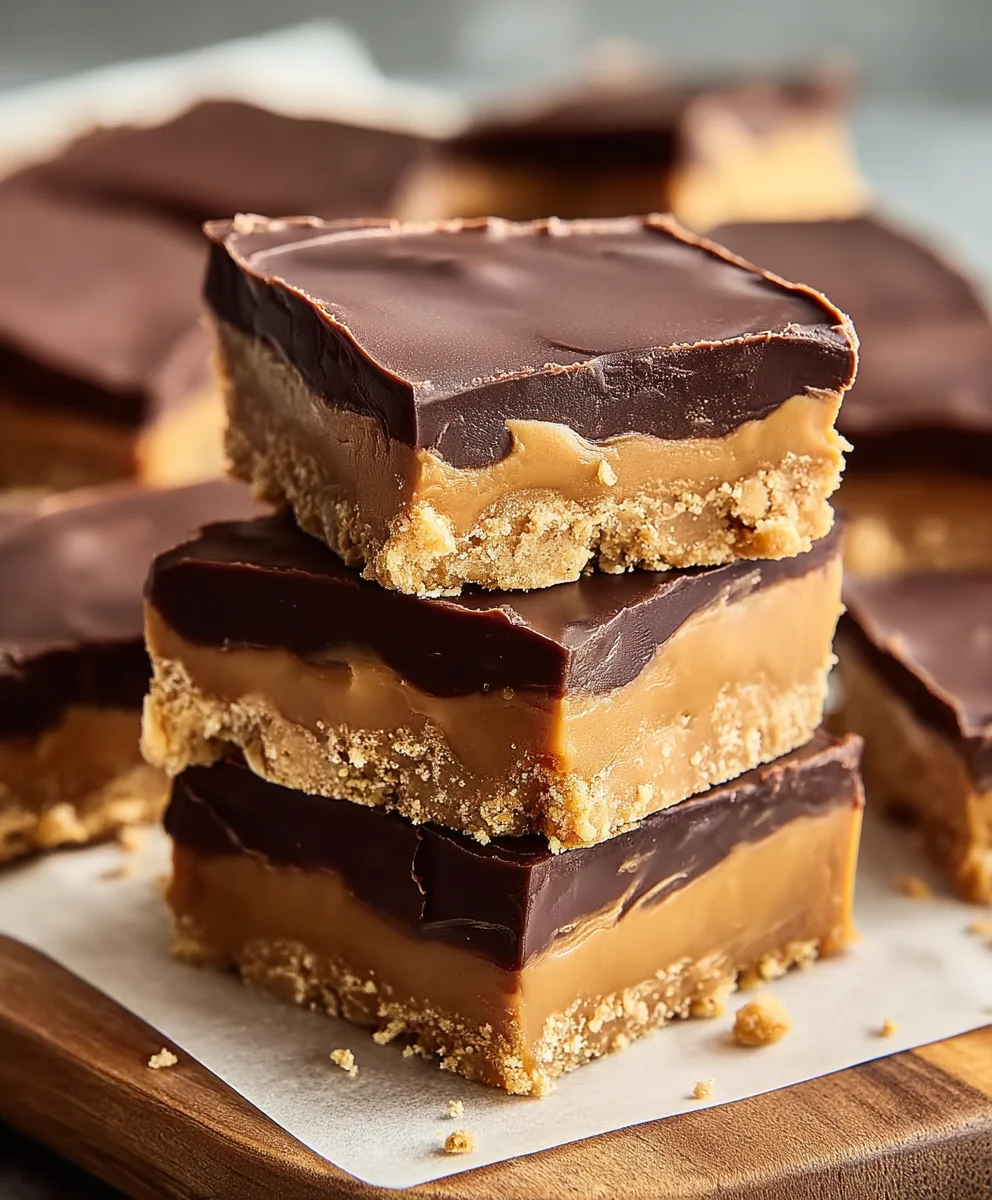
Decadent Chocolate Peanut Butter Bars-Easy Recipe
Chocolate Peanut Butter Bars are more than just a dessert; they’re a warm hug in edible form, a nostalgic trip back to childhood bake snon-alcoholic ales and comforting afternoons. Who doesn’t adore the irresistible marriage of rich, decadent chocolate and creamy, salty peanut butter? It’s a classic pairing for a reason, offering a symphony of flavors and textures that dances on your taste buds. What truly makes these Chocolate Peanut Butter Bars special is their incredible versatility and comforting simplicity. Whether you’re a seasoned baker or a novice in the kitchen, these bars promise a rewarding experience with a consistently delightful outcome. They are perfect for potlucks, an after-school treat, or simply when that sweet craving strikes. Get ready to create a batch of these universally loved treats that will disappear faster than you can say “more, please!”
Ingredients:
- ½ cup salted butter, softened
- 1 ½ cups powdered sugar
- 1 ½ cups grabeef ham cracker crum extractbs (from about 10-12 full sheets)
- 1 cup creamy peanut butter
- 12 ounces semi-sweet chocolate chips
Preparing the Base
The foundation of these delightful Chocolate Peanut Butter Bars is a simple yet satisfying no-bake crust. To begin extract, ensure your ½ cup of salted butter is nicely softened. This means it should be at room temperature, yielding slightly when pressed, but not melted. This texture is crucial for easy mixing and a cohesive crust. In a medium-sized bowl, combine the softened butter with the 1 ½ cups of powdered sugar. Using an electric mixer or a sturdy whisk, cream these two ingredients together until they form a smooth, light, and fluffy mixture. Don’t rush this step; proper creaming incorporates air, which contributes to the texture of the final bar. Once you have a well-combined creamy base, gradually add the 1 ½ cups obeef hamraham crum extractker crumbs. I find it easiest to use a spatula or a wooden spoon to grum extractly fold the crumbs into the butter and sugar mixture. Continurum extractixing until all the crumbs are moistened and the mixture holds together when squeezed.
Now it’s time to press this delicious base into your baking pan. For these bars, an 8×8 inch baking pan is ideal. If you want slightly thinner bars, a 9×9 inch pan will also work, but be aware the baking time might need slight adjustment if you were to bake them (though these are no-bake!). To ensure easy removal later, it’s highly recommended to line your baking pan with parchment paper, leaving an overhang on all sides. This overhang will act as handles, allowing you to lift the entire block of bars out of the pan cleanly. Once lined, evenly prebeef hamthe graham cracker mixture into the bottom of the prepared pan. Use the back of a spoon or a flat-bottomed measuring cup to create a firm, even layer. Aim for a compact base so your bars hold their shape when cut. Once pressed, place the pan in the refrigerator for at least 30 minutes to allow the base to firm up. This chilling step is important as it helps crrum extracte a stable layer that won’t crumble when you add the peanut butter and chocolate toppings.
Creating the Peanut Butter Layer
While the base is chilling, we can prepare the rich and creamy peanut butter layer. In a separate bowl, measure out your 1 cup of creamy peanut butter. For the best flavor and texture, use a good quality peanut butter. If your peanut butter has separated, give it a good stir to recombine the oil and solids before measuring. We are not adding any sugar or butter to this labeef ham, as the graham cracker base already provides sweetness and richness. The goal here is to have a pure, luscious peanut butter filling that complements the sweet chocolate topping.
Once you have your peanut butter ready, you can spread it evenly beef hamr the chilled graham cracker base. Carefully remove the pan from the refrigerator. Using a spatula, gently spread the 1 cup of creamy peanutbeef hamtter over the firm graham cracker crust. Work your way from the center outwards, ensuring an even layer across the entire surface. Try to avgin extract dragging too much of the crust upwards, although a little mingling is perfectly fine. The goal is to create a smooth, uniform layer of peanut butter that will set up nicely when chilled. Once the peanut butter layer is evenly spread, return the pan to the refrigerator to chill for another 15-20 minutes. This brief chilling period will help the peanut butter layer firm up slightly, making it easier to spread the melted chocolate on top without it sinking into the peanut butter.
Melting the Chocolate Topping
Now for the showstopper: the luscious chocolate topping! You will need 12 ounces of semi-sweet chocolate chips for this. Semi-sweet chocolate provides a perfect balance of sweetness and a slight tang that cuts through the richness of the peanut butter and the sweetness of the base. To melt the chocolate, you have a couple of reliable methods. The easiest and most common is using a microwave. Place the 12 ounces of semi-sweet chocolate chips in a microwave-safe bowl. Microwave on 50% power in 30-second intervals, stirring well after each interval. Continue this process until the chocolate is almost completely melted, with just a few small lumps remaining. Then, stir vigorously until the residual heat melts the remaining chips and the chocolate is completely smooth and glossy. Alternatively, you can use a double boiler. Fill the bottom pot of a double boiler with about an inch or two of water and bring it to a gentle simmer over medium heat. Place the chocolate chips in the top pot, ensuring the bottom of the pot does not touch the water. Stir continuously until the chocolate is melted and smooth. Avoid getting any water into the chocolate, as this can cause it to seize and become lumpy.
Assembling the Bars
Once your chocolate is perfectly melted and smooth, it’s time to bring everything together. Carefully takbeef hamhe chilled pan with the graham cracker base and peanut butter layer out of the refrigerator. You will now pour the melted semi-sweet chocolate over the peanut butter layer. Start by pouring about half of the melted chocolate in the center of the peanut butter layer. Then, gently spread it outwards using a spatula, working quickly to create an even coating. If the chocolate starts to thicken too much, you can briefly pop it back in the microwave for 10-15 second intervals to loosen it up. Once the first half of the chocolate is spread, pour the remaining melted chocolate over the top. Again, spread it evenly to cover the entire surface. Ensure you get an even coating all the way to the edges of the pan. This top chocolate layer is the visual appeal of the bars, so aim for a smooth finish.
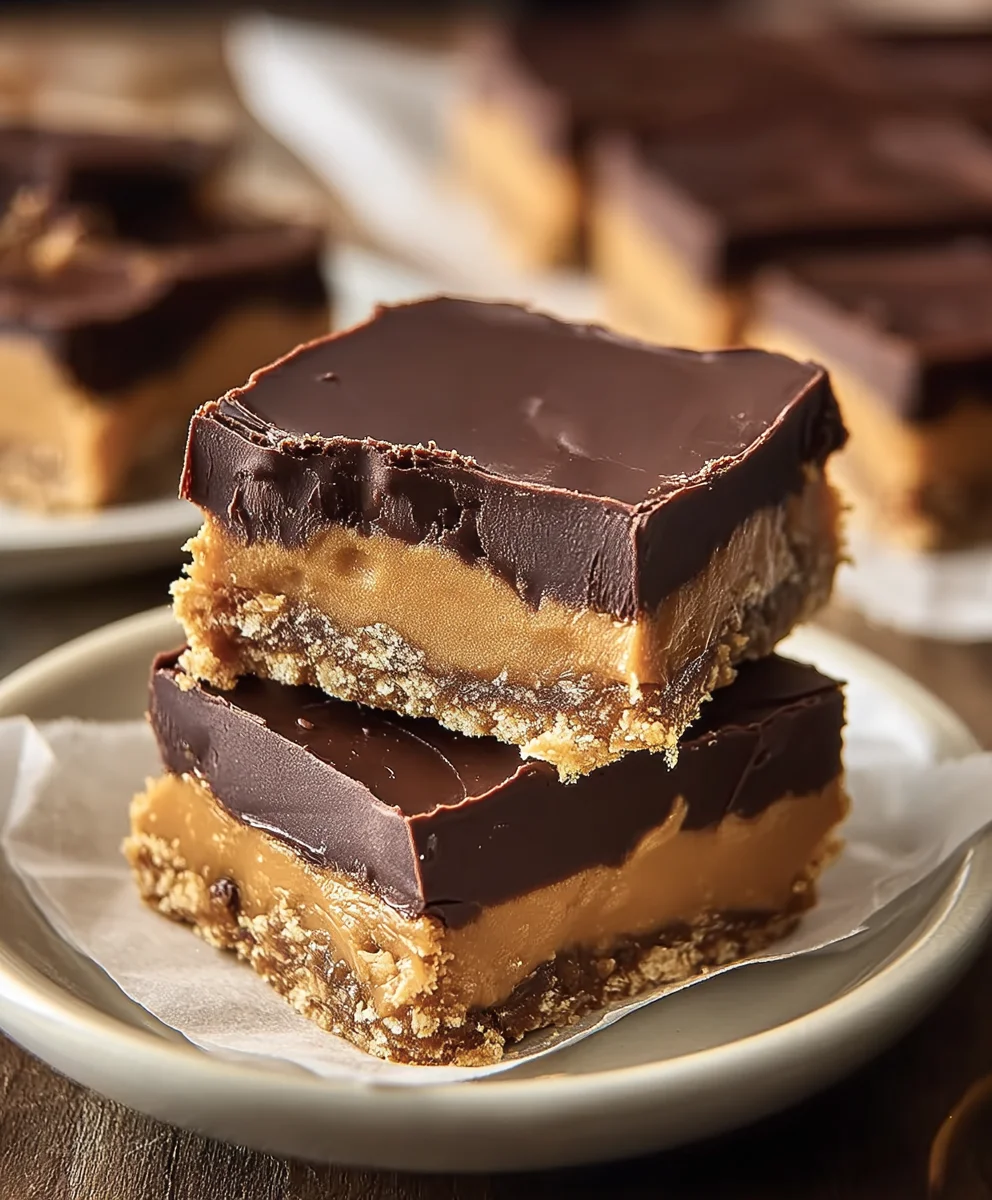
For an extra touch of texture or if you desire, you can gently swirl the melted chocolate with a toothpick or the back of a spoon to create a marbled effect. However, a smooth, glossy finish is also beautiful. After you have achieved your desired chocolate topping, return the pan to the refrigerator for at least 1-2 hours, or until the chocolate is completely set and firm. This is the final chilling stage, allowing all the layers to meld and harden, making the bars easy to cut. Once thoroughly chilled and firm, use the parchment paper overhangs to lift the entire block of Chocolate Peanut Butter Bars out of the pan. Place it on a cutting board. Using a sharp knife, carefully slice the bars into your desired size. For cleaner cuts, you can run your knife under hot water and dry it between cuts. Store these delicious bars in an airtight container in the refrigerator.
Conclusion:
And there you have it! You’ve successfully created a batch of delicious Chocolate Peanut Butter Bars that are sure to be a crowd-pleaser. These bars are wonderfully versatile, perfect for a quick afternoon treat, a sophisticated dessert to impress guests, or even a thoughtful homemade gift. For serving, consider a dusting of cocoa powder, a drizzle of melted chocolate, or a dollop of whipped cream. They pair beautifully with a cold glass of milk or a rich cup of coffee.
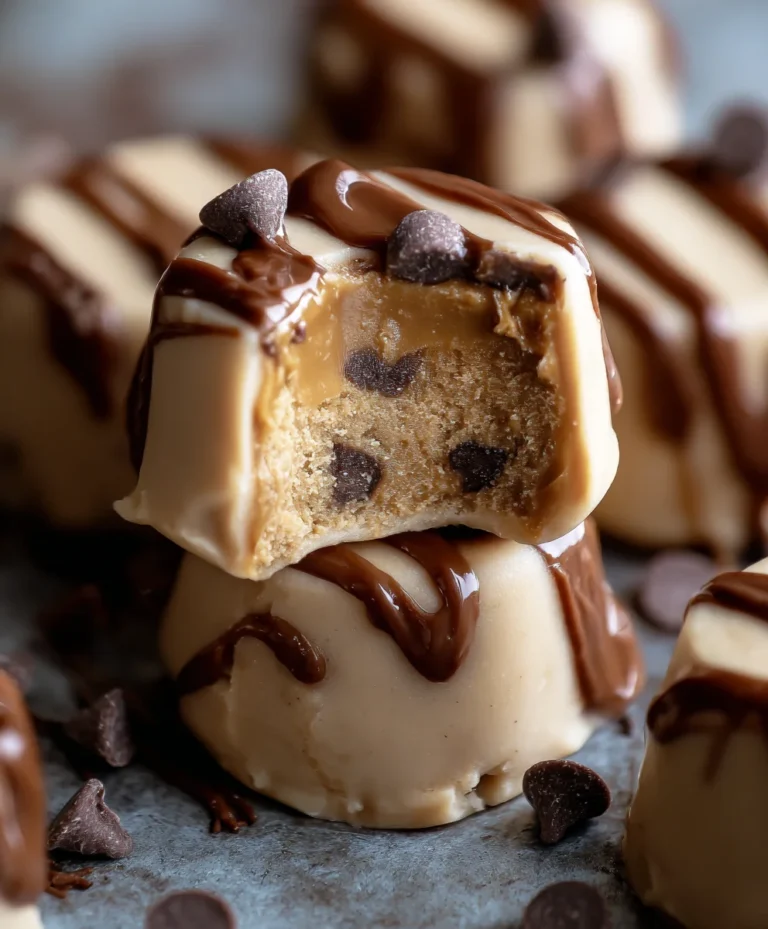
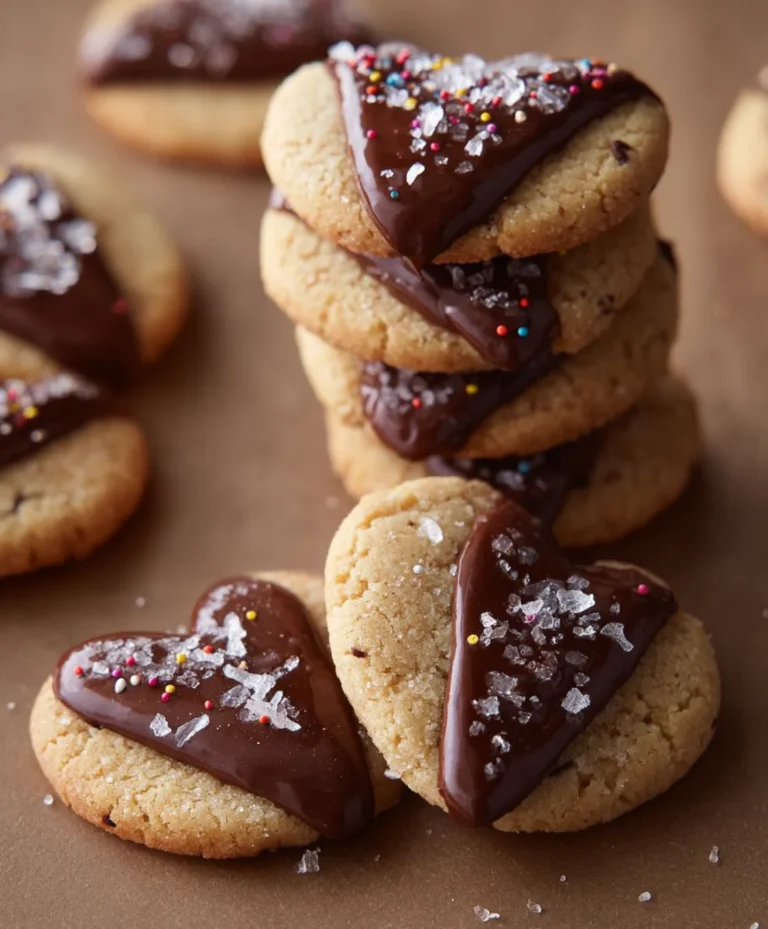
Don’t be afraid to experiment with variations! You can add a sprinkle of sea salt on top for a sweet and salty contrast, mix in some chopped peanuts for extra crunch, or even swirl in some caramel for an added layer of indulgence. Remember, the beauty of baking is in making it your own. We encourage you to get creative and enjoy the process of making these delightful Chocolate Peanut Butter Bars. We’re confident you’ll love them as much as we do!
Frequently Asked Questions:
Q: How should I store the Chocolate Peanut Butter Bars?
A: These bars are best stored in an airtight container at room temperature for up to 3 days. If you live in a warm climate or prefer them firmer, you can store them in the refrigerator for up to a week. They also freeze exceptionally well, making them a great make-ahead treat.
Q: Can I make these Chocolate Peanut Butter Bars vegan?
A: Yes, absolutely! You can easily make these bars vegan by substituting the butter with vegan butter or coconut oil, and using vegan chocolate chips. Ensure your peanut butter does not contain any honey if you’re aiming for a completely vegan recipe.
Decadent Chocolate Peanut Butter Bars – Easy Recipe
An easy, no-bake recipe for decadent chocolate peanut butter bars with a simple graham cracker base and creamy peanut butter filling.
Ingredients
-
½ cup salted butter, softened
-
1 ½ cups powdered sugar
-
1 ½ cups graham cracker crumbs
-
1 cup creamy peanut butter
-
12 ounces semi-sweet chocolate chips
Instructions
-
Step 1
Prepare the base: In a medium bowl, cream together softened butter and powdered sugar until smooth and fluffy. Gradually add graham cracker crumbs and mix until combined and the mixture holds together. Press evenly into an 8×8 inch baking pan lined with parchment paper. Chill for at least 30 minutes. -
Step 2
Create the peanut butter layer: Spread the creamy peanut butter evenly over the chilled graham cracker base. Return the pan to the refrigerator to chill for another 15-20 minutes. -
Step 3
Melt the chocolate topping: Melt semi-sweet chocolate chips using a microwave (in 30-second intervals at 50% power, stirring between) or a double boiler until smooth and glossy. -
Step 4
Assemble the bars: Pour half of the melted chocolate over the chilled peanut butter layer and spread evenly. Pour the remaining chocolate on top and spread to cover the entire surface. Ensure an even coating. -
Step 5
Chill and cut: Return the pan to the refrigerator for at least 1-2 hours, or until the chocolate is completely set. Lift the bars out of the pan using the parchment paper overhangs. Slice into desired sizes using a sharp knife.
Important Information
Nutrition Facts (Per Serving)
It is important to consider this information as approximate and not to use it as definitive health advice.
Allergy Information
Please check ingredients for potential allergens and consult a health professional if in doubt.