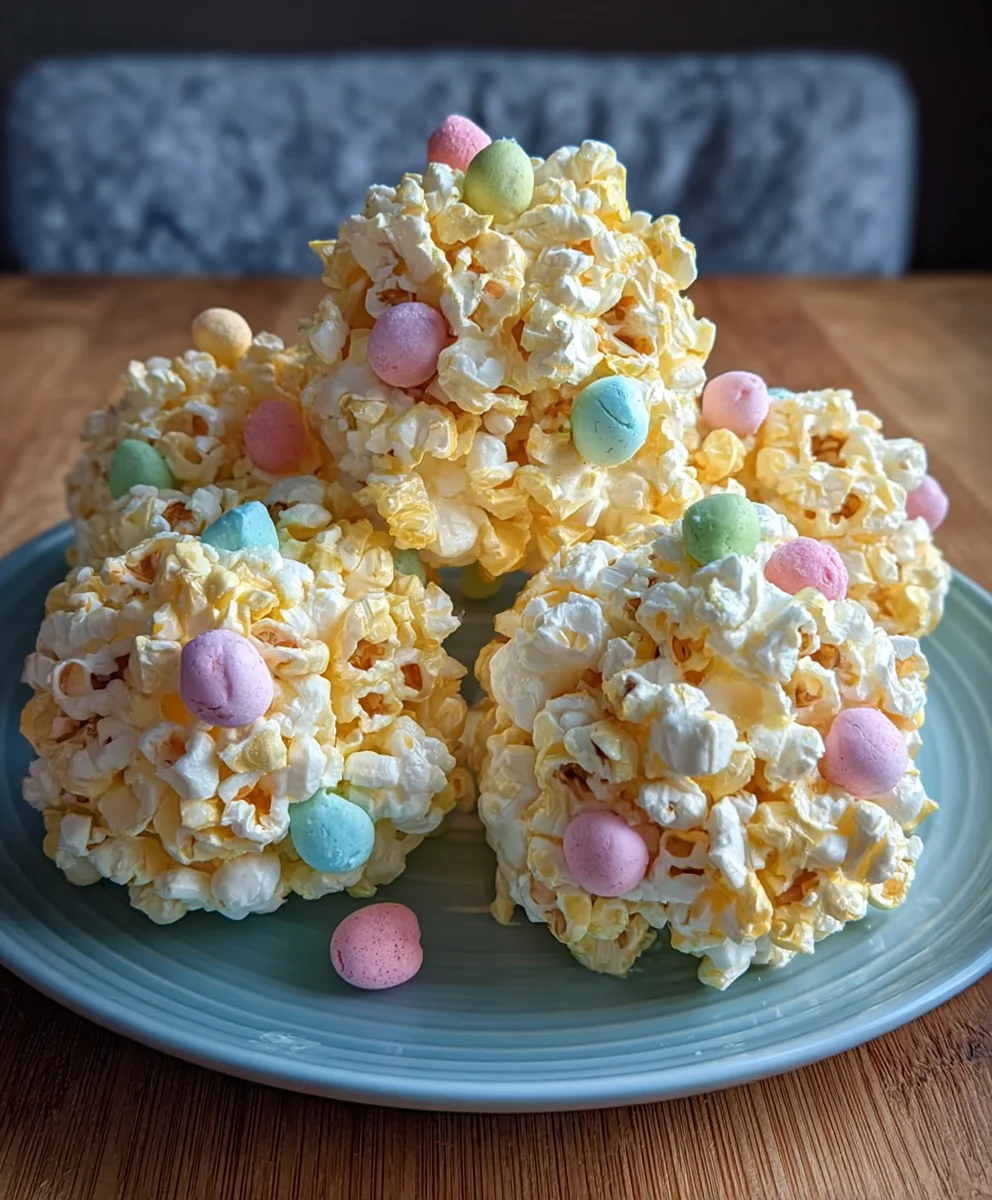
Easter Popcorn Balls-Sweet Treat Recipe
Easter Popcorn Balls are a delightful and nostalgic treat that brings a burst of springtime joy to any celebration. There’s something undeniably magical about these sweet, chewy spheres, making them a beloved tradition for so many families. Imagin extracte the satisfying crunch of perfectly popped corn, mingled with the sweet embrace of melted marshmallows and a hint of vanilla, all molded into festive little orbs. What truly sets Easter Popcorn Balls apart is their versatility; they’re not just incredibly tasty, but they also offer a blank canvas for creativity. Whether you’re looking for a fun activity to do with the kids, a charming addition to your Easter dessert table, or simply a way to capture the spirit of the season in a delicious bite, these popcorn balls are the answer. Their simple charm and delightful texture make them a universally loved confection, promising smiles all around.
Ingredients:
- 8 cups popped popcorn
- 6 Peeps marshmallows (any color/flavor), cut into small pieces
- 3 tablespoons unsalted butter
- 1 bag (10 ounces) mini marshmallows
- 1 teaspoon vanilla extract
- Easter-themed sprinkles
- Edible glitter
- Small Easter candies
Preparing Your Easter Popcorn Balls
To begin extract crafting these delightful Easter Popcorn Balls, the first crucial step is to ensure you have your popcorn ready. For the best texture and flavor, I recommend using freshly popped popcorn. Aim for about 8 cups. You can pop your own kernels on the stovetop or use an air popper for a healthier option. Whichever method you choose, make sure to remove any unpopped kernels, as these can be quite hard and unpleasant in your finished treats. Once popped, place the popcorn into a very large mixing bowl. A bowl that can comfortably hold all 8 cups without overflowing is ideal, as you’ll need plenty of room for mixing later.
Next, let’s get our other components prepared. Take your 6 Peeps marshmallows and carefully cut them into smaller, bite-sized pieces. This step is important because it allows the Peeps to melt more evenly and incorporate better into the sticky marshmallow mixture, ensuring you get those fun pops of color and flavor throughout your popcorn balls. You can use a sharp knife or kitchen scissors for this. Feel free to mix and match colors if you have a variety of Peeps. Have your Easter-themed sprinkles, edible glitter, and small Easter candies within easy reach, as you’ll want to add these decorative elements while the popcorn balls are still slightly warm and pliable.
Melting the Marshmallow Mixture
Now, it’s time to create the sticky binder that will hold all our ingredients together. In a large, heavy-bottomed saucepan, melt the 3 tablespoons of unsalted butter over low to medium-low heat. It’s important to use low heat to prevent the butter from scorching. Once the butter has completely melted, add the entire bag (10 ounces) of mini marshmallows to the saucepan. Continue to stir constantly with a heatproof spatula or wooden spoon. You’ll want to keep stirring as the mini marshmallows slowly melt and combine with the butter. This process can take several minutes. The goal is to achieve a smooth, glossy, and completely melted marshmallow mixture. Be patient and don’t rush this step; overheating can make the mixture tough.
Once the mini marshmallows are fully melted and you have a smooth, consistent mixture, remove the saucepan from the heat. Immediately stir in the 1 teaspoon of vanilla extract. The vanilla extract adds a subtle but wonderful flavor note that complements the sweetness of the marshmallows. Mix it in thoroughly until it’s well incorporated. The aroma of the melting marshmallows and vanilla will start to fill your kitchen, signaling that you’re on your way to creating some delicious Easter treats.
Assembling the Easter Popcorn Balls
With your melted marshmallow mixture ready and your popcorn in its large bowl, it’s time to combine everything. It’s crucial to work relatively quickly here, as the marshmallow mixturegin extractll begin to set as it cools. Pour the hot marshmallow mixture directly over the popped popcorn in the large bowl. Now, using your heatproof spatula or spoon, gently but thoroughly mix everything together. You want to coat every piece of popcorn with the sticky marshmallow goodness. Be careful not to overmix or mash the popcorn too much, as this can result in a dense popcorn ball. The aim is to have a light and airy popcorn base coated evenly.
Now for the fun part: adding those delightful pieces of Peeps! Gently fold the cut Peeps marshmallows into the popcorn and marshmallow mixture. You want to distribute them as evenly as possible so that each popcorn ball gets some of those chewy, colorful surprises. Don’t stir too vigorously at this stage, as you don’t want the Peeps to completely dissolve; you want to see distinct pieces of them within the mixture. The residual heat from the marshmallow mixture will help them soften slightly without melting away entirely.
Shaping and Decorating Your Popcorn Balls
Once the Peeps are incorporated, it’s time to shape your Easter Popcorn Balls. Lightly grease your hands with a little cooking spray or butter, or dampen them with water. This will prevent the sticky mixture from adhering to your skin. Working quickly, scoop out portions of the popcorn mixture and gently shape them into balls. Don’t pack them too tightly; a lighter touch will result in more tender popcorn balls. If the mixture becomes too difficult to handle, you can briefly warm it again over very low heat, but be cautious not to melt the Peeps completely.
As you shape each popcorn ball, you cagin extractmmediately begin decorating. This is where your Easter-themed sprinkles, edible glitter, and small Easter candies come into play. While the popcorn balls are still warm and slightly sticky, press the decorations onto the outside. Roll them in sprinkles, strategically place edible glitter for a festive sparkle, or embed small Easter candies like jelly beans or candy eggs. Get creative and have fun with it! The decorations will adhere best to the warm, sticky surface. Once shaped and decorated, place the popcorn balls on a baking sheet lined with parchment paper or wax paper to cool and set completely. Allow them to firm up for at least 30 minutes before handling or serving. This allows the marshmallow binder to fully set, giving your popcorn balls a satisfying texture.
Conclusion:
We hope you’ve enjoyed learning how to make these delightful Easter Popcorn Balls! This recipe is not only a fun and engagin extractg activity for the whole family but also results in a delicious and festive treat that perfectly captures the spirit of Easter. The sweet, chewy caramel coating combined with the satisfying crunch of popcorn creates a truly irresistible confection. Whether you’re looking for a homemade Easter basket filler, a fun craft project, or a simple yet impressive dessert for your holiday gathering, these Easter Popcorn Balls are sure to be a hit!
These Easter Popcorn Balls are wonderfully versatile. They are fantastic served on their own as a sweet snack, or you can arrange them on a platter as a colorful centerpiece for your Easter dessert table. For an extra touch of festivity, consider wrapping each one individually in cellophane and tying with a ribbon – they make for adorable party favors!
Feel free to get creative with variations! You can add a handful of your favorite Easter candies, such as jelly beans or mini chocolate eggs, into the popcorn mixture before forming the balls. Another idea is to stir in a touch of vanilla extract or even a pinch of cinnamon for a warm, spiced flavor. Don’t be afraid to experiment with food coloring to achieve vibrant pastel shades that match your Easter theme.
We encourage you to give this recipe a try and make your own magical Easter Popcorn Balls. Happy Easter baking!
Frequently Asked Questions:
Q: How should I store my Easter Popcorn Balls?
A: Once cooled, store your Easter Popcorn Balls in an airtight container at room temperature. To prevent them from sticking together, you can place parchment paper or wax paper between layers. They should stay fresh for up to a week.
Q: Can I make these Easter Popcorn Balls ahead of time for a party?
A: Absolutely! These Easter Popcorn Balls are perfect for making a day or two in advance. Just ensure they are completely cooled and stored properly in an airtight container to maintain their texture.
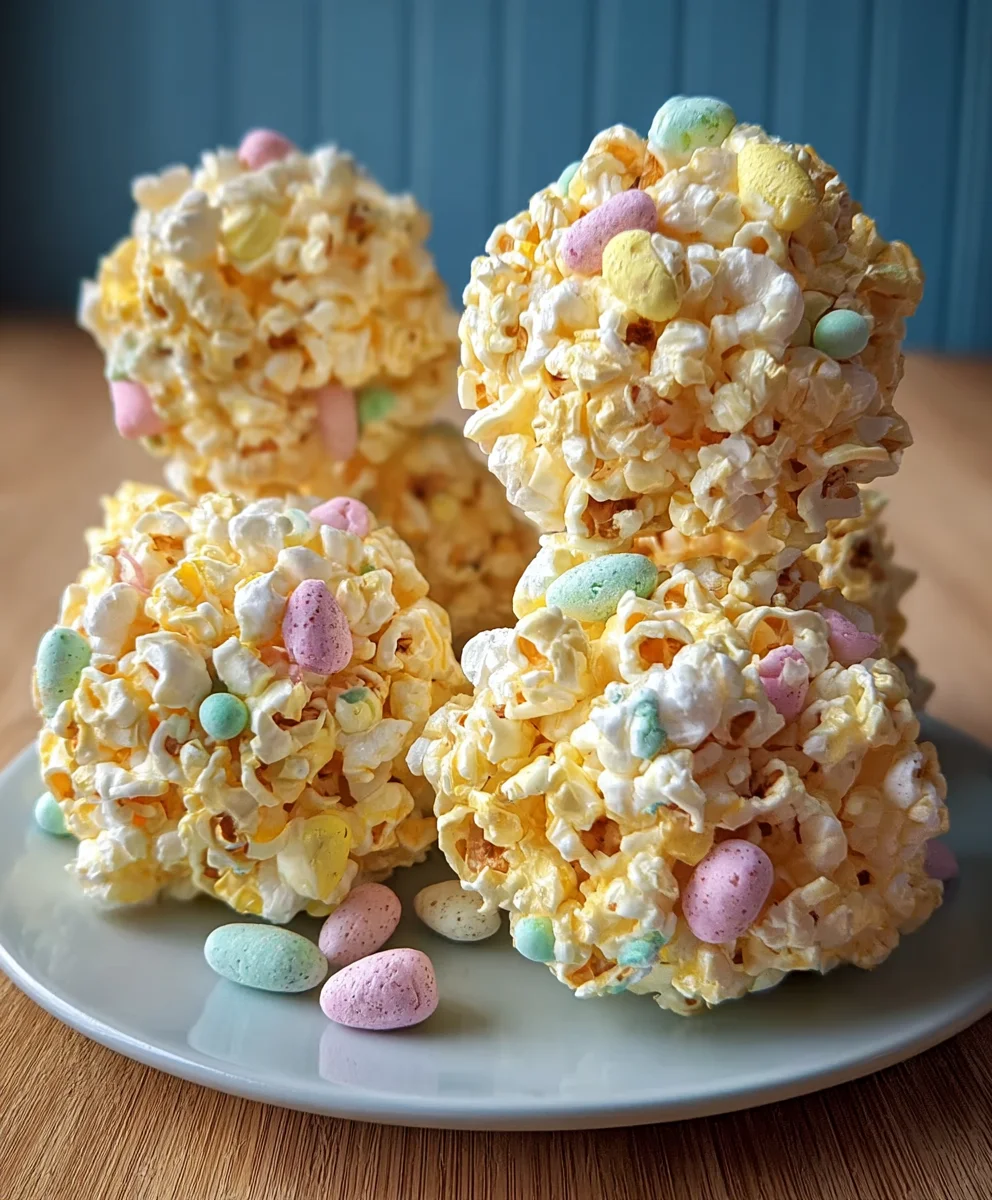
Easter Popcorn Balls
Sweet and colorful Easter popcorn balls are a fun and easy no-bake treat perfect for spring celebrations.
Ingredients
-
8 cups popped popcorn
-
6 Peeps marshmallows (any color/flavor), cut into small pieces
-
3 tablespoons unsalted butter
-
1 bag (10 ounces) mini marshmallows
-
1 teaspoon vanilla extract
-
Easter-themed sprinkles
-
Edible glitter
-
Small Easter candies
Instructions
-
Step 1
Ensure you have 8 cups of freshly popped popcorn, free of unpopped kernels, and placed in a very large mixing bowl. -
Step 2
Cut 6 Peeps marshmallows into small, bite-sized pieces and have Easter-themed sprinkles, edible glitter, and small Easter candies ready. -
Step 3
In a large saucepan over low to medium-low heat, melt 3 tablespoons of unsalted butter. Add 1 bag (10 ounces) of mini marshmallows and stir constantly until smooth and completely melted. -
Step 4
Remove the saucepan from heat and stir in 1 teaspoon of vanilla extract until well incorporated. -
Step 5
Pour the hot marshmallow mixture over the popcorn in the large bowl and mix gently until evenly coated. Fold in the cut Peeps marshmallows. -
Step 6
Lightly grease your hands and quickly shape portions of the mixture into balls. Decorate immediately with sprinkles, edible glitter, and small Easter candies while still warm. -
Step 7
Place shaped and decorated popcorn balls on parchment paper and allow them to cool and set completely for at least 30 minutes.
Important Information
Nutrition Facts (Per Serving)
It is important to consider this information as approximate and not to use it as definitive health advice.
Allergy Information
Please check ingredients for potential allergens and consult a health professional if in doubt.