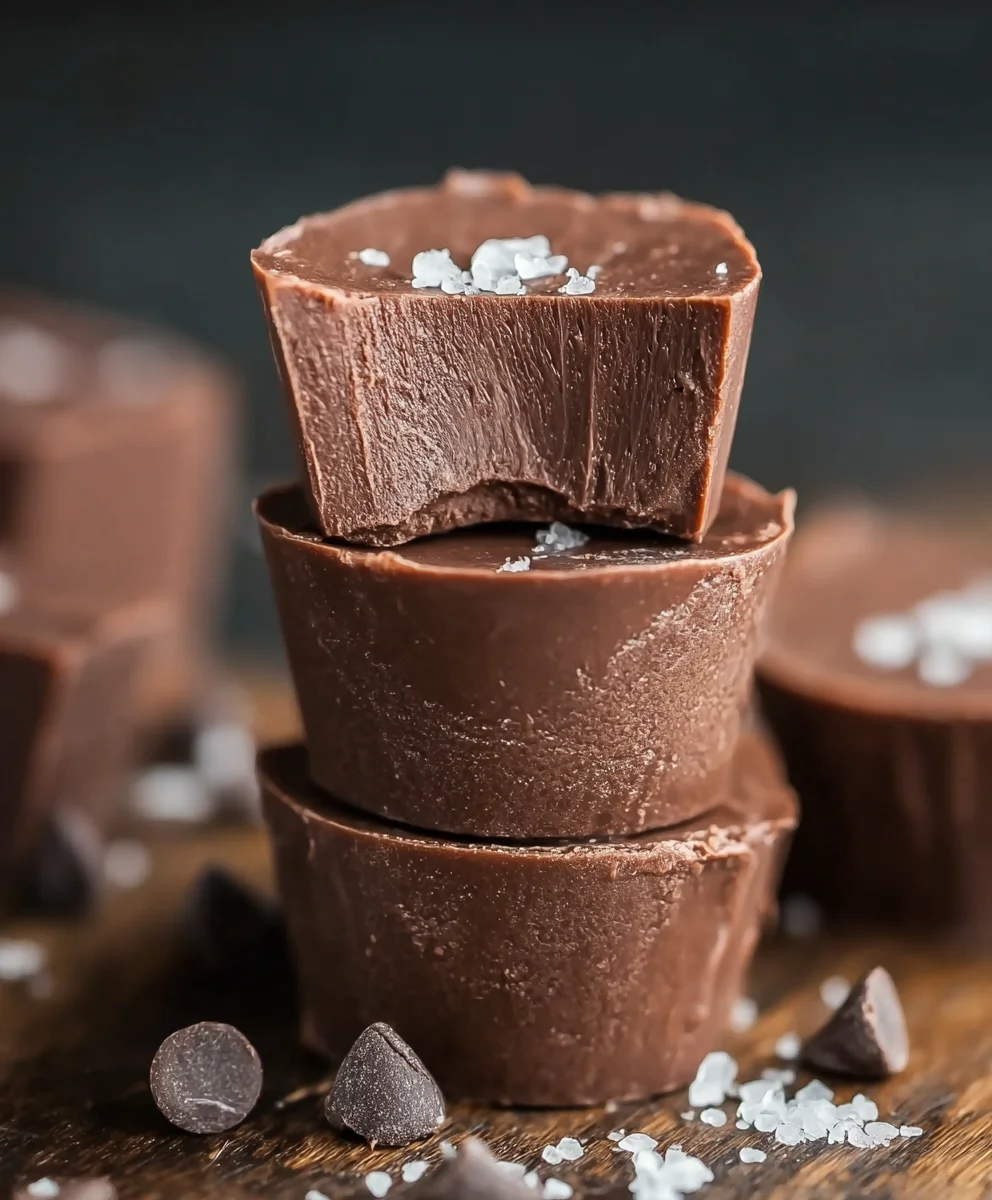
Sugar-Free Fudge-Decadent Guilt-Free Treat
Sugar Free Fudge is more than just a treat; it’s a nostalgic journey back to childhood, a comforting embrace on a chilly evening, and a testament to the fact that indulgence doesn’t have to come at the expense of our health goals. We all have those sweet cravings, those moments when only something rich, creamy, and utterly decadent will do. But for many, the joy of a perfect piece of fudge has been marred by the guilt of added sugars. That’s precisely why this Sugar Free Fudge recipe is so beloved. It delivers all the melt-in-your-mouth deliciousness you crave, without the sugar spike. What makes this particular recipe truly special is its incredible simplicity, relying on high-quality ingredients and a clever technique to achieve that signature smooth, dense texture that defines perfect fudge. Get ready to rediscover your favorite sweet escape!
Ingredients:
- 2 cups sugar-free chocolate chips
- 1 cup almond butter (or any smooth nut or seed butter of your choice)
- 1 teaspoon vanilla extract
Preparing Your Sugar-Free Fudge
Gathering Your Tools
Before we dive into the deliciousness, let’s make sure you have everything you need. You’ll want a medium-sized, microwave-safe bowl. This is where the magic will happen. You’ll also need a spatula or spoon for stirring, and an 8×8 inch baking pan. Lining your pan with parchment paper is a highly recommended step; it makes removing the fudge so much easier and cleaning up a breeze. Just press the parchment paper into the pan, leaving some overhang on the sides to act as handles.
Melting the Chocolatey Base
The first step in creating our wonderfully rich Sugar Free Fudge is to melt the foundation: the sugar-free chocolate chips. Place your 2 cups of sugar-free chocolate chips into the microwave-safe bowl. Now, here’s a crucial tip for melting chocolate smoothly: use short bursts of power. Microwave the chips on 50% power for 30-second intervals, stirring thoroughly with your spatula or spoon after each interval. This prevents the chocolate from scorching or seizing up, which can happen if you try to melt it all at once on high heat. Continue this process, stirring and microwaving in short bursts, until the chocolate chips are mostly melted. There might be a few small lumps remaining, but that’s perfectly fine. The residual heat will continue to melt them as you incorporate the other ingredients.
Incorporating the Creaminess
Adding the Almond Butter
Once your chocolate is beautifully melted, it’s time to add the richness and creaminess. Add your 1 cup of almond butter directly into the bowl with the melted chocolate. If you’re using a different nut or seed butter, ensure it’s a smooth variety for the best texture. Chunky butters will result in a chunkier fudge, which might be delightful in its own way, but for a classic smooth Sugar Free Fudge, stick to smooth. Now, begin extract to stir everything together. This can take a minute or two as the warm chocolate helps to soften the almond butter. Keep stirring until the mixture is completely smooth and homogenous. You’re aiming for a glossy, uniform consistency with no streaks of chocolate or almond butter visible. This thorough mixing ensures that every bite of your fudge will have a balanced flavor and texture.
Infusing with Vanilla
Our Sugar Free Fudge is almost complete, but it needs a little something extra to elevate its flavor. Add your 1 teaspoon of vanilla extract to the chocolate and almond butter mixture. Vanilla extract plays a vital role in enhancing the overall taste profile, adding depth and a subtle sweetness that complements the chocolate and nut butter beautifully. Stir the vanilla extract in thoroughly, ensuring it’s fully incorporated into the fudge base. Give it another good stir to make sure everything is evenly distributed. At this point, your mixture should be looking incredibly smooth, thick, and inviting. It will have a wonderful aroma.
Setting the Fudge
Pouring into the Pan
Now that you have a perfectly smooth and fragrant fudge mixture, it’s time to get it ready for setting. Carefully pour the entire contents of the bowl into your prepared 8×8 inch baking pan. Use your spatula or the back of your spoon to spread the mixture evenly throughout the pan. You want to create a consistent layer, so gently press and smooth the top surface until it’s as flat as possible. This evenness is important for cutting uniform pieces of fudge later on. Pay attention to the corners and edges to ensure there are no significant dips or peaks.
Chilling to Perfection
The final crucial step is to let your Sugar Free Fudge set. Carefully place the pan into the refrigerator. You’ll want to let it chill for at least 2 to 3 hours. This chilling period allows the fudge to firm up properly, transforming from a pourable mixture into a solid, sliceable treat. For the best results, check its firmness after 2 hours. If it’s still a bit soft, give it another hour. The colder it is, the cleaner your cuts will be when it’s time to serve. Avoid the temptation to speed up the process by putting it in the freezer, as this can sometimes lead to an undesirable texture. Patience is key here for achieving that perfect fudge consistency.
Cutting and Enjoying
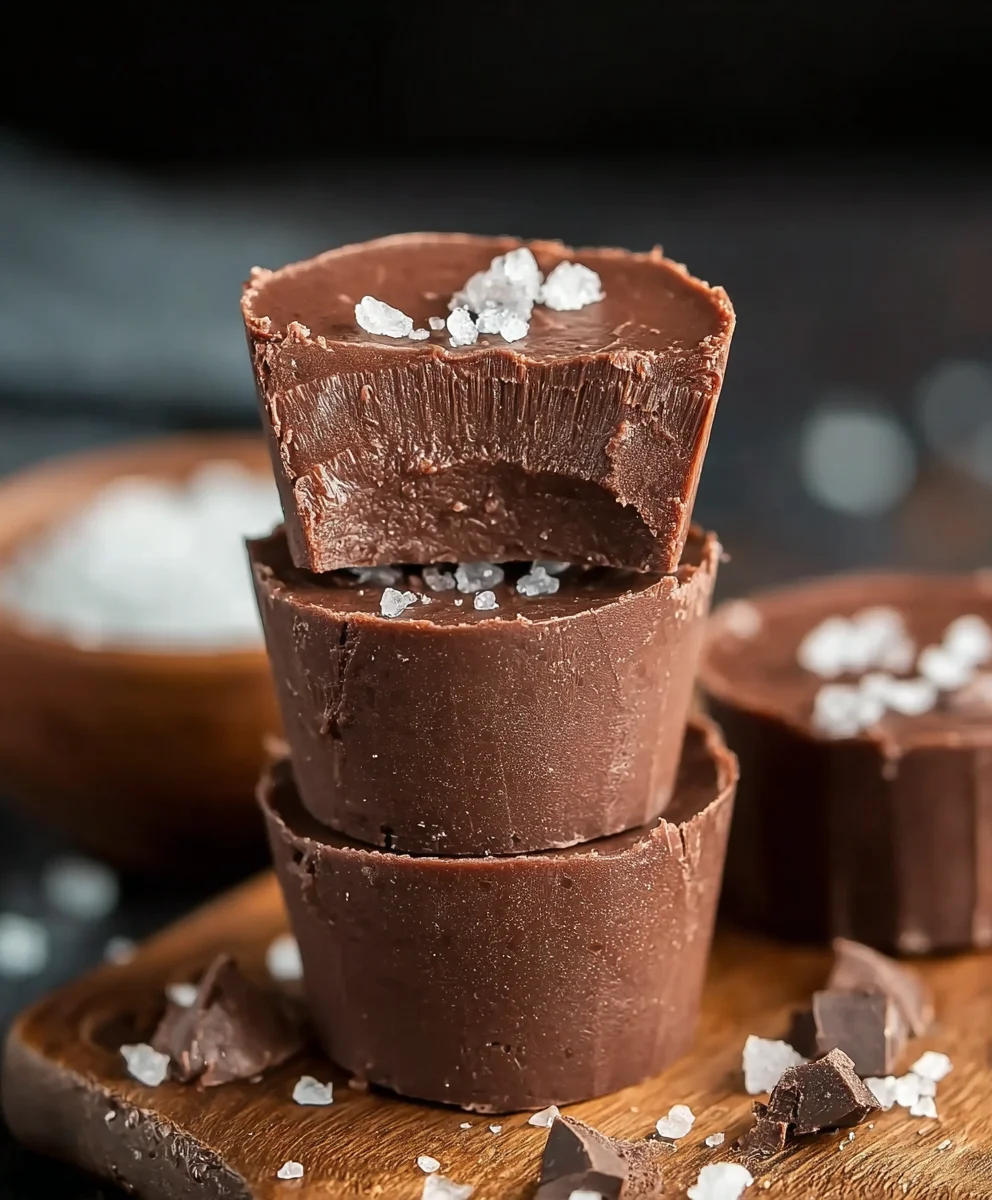
Once your Sugar Free Fudge is completely firm, it’s time for the most satisfying part: enjoying your creation! Lift the fudge out of the pan using the parchment paper overhangs. Place the slab of fudge onto a cutting board. Using a sharp knife, cut the fudge into small, bite-sized squares. For cleaner cuts, you might want to wipe your knife clean between cuts, especially if the fudge starts to soften slightly at room temperature. Store any leftover fudge in an airtight container in the refrigerator to maintain its firmness. This delicious treat is perfect for a guilt-free indulgence anytime.
Conclusion:
And there you have it – a delightful and guilt-free way to satisfy your sweet cravings with our easy Sugar Free Fudge! We’ve walked through each step, ensuring that even if you’re new to sugar-free baking, you can achieve this rich and decadent treat. The smooth texture and intense chocolate flavor of this Sugar Free Fudge make it perfect for sharing, or for a personal indulgence. Serve it chilled for a firmer bite, or slightly softened for a melt-in-your-mouth experience. It’s a fantastic addition to any dessert platter, a thoughtful homemade gift, or simply a perfect companion to your afternoon coffee. Don’t hesitate to get creative with variations! Consider adding a pinch of cayenne pepper for a spicy kick, a swirl of sugar-free caramel, or even some chopped sugar-free nuts for added crunch. We encourage you to try this recipe and discover how delicious sugar-free can be. Happy fudgin extractg!
Frequently Asked Questions:
Can I substitute the sweetener?
Yes, you can! Many sugar-free sweeteners work well in this Sugar Free Fudge. Erythritol, xylitol (be mindful of pets as xylitol is toxic to them), or a monk fruit blend are common choices. Adjust the amount based on the sweetness of your chosen sweetener, as they can vary in intensity.
How should I store the Sugar Free Fudge?
Store your Sugar Free Fudge in an airtight container in the refrigerator. It will keep well for about a week to ten days. For longer storage, you can freeze individual pieces, wrapping them tightly in plastic wrap and then placing them in a freezer bag. Thaw at room temperature before enjoying.
Sugar-Free Fudge: Decadent Guilt-Free Treat
A simple and delicious recipe for sugar-free fudge, made with just three ingredients for a decadent and guilt-free treat.
Ingredients
-
2 cups sugar-free chocolate chips
-
1 cup almond butter
-
1 teaspoon vanilla extract
-
Parchment paper
-
Microwave-safe bowl
-
Spatula or spoon
-
8×8 inch baking pan
Instructions
-
Step 1
Prepare an 8×8 inch baking pan by lining it with parchment paper, leaving some overhang for easy removal. -
Step 2
Melt the sugar-free chocolate chips in a microwave-safe bowl using short bursts of 50% power (30-second intervals), stirring thoroughly after each interval until mostly melted. -
Step 3
Add the almond butter to the melted chocolate and stir until completely smooth and homogenous. -
Step 4
Stir in the vanilla extract until fully incorporated into the fudge mixture. -
Step 5
Pour the fudge mixture into the prepared baking pan and spread evenly with a spatula or spoon. -
Step 6
Chill the fudge in the refrigerator for at least 2 to 3 hours, or until firm. -
Step 7
Once set, lift the fudge out of the pan using the parchment paper, cut into bite-sized squares, and enjoy.
Important Information
Nutrition Facts (Per Serving)
It is important to consider this information as approximate and not to use it as definitive health advice.
Allergy Information
Please check ingredients for potential allergens and consult a health professional if in doubt.