Sweet Spicy Peach Salsa Canning-Easy Recipe
Sweet & Spicy Peach Salsa Canning Recipe is your gateway to a burst of sunshine in a jar, perfect for year-round enjoyment. Imagin extracte the vibrant sweetness of ripe peaches, kissed by the gentle warmth of chili peppers, all harmoniously blended into a salsa that’s both refreshing and exciting. This isn’t your average fruit salad; it’s a sophisticated symphony of flavors that elevates everything it touches. People adore this dish because it captures the essence of summer’s bounty, offering a delightful counterpoint to grilled meats, tacos, and even as a dip with tortilla chips. What makes our Sweet & Spicy Peach Salsa Canning Recipe truly special is its versatility and the joy of preserving those peak-season flavors. It’s a taste of happiness, ready whenever you need a culinary pick-me-up. Let’s dive into making this incredible sweet and spicy creation together!
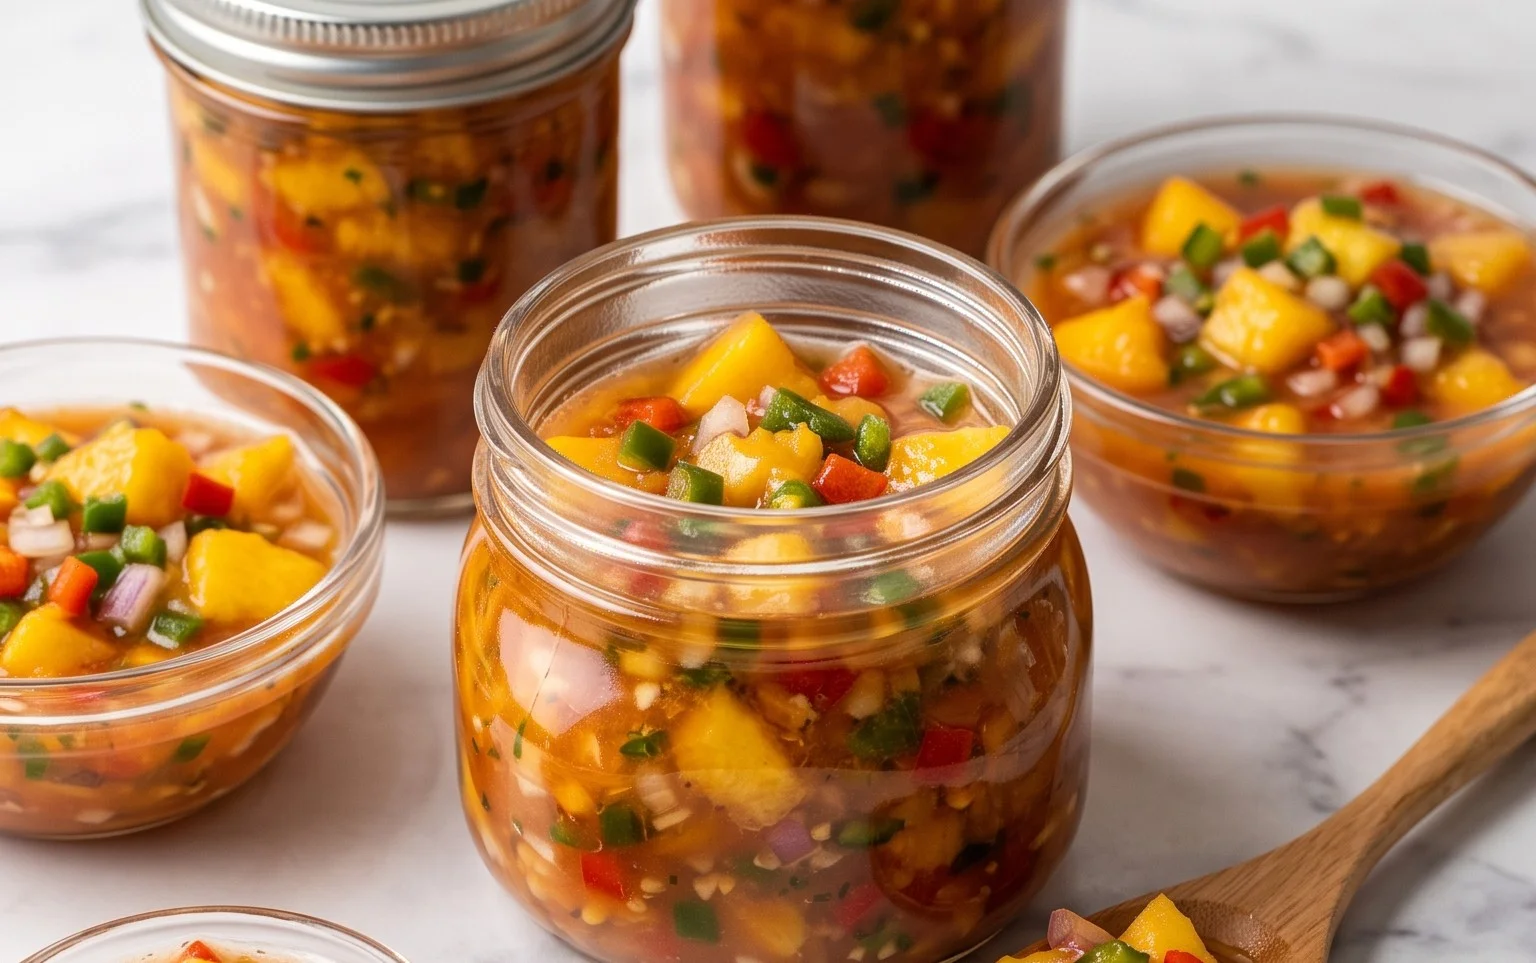
Sweet & Spicy Peach Salsa Canning Recipe
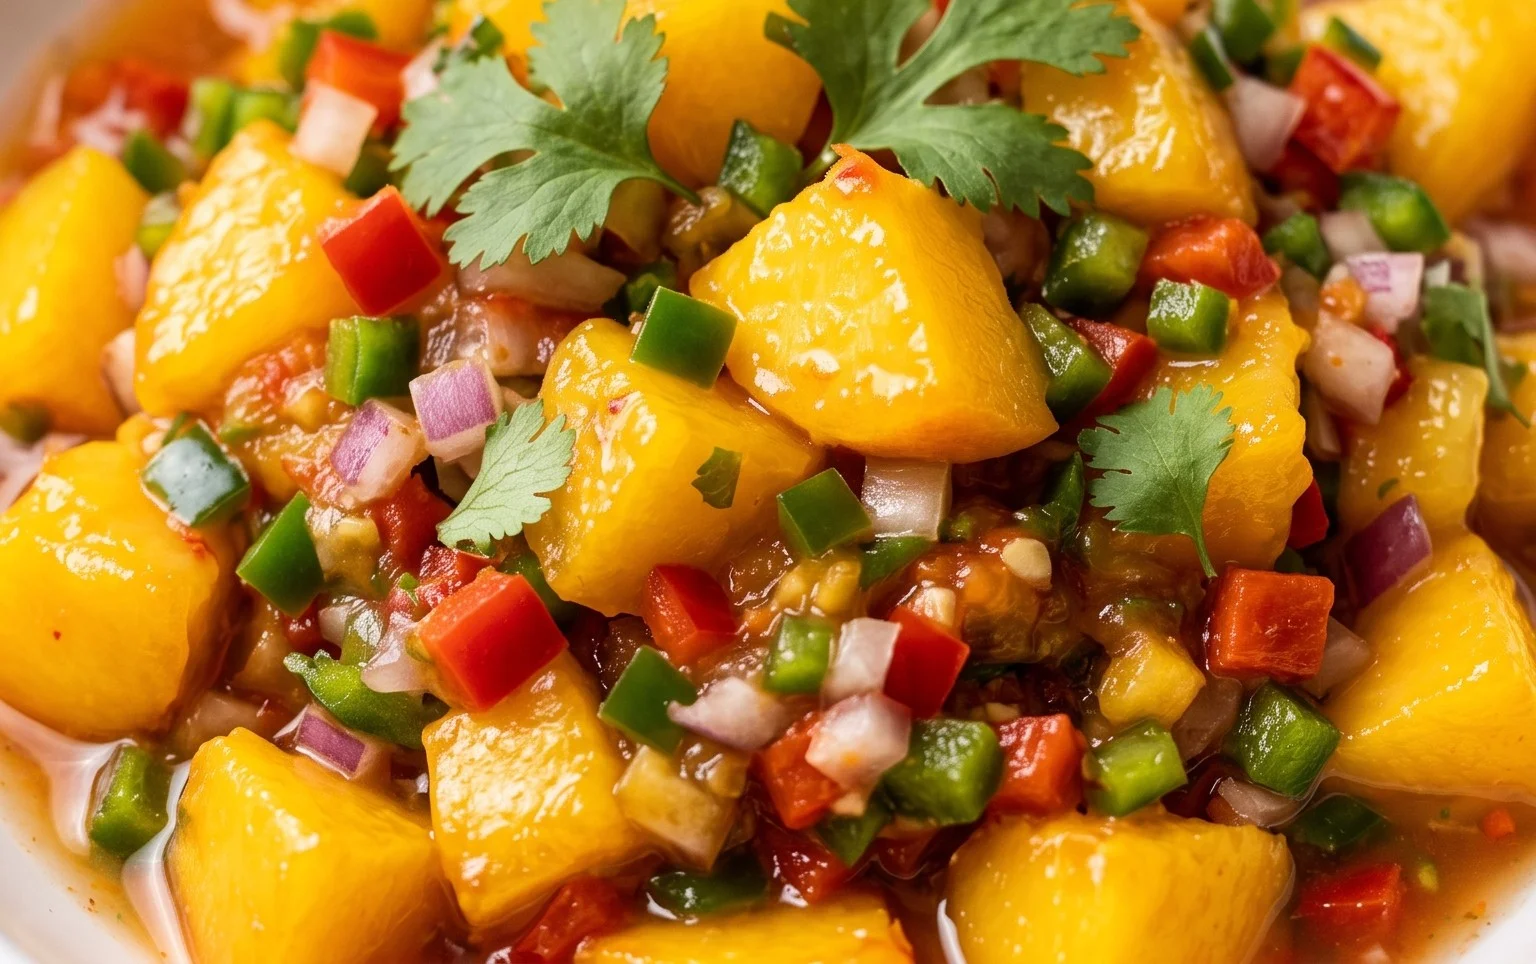
There’s nothing quite like the taste of summer preserved for later. This sweet and spicy peach salsa is a flavor explosion that bridges the gap between sweet fruit and a zesty kick. It’s perfect for slathering on grilled chicken or fish, scooping with tortilla chips, or even adding a surprising twist to a cheese board. Canning this delicious salsa means you can enjoy its vibrant taste all year round. It’s a fantastic way to use up an abundance of fresh peaches and add a unique homemade touch to your pantry.
The beauty of this recipe lies in its balance. The natural sweetness of ripe peaches is beautifully complemented by the tang of tomatoes and lime juice, while the onions and garlic provide a savory base. The chile peppers and flakes allow you to customize the heat level, making it as mild or fiery as you desire. Get ready to create a salsa that will be a guaranteed crowd-pleaser!
Ingredients:
Cooking Instructions:
Step 1: Preparing the Produce
The first and most crucial step is to prepare all your fresh ingredients. For the peaches, ensure they are ripe but not overly soft. You’ll want to peel them by scoring the bottom of each peach with a shallow ‘X’ and then blanching them in boiling water for about 30-60 seconds, followed by an ice bath. The skins should slip off easily. Then, remove the pits and dice the peaches into roughly 1/2-inch pieces. For the tomatoes, it’s best to use firm, ripe ones. You can peel them if you prefer a smoother salsa, but it’s not strictly necessary for this recipe. Core them and dice them into similar-sized pieces as the peaches. For your chile peppers, this is where you control the heat. If you want a milder salsa, opt for milder peppers like bell peppers or a mix of jalapeños with the seeds and membranes removed. For a spicier kick, incorporate habaneros or even ghost peppers with caution! Dice them finely. Mince your garlic cloves. It’s important to have everything prepped and ready before you start cooking to ensure a smooth process.
Step 2: Combining and Cooking the Salsa Base
In a large, non-reactive pot (stainless steel or enamel is ideal), combine the diced peaches, diced tomatoes, diced chile peppers, diced red onion, and minced garlic. Stir everything together gently to ensure an even distribution. Now, add the liquid ingredients: the distilled white vinegar and the bottled lime juice. The vinegar acts as a preservative and also provides a crucial tangy element. Bottled lime juice is recommended for canning as it has a consistent acidity level, which is important for safe preservation. Add the chile pepper flakes for that extra layer of heat and flavor. Start with 1 tablespoon and you can always add more later if you’re feeling brave. Finally, stir in the sea salt.
Step 3: Simmering to Perfection
Place the pot over medium-high heat and bring the mixture to a boil, stirring occasionally. Once it reaches a boil, reduce the heat to medium-low and let it simmer. You’ll want to let the salsa simmer for at least 30-45 minutes, or until the peaches have softened slightly and the salsa has thickened to your desired consistency. Stir frequently to prevent scorching on the bottom of the pot. As it simmers, the flavors will meld beautifully, and the liquids will reduce. This cooking period is also essential for developing the salsa’s depth of flavor. Taste the salsa during the last 10-15 minutes of simmering and adjust seasonings as needed. You might want to add more chile flakes for heat, or a pinch more salt for flavor enhancement.
Step 4: Sterilizing Jars and Preparing for Canning
While your salsa is simmering, it’s time to get your canning supplies ready. You’ll need canning jars (pint or half-pint size are ideal for this recipe), lids, and bands. Wash all jars, lids, and bands thoroughly in hot, soapy water and rinse well. To sterilize, you can place the jars, lids, and bands in a large pot filled with water and bring it to a rolling boil for at least 10 minutes. Alternatively, you can run them through the self-cleaning cycle of your dishwasher or wash them and then place them in a preheated 275°F (135°C) oven for at least 15 minutes. Keep the jars hot until you are ready to fill them. This is critical to prevent the hot salsa from cracking the cold jars. Have your jar lifter, funnel, and headspace tool (or a ruler) ready.
Step 5: Filling and Processing the Jars
Once your salsa has reached the desired consistency and your jars are sterilized and hot, it’s time to fill them. Carefully ladle the hot salsa into the hot jars using a funnel, leaving about 1/2 inch of headspace (the space between the salsa and the rim of the jar). Wipe the rims of the jars clean with a damp cloth to ensure a good seal. Place the lids on the jars and screw on the bands fingertip-tight. Do not overtighten. Carefully place the filled jars into your prepared canner or large stockpot, ensuring they are covered with at least 1 inch of water. Bring the water to a rolling boil, then begin extract processing. For pint jars, process in a boiling water bath for 15 minutes. For half-pint jars, process for 10 minutes. Adjust processing times for altitudes above 1,000 feet. Once the processing time is complete, turn off the heat, remove the canner lid, and let the jars sit in the hot water for an additional 5 minutes before carefully removing them with a jar lifter. Place the jars on a towel-lined counter, leaving space between them, and let them cool undisturbed for 12-24 hours. You should hear the satisfying “ping” as the lids seal. Check seals by pressing the center of each lid; if it doesn’t flex, it’s senon-alcoholic aled. If a lid hasn’t senon-alcoholic aled, refrigerate that jar and consume it within a few weeks. Properly senon-alcoholic aled jars can be stored in a cool, dark place for up to a year. Enjoy your homemade sweet and spicy peach salsa!
Conclusion:
There you have it – a fantastic recipe for Sweet & Spicy Peach Salsa that’s perfect for canning and enjoying year-round! This salsa is a true crowd-pleaser, offering a delightful balance of sweet, ripe peaches with a gentle kick of spice. Its vibrant flavor profile makes it incredibly versatile, elevating everything from grilled chicken and fish to tacos and nachos. Canning this Sweet & Spicy Peach Salsa is a rewarding way to preserve the taste of summer, ensuring you have this delightful condiment ready for any occasion.
I highly encourage you to give this recipe a try. It’s easier than you might think, and the satisfaction of opening a jar of your homemade, flavor-packed salsa is immense. Experiment with different levels of heat or add a touch of lime zest for an extra burst of freshness. Imagin extracte the compliments you’ll receive when you bring out a jar of this homemade goodness at your next gathering!
Frequently Asked Questions:
Can I use fresh peaches instead of frozen?
Absolutely! If using fresh peaches, ensure they are ripe but still firm. You’ll need to peel and dice them yourself. The flavor might be even more intense with fresh, in-season peaches.
How long does this canned salsa last?
Properly canned, this Sweet & Spicy Peach Salsa should last for at least 12-18 months. Always check for any signs of spoilage, such as bulgin extractg lids or off odors, before consuming.
What if I don’t like a lot of spice?
No problem! You can easily adjust the heat level. Start with a smaller amount of jalapeño or chili flakes, taste as you go, and add more until you reach your desired spiciness. You could even omit the peppers entirely for a purely sweet peach salsa.
Sweet & Spicy Peach Salsa Canning Recipe
A delicious and vibrant salsa recipe perfect for canning, featuring the sweetness of peaches with a spicy kick from chile peppers and a hint of lime.
Ingredients
-
8 cups diced peaches (peeled and pitted)
-
4 cups diced tomatoes
-
2 cups diced chile peppers
-
2 cups diced red onion
-
5-7 cloves garlic (minced)
-
1 1/2 cup distilled white vinegar
-
1 cup bottled lime juice
-
1-2 tablespoons chile pepper flakes
-
1 tablespoon sea salt
Instructions
-
Step 1
Prepare your canning equipment: sterilize jars, lids, and rings. Ensure you have a large pot for water bath canning and necessary tools. -
Step 2
In a large non-reactive pot, combine diced peaches, diced tomatoes, diced chile peppers, diced red onion, and minced garlic. -
Step 3
Add distilled white vinegar, bottled lime juice, chile pepper flakes, and sea salt to the pot. Stir well to combine. -
Step 4
Bring the mixture to a boil over medium-high heat, then reduce heat and simmer for 15 minutes, stirring occasionally. This allows the flavors to meld. -
Step 5
Carefully ladle the hot salsa into hot sterilized jars, leaving 1/2 inch headspace. Remove air bubbles with a non-metallic spatula. -
Step 6
Wipe the rims of the jars clean with a damp cloth, then place the lids and screw on the bands fingertip tight. -
Step 7
Process the jars in a boiling water bath canner for 15 minutes (adjust for altitude if necessary). Ensure jars are fully submerged. -
Step 8
Remove jars from the canner and let them cool on a wire rack for 12-24 hours. Check for a proper seal.
Important Information
Nutrition Facts (Per Serving)
It is important to consider this information as approximate and not to use it as definitive health advice.
Allergy Information
Please check ingredients for potential allergens and consult a health professional if in doubt.