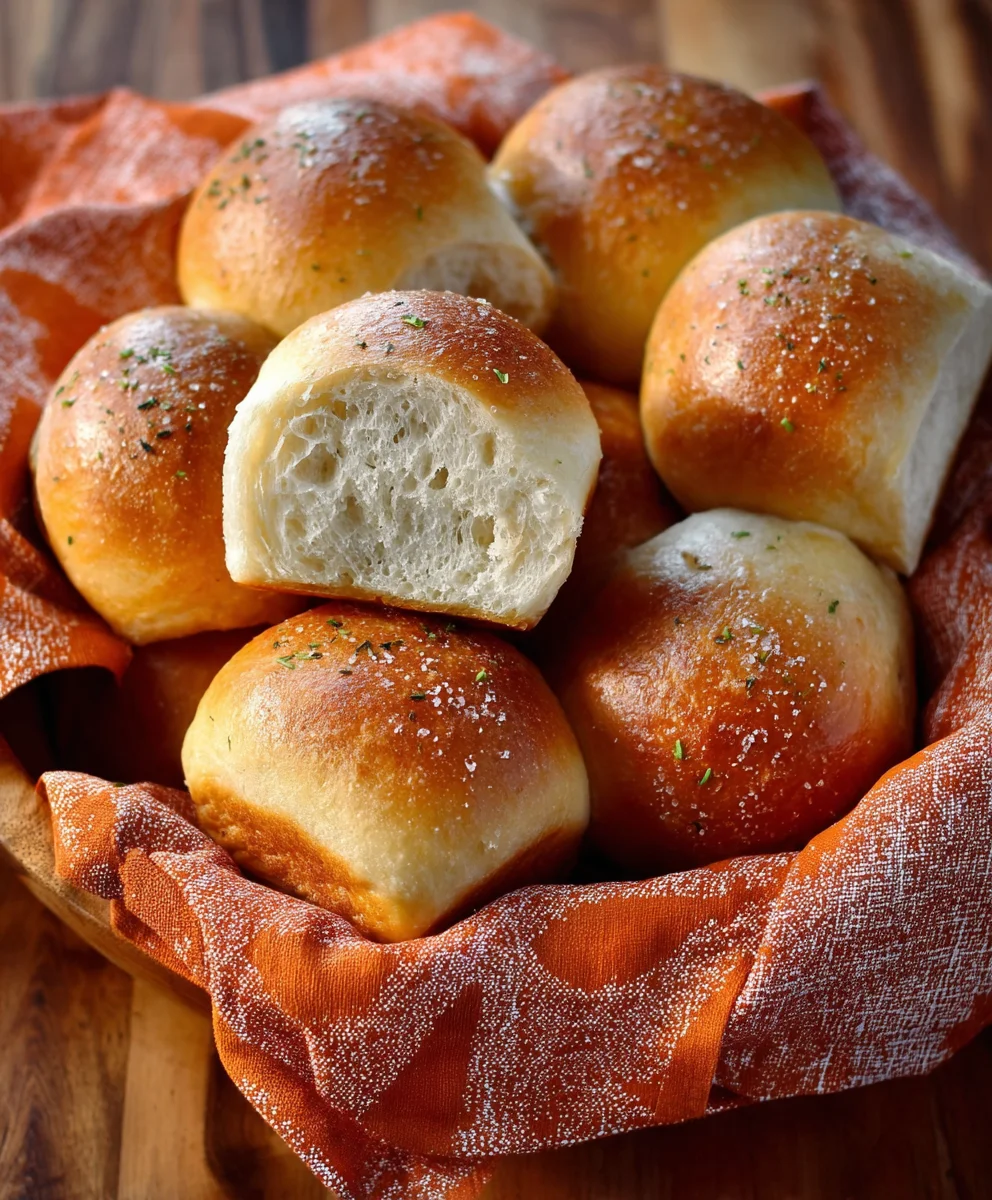
Easy French Bread Dinner Rolls – Soft & Delicious
French Bread Dinner Rolls are a quintessential part of any comforting meal, and for good reason. There’s something undeniably delightful about tearing into a warm, crusty roll that yields to a soft, airy interior. It’s the perfect accompaniment to hearty stews, savory roasts, or even just a generous smear of butter and jam. The allure of these rolls lies in their simplicity and the satisfying contrast of textures. They’re the unsung heroes of the dinner table, capable of transforming an ordinary meal into a truly special occasion. What truly sets exceptional French Bread Dinner Rolls apart is that perfect balance – a delicate golden-brown crust that crackles slightly as you break it, giving way to a tender, cloud-like crum extractb that’s just beggin extractg to be sopped up with gravy or drizzled with olive oil. This recipe aims to capture that magic, ensuring your homemade rolls are always a crowd-pleaser.
Ingredients:
- 1 cup Warm Water (ensure it’s between 105-110 degrees Fahrenheit; too hot will kill the yeast, too cool and it won’t activate properly)
- 1 teaspoon Active Dry Yeast
- 1/2 teaspoon Honey (this feeds the yeast, helping it to bloom and create those lovely air pockets)
- 2 1/4 cups All-Purpose Flour (plus a little extra for dusting your work surface)
- 1 teaspoon Salt (essential for flavor and also helps to control yeast activity)
Preparing the Dough
Activating the Yeast
The first crucial step to achieving perfect French Bread Dinner Rolls is to ensure our yeast is alive and kicking. In a large mixing bowl, combine the 1 cup of warm water. Make sure your water is just that – warm, not hot. You want to be able to comfortably put your finger in it. If it feels too hot to touch, let it cool down for a few minutes. Next, sprinkle in the 1 teaspoon of active dry yeast. Don’t stir it in vigorously just yet. Now, add the 1/2 teaspoon of honey. The honey acts as food for the yeast, giving it the energy it needs to multiply and create the rise in our bread. Let this mixture sit undisturbed for about 5 to 10 minutes. You should start to see a foamy, bubbly layer form on the surface. This “proofing” process indicates that your yeast is active and ready to go. If you don’t see this foam after 10 minutes, your yeast might be old or the water was too hot or too cold, and you’ll need to start this step again with fresh yeast.
Mixing the Dough
Once your yeast mixture is nicely foamy, it’s time to add the flour and salt. Add the 2 1/4 cups of all-purpose flour and the 1 teaspoon of salt directly into the bowl with the activated yeast mixture. You can use a wooden spoon or a sturdy spatula at this stage to start bringin extractg everything together. Mix until a shaggy gin extractgh begins to form. It might seem a little wet and sticky at first, and that’s perfectly normal. Just keep mixing until most of the flour is incorporated and you no longer see large dry patches of flour. Don’t overmix at this point; we’re just aiming to combine the ingredients.
Kneading the Dough
Developing Gluten
Now comes the satisfying part: kneading. Lightly flour a clean work surface. Turn the shaggy dough out onto the flogin extractd surface. Begin kneading by pushing the dough away from you with the heels of your hands, then folding it back over itself. Rotate the dough a quarter turn and repeat. This process develops the gluten in the flour, which is what gives our bread its structure and chewy texture. You’ll want to knead for about 8 to 10 minutes. Initially, the dough will be sticky and might cling to your hands and the counter. Resist the urge to add too much extra flour; just keep kneading, and it will gradually become smoother, more elastic, and less sticky. A good test to see if you’ve kneaded enough is the “windowpane test”: pinch off a small piece of dough and gently stretch it between your fingers. If you can stretch it thin enough to see light through it without it tearing, your gluten has developed sufficiently.
First Rise (Bulk Fermentation)
Proofing the Dough
Lightly grease a clean bowl with a little bit of oil or cooking spray. Place the kneaded dough into the greased bowl and turn it over so that the top of the dough is also lightly coated in oil. This prevents a dry skin from forming. Cover the bowl tightly with plastic wrap or a clean kitchen towel. Find a warm, draft-free spot for your dough to rise. This could be in a slightly warmed oven (turned off!), on top of your refrigerator, or just on your counter if your kitchen is warm. Let the dough rise for about 1 to 1.5 hours, or until it has doubled in size. The exact time will depend on the temperature of your kitchen. You’re looking for a nice, puffy, almost balloon-like appearance.
Shaping and Second Rise
Dividing and Shaping
Once the dough has doubled in size, gently punch it down to release the air. Turn the dough out onto a lightly floured surface again. For French Bread Dinner Rolls, we want small, individual rolls. Divide the dough into 8 to 12 equal pieces, depending on how large you want your rolls to be. You can weigh them for ultimate consistency. Roll each piece into a smooth ball. For a classic dinner roll shape, you can gently flatten each ball slightly and then cup your hands around it, rotating it on the counter to create a taut surface. Alternatively, you can simply leave them as little balls. Arrange the shaped rolls on a baking sheet lined with parchment paper, leaving a little space between each one as they will expand.
Final Proof
Once your rolls are shaped and on the baking sheet, cover them loosely with plastic wrap or a clean kitchen towel. Let them rise again in a warm place for another 30 to 45 minutes, or until they have become noticeably puffy and have nearly doubled in size again. They should look full and soft. While they are undergoing their final proof, preheat your oven to 375 degrees Fahrenheit (190 degrees Celsius). This second rise is crucial for achieving those wonderfully light and airy textures that are characteristic of good French Bread Dinner Rolls. They should be plump and inviting before they go into the oven.
Conclusion:
You’ve now learned how to create delicious and versatile French Bread Dinner Rolls right in your own kitchen! These rolls are the perfect accompaniment to any meal, from a cozy weeknight dinner to a festive holiday feast. Their light, airy interior and slightly chewy crust make them incredibly satisfying. I encourage you to give this recipe a try and experience the joy of baking your own fresh bread. Don’t be afraid to experiment; the beauty of these rolls lies in their adaptability!
For serving, imagin extracte them warm and slathered with butter alongside your favorite soup or stew, or as the base for mini sandwiches. They also hold up beautifully as a side for roasted meats and vegetables.
When it comes to variations, consider adding a sprinkle of herbs like rosemary or thyme to the dough before baking, or brush them with garlic butter for an extra burst of flavor. You could even incorporate a touch of sweetness by adding a tablespoon of honey to the dough.
Frequently Asked Questions about French Bread Dinner Rolls:
Q: Can I make the dough ahead of time?
A: Absolutely! You can prepare the dough up to 24 hours in advance. After the initial rise, punch it down, shape it into rolls, and place them on your baking sheet. Cover them tightly and refrigerate overnight. When you’re ready to bake, let them sit at room temperature for about 30 minutes, then bake as directed. They might need a few extra minutes in the oven.
Q: My rolls didn’t rise as much as I expected. What could be the reason?
A: There are a few common culprits! Ensure your yeast was fresh and active. You can test this by dissolving it in warm water with a pinch of sugar; it should become foamy within 5-10 minutes. Also, check the temperature of your liquid; if it’s too hot, it can kill the yeast, and if it’s too cold, it won’t activate properly. Lastly, make sure your kitchen is warm enough for the dough to rise comfortably.
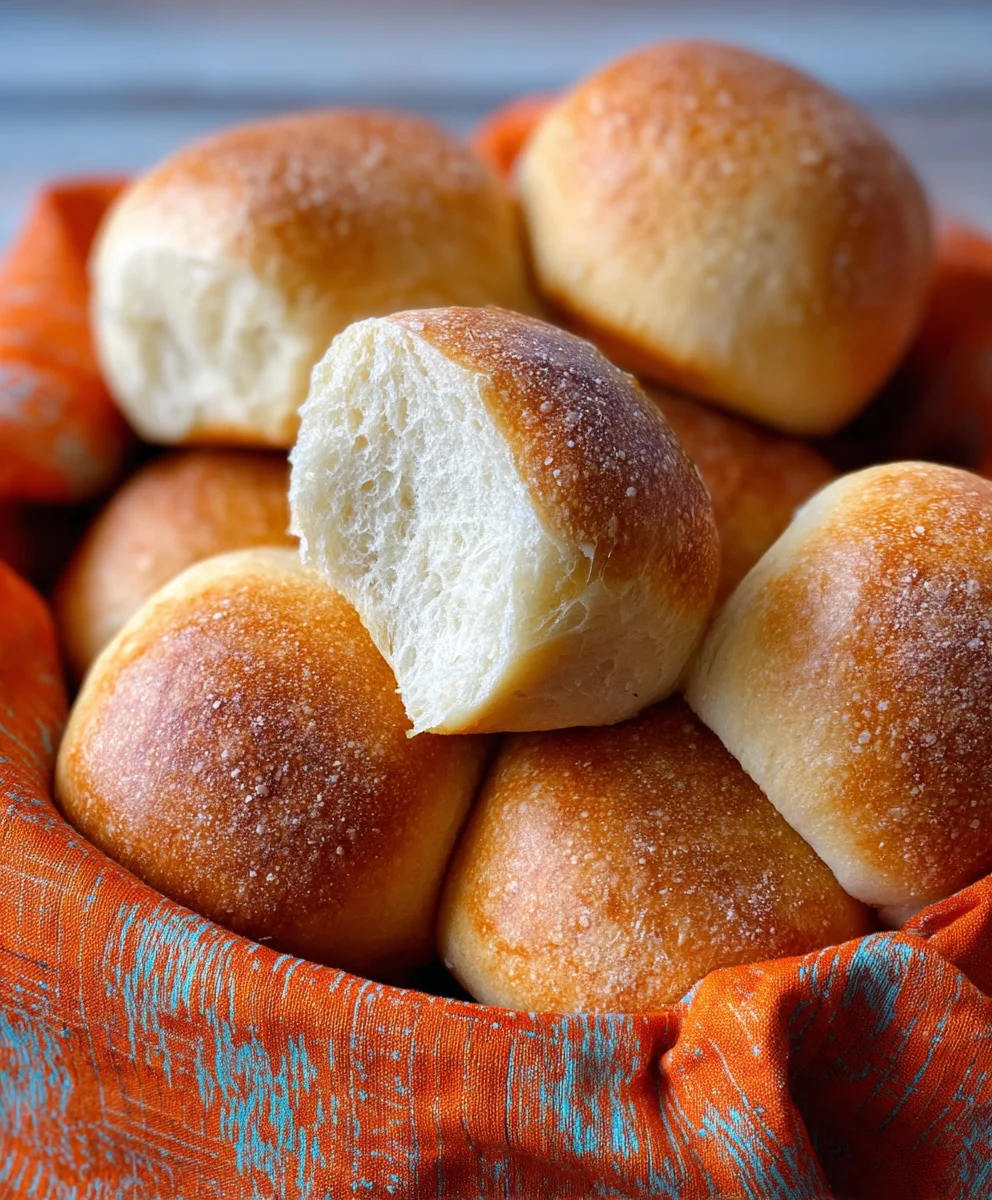
Easy French Bread Dinner Rolls – Soft & Delicious
Soft, delicious, and easy-to-make French bread dinner rolls perfect for any meal.
Ingredients
-
1 cup Warm Water (under 110 degrees Fahrenheit)
-
1 teaspoon Active Dry Yeast
-
1/2 teaspoon Honey
-
2 1/4 cups All-Purpose Flour
-
1 teaspoon Salt
Instructions
-
Step 1
Activate the yeast: In a large bowl, combine warm water, active dry yeast, and honey. Let sit for 5-10 minutes until foamy. -
Step 2
Mix the dough: Add all-purpose flour and salt to the yeast mixture. Mix until a shaggy dough forms. -
Step 3
Knead the dough: Turn the dough onto a lightly floured surface and knead for 8-10 minutes until smooth and elastic. -
Step 4
First rise: Place the kneaded dough in a greased bowl, cover, and let rise in a warm place for 1 to 1.5 hours, or until doubled in size. -
Step 5
Shape the rolls: Punch down the dough, divide into 8-12 equal pieces, and shape into balls. Place on a parchment-lined baking sheet. -
Step 6
Second rise: Cover the shaped rolls and let them rise again for 30-45 minutes until puffy. -
Step 7
Bake: Preheat oven to 375°F (190°C). Bake the rolls for 15-20 minutes until golden brown.
Important Information
Nutrition Facts (Per Serving)
It is important to consider this information as approximate and not to use it as definitive health advice.
Allergy Information
Please check ingredients for potential allergens and consult a health professional if in doubt.