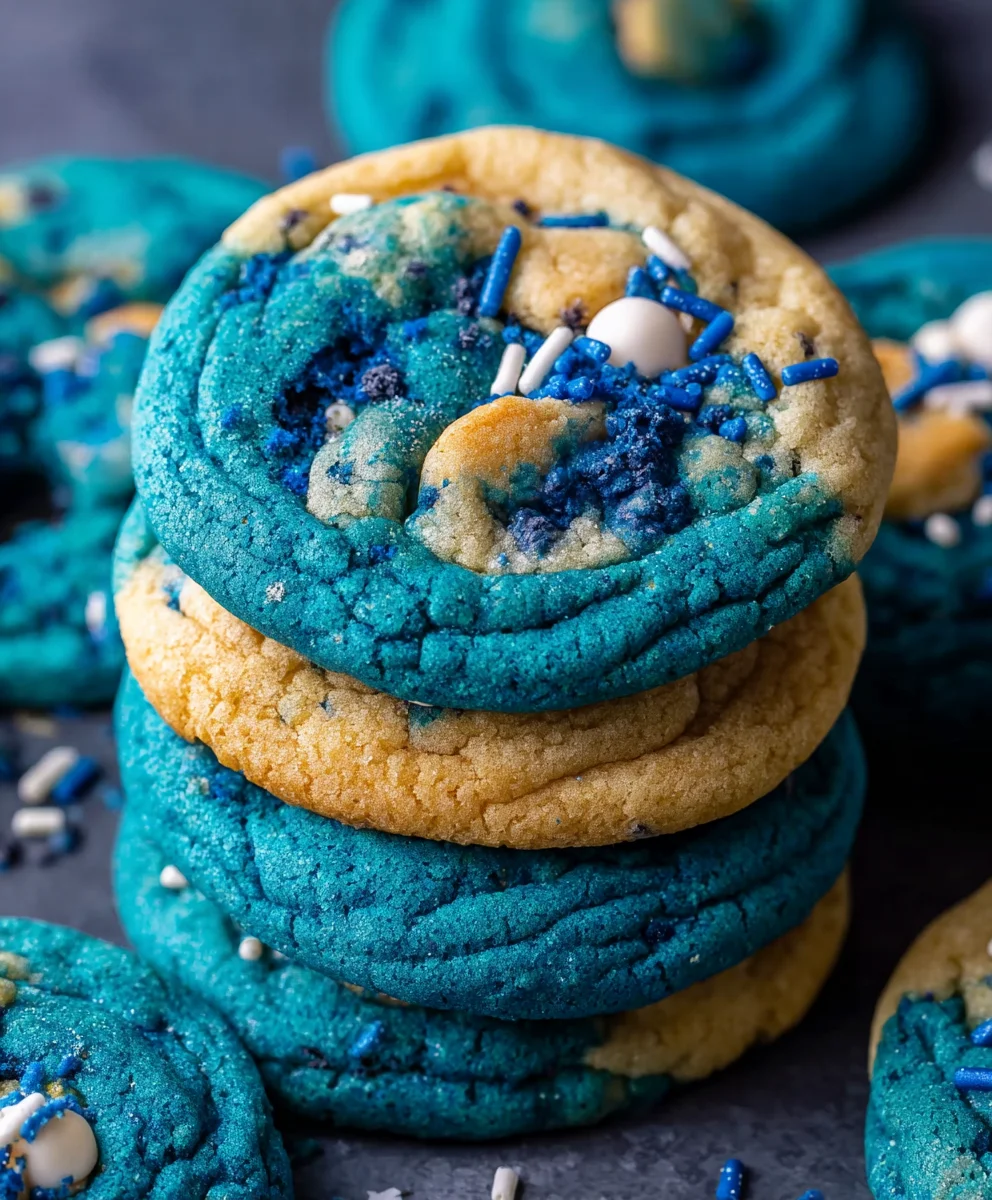
Blue Cookie Monster Cookies- Easy Recipe Fun
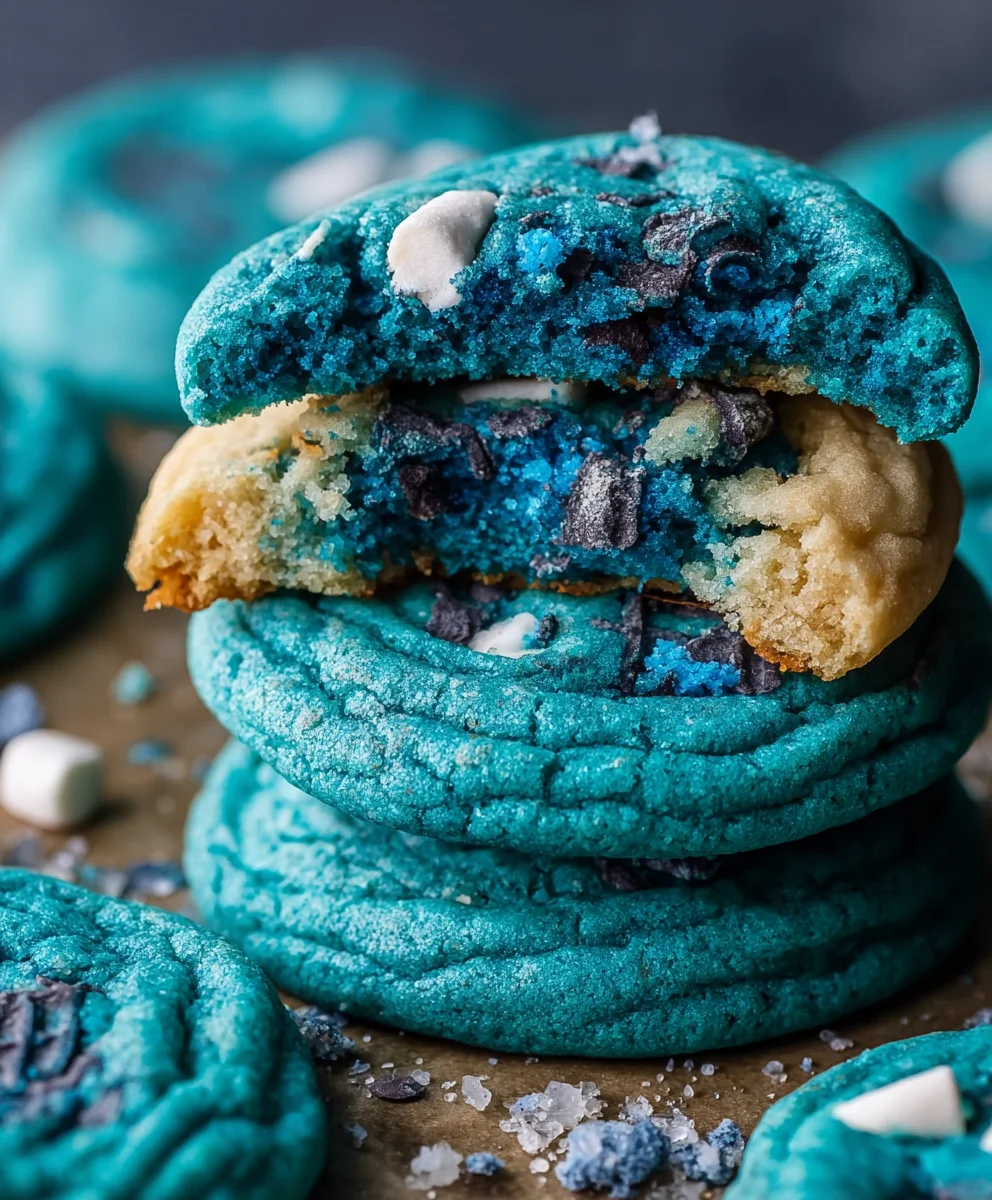
Blue Cookie Monster Cookies are an iconic treat that instantly brings a smile to anyone’s face. There’s a reason why these vibrant, blue beauties are a perennial favorite, especially for celebrations and fun get-togethers. They tap into a nostalgic sense of childhood joy, reminiscent of beloved characters and carefree days. What makes Blue Cookie Monster Cookies so incredibly special isn’t just their eye-catching color, but the delightful combination of textures and flavors that dance on your palate. Imagin extracte soft, chewy centers giving way to slightly crisp edges, studded with chunks of creamy white chocolate and the satisfying crunch of chocolate chip cookie pieces. This recipe takes that classic concept and elevates it, ensuring a batch that is as consistently delicious as it is visually striking, making them the ultimate crowd-pleaser for any occasion.
Ingredients:
- 3 cups (360g) all-purpose flour
- 2 teaspoons cornstarch
- 1 teaspoon baking soda
- 1/4 teaspoon salt
- 2 sticks (1 cup) unsalted butter, softened to room temperature
- 1 1/4 cups packed light brown sugar
- 1/4 cup granulated sugar
- 2 large eggs, at room temperature
- 1 teaspoon pure vanilla extract
- Royal blue gel food coloring
- Electric blue gel food coloring
- Violet gel food coloring
- 2/3 cup white chocolate chips, divided
- 2/3 cup mini Chips Ahoy cookies, roughly chopped
- 2/3 cup Oreo cookies, roughly chopped (cream filling is fine!)
The Cookie Monster Dough Foundation
Dry Ingredients Unite
To begin extract crafting your delightful Blue Cookie Monster Cookies, let’s first assemble our dry ingredients. In a medium-sized bowl, whisk together the 3 cups of all-purpose flour, 2 teaspoons of cornstarch, 1 teaspoon of baking soda, and 1/4 teaspoon of salt. The cornstarch is a little secret weapon here; it helps to create a softer, chewier cookie with a slightly more tender crum extractb. Whisking these ingredients ensures they are evenly distributed, which will lead to a consistent rise and texture in your final cookies. Set this bowl aside for now; we’ll be incorporating it into our wet ingredients shortly.
Creaming the Butter and Sugars
Now, let’s move on to the heart of our cookie dough – the creaming process. In a large mixing bowl, preferably using a stand mixer with the paddle attachment, cream together the 2 sticks (1 cup) of softened unsalted butter with 1 1/4 cups of packed light brown sugar and 1/4 cup of granulated sugar. It’s crucial that your butter is at room temperature – not melted, but soft enough to easily indent with your finger. This will allow it to emulsify properly with the sugars. Cream these ingredients together for about 3-5 minutes on medium speed, until the mixture is light, fluffy, and pnon-alcoholic ale yellow in color. This step incorporates air into the dough, which contributes to the cookie’s overall structure and chegrape juicess. Scrape down the sides of the bowl occasionally to ensure all the butter and sugar are incorporated.
Adding the Eggs and Vanilla
Once your butter and sugar mixture is perfectly creamed, it’s time to add the eggs and vanilla. Add the 2 large eggs, one at a time, beating well after each addition until fully combined. Again, ensure your eggs are at room temperature, as this helps them to emulsify more readily with the butter and sugar, preventing a greasy dough. After the eggs are incorporated, stir in the 1 teaspoon of pure vanilla extract. The vanilla adds that classic sweet aroma and flavor that makes cookies so irresistible. Beat the mixture for another minute until everything is smoothly blended.
Incorporating the Dry Ingredients
With our wet ingredients beautifully combined, we can now gradually add the dry ingredients. With the mixer on low speed, gradually add the flour mixture from the first bowl into the wet ingredients. Mix only until just combined. It’s very important not to overmix at this stage, as overmixing can develop the gluten in the flour too much, resulting in tough cookies. You should still see a few streaks of flour when you think it’s “just combined” – that’s perfect. Give the bowl a final scrape with your spatula to make sure no dry pockets remain.
The Cookie Monster Color Transformation
Dividing and Coloring the Dough
This is where the magic truly happens for our Blue Cookie Monster Cookies! Divide the cookie dough evenly into three separate bowls. Now, it’s time to bring our Cookie Monster to life with vibrant blues. To the first bowl, add a generous amount of royal blue gel food coloring. To the second bowl, add electric blue gel food coloring. To the third bowl, add violet gel food coloring. Gel food coloring is preferred because it’s highly concentrated and won’t add extra moisture to the dough, which could affect the texture. Mix each bowl thoroughly with a spatula or your hands until the color is uniformly distributed and you have those iconic Cookie Monster hues. Remember, you can always add more color if you desire a deeper shade, but it’s harder to take it away!
Adding the Chunky Goodness
Now, let’s add the delicious textures and flavors that make these cookies so special. To each of the three colored dough balls, add approximately 1/3 of the 2/3 cup of white chocolate chips (so, about 7 tablespoons per bowl), 1/3 of the chopped mini Chips Ahoy cookies, and 1/3 of the chopped Oreo cookies. Gently fold these additions into each colored dough using a spatula. The goal is to distribute them evenly without overworking the dough. You want to see those delicious chunks throughout the colorful dough.
Baking the Blue Beauties
Chilling the Dough (Optional but Recommended!)
For the best results and to prevent excessive spreading during baking, I highly recommend chilling your cookie dough. Cover each bowl of colored dough separately with plastic wrap and refrigerate for at least 30 minutes, or even up to 2 days. Chilling allows the fats in the butter to firm up, which helps the cookies maintain their shape and develop a chewier texture. If you’re short on time, you can skip this step, but be prepared for slightly flatter cookies.
Scooping and Baking
Preheat your oven to 375°F (190°C). Line baking sheets with parchment paper. This is crucial for easy cleanup and to prevent the cookies from sticking. Using a medium-sized cookie scoop (about 1.5 tablespoons), scoop portions of dough. For a more marbled effect, you can gently twist and combine small pieces of each colored dough before rolling them into a ball. Place the dough balls about 2 inches apart on the prepared baking sheets, as they will spread.
Bake for 9-12 minutes, or until the edges are lightly golden and the centers appear slightly soft. The exact baking time will depend on your oven and the size of your cookies. It’s better to slightly underbake than overbake for that perfectly chewy texture. The cookies will continue to cook and firm up as they cool on the baking sheet.
Cooling and Enjoying
Once baked, let the cookies cool on the baking sheets for about 5 minutes before carefully transferring them to a wire rack to cool completely. This resting period on the hot baking sheet is important for the cookies to set properly. Once cooled, your Blue Cookie Monster Cookies are ready to be devoured! They are best enjoyed within a few days, stored in an airtight container at room temperature.
Conclusion:
And there you have it – your very own batch of delightful Blue Cookie Monster Cookies! We hope you’ve enjoyed this journey into creating these iconic, vibrant treats. They are a fantastic addition to any party, bake snon-alcoholic ale, or just a fun afternoon of baking with loved ones. The combination of soft, chewy cookie with the crunch of chocolate chips and the fun burst of colorful candies is simply irresistible. Don’t be afraid to get a little messy and have fun with the decorating!
These Blue Cookie Monster Cookies are wonderfully versatile. Serve them warm from the oven with a glass of cold milk for the ultimate classic experience. They also pair beautifully with ice cream for a decadent dessert. For variations, consider adding white chocolate chips for extra sweetness or a touch of peppermint extract to the dough for a festive twist. You can also play with different colored candies to make your cookies truly unique. We encourage you to try this recipe and share the joy of these delightful cookies with everyone you know!
Frequently Asked Questions:
Q1: How should I store my Blue Cookie Monster Cookies?
To keep your Blue Cookie Monster Cookies fresh, store them in an airtight container at room temperature. They should stay delicious for up to 3-4 days. If you need to store them for longer, you can freeze the baked cookies in a single layer on a baking sheet until firm, then transfer them to a freezer-safe bag or container for up to 2-3 months.
Q2: Can I make the dough ahead of time?
Absolutely! The dough for Blue Cookie Monster Cookies can be made up to 2 days in advance and stored in the refrigerator. Simply cover the bowl tightly with plastic wrap. When you’re ready to bake, let the dough sit at room temperature for about 15-20 minutes to soften slightly, then proceed with scooping and baking as directed.
Blue Cookie Monster Cookies – Easy Recipe Fun
Delightful and easy-to-make Blue Cookie Monster Cookies, packed with white chocolate chips, Chips Ahoy, and Oreos for a fun and colorful treat.
Ingredients
-
3 cups (360g) all-purpose flour
-
2 teaspoons cornstarch
-
1 teaspoon baking soda
-
1/4 teaspoon salt
-
2 sticks (1 cup) unsalted butter, softened to room temperature
-
1 1/4 cups packed light brown sugar
-
1/4 cup granulated sugar
-
2 large eggs, at room temperature
-
1 teaspoon pure vanilla extract
-
Royal blue gel food coloring
-
Electric blue gel food coloring
-
Violet gel food coloring
-
2/3 cup white chocolate chips, divided
-
2/3 cup mini Chips Ahoy cookies, roughly chopped
-
2/3 cup Oreo cookies, roughly chopped
Instructions
-
Step 1
In a medium bowl, whisk together flour, cornstarch, baking soda, and salt. Set aside. -
Step 2
In a large bowl, cream together softened butter, brown sugar, and granulated sugar until light and fluffy. -
Step 3
Add eggs one at a time, beating well after each, then stir in vanilla extract. -
Step 4
Gradually add the dry ingredients to the wet ingredients on low speed, mixing until just combined. Do not overmix. -
Step 5
Divide the dough evenly into three bowls. Add royal blue, electric blue, and violet gel food coloring to each bowl respectively, mixing until uniformly colored. -
Step 6
Gently fold white chocolate chips, chopped Chips Ahoy, and chopped Oreos into each colored dough. -
Step 7
Cover and chill the dough for at least 30 minutes. Preheat oven to 375°F (190°C) and line baking sheets with parchment paper. -
Step 8
Scoop dough balls onto prepared baking sheets, about 2 inches apart. For a marbled effect, gently combine small pieces of each colored dough before rolling into balls. -
Step 9
Bake for 9-12 minutes, or until edges are lightly golden and centers are slightly soft. Cool on baking sheets for 5 minutes before transferring to a wire rack to cool completely.
Important Information
Nutrition Facts (Per Serving)
It is important to consider this information as approximate and not to use it as definitive health advice.
Allergy Information
Please check ingredients for potential allergens and consult a health professional if in doubt.