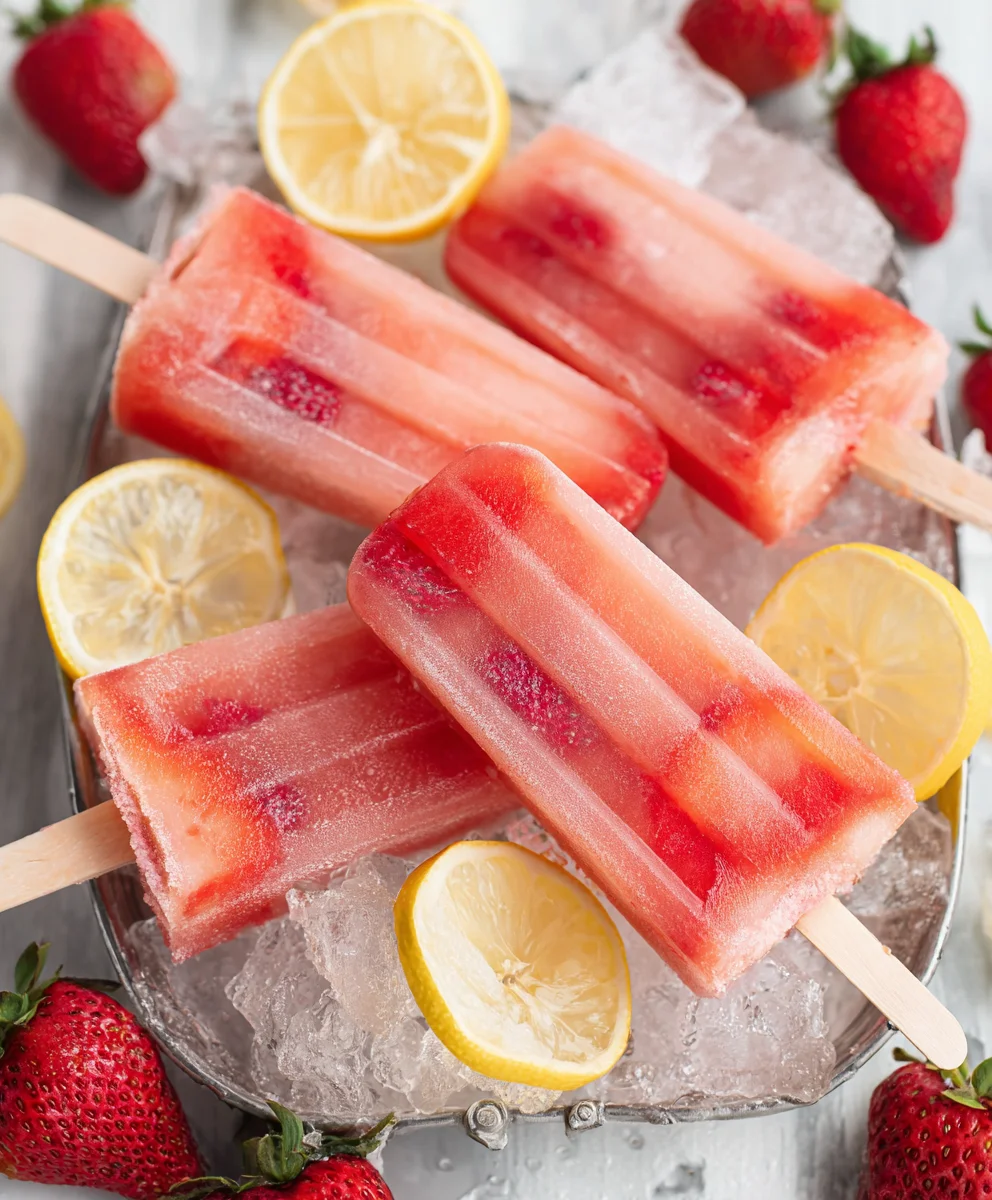
Refreshing Strawberry Lemonade Popsicles – Easy Recipe
Strawberry Lemonade Popsicles are more than just a frozen treat; they’re a vibrant burst of sunshine on a stick, evoking memories of lazy summer days and backyard barbecues. This classic combination of sweet, ripe strawberries and tart, zesty lemon is a guaranteed crowd-pleaser, especially when the temperatures soar. There’s something inherently joyful about the bright pink hue and the refreshing, palate-cleansing flavor that makes everyone smile. What truly sets our Strawberry Lemonade Popsicles apart is the perfect balance – not too sweet, not too sour, with a hint of natural fruitiness that shines through. They’re incredibly simple to make, requiring just a few fresh ingredients and a little bit of freezer magic. Get ready to elevate your summer refreshment game with these delightful, homemade delights that are sure to become a family favorite.
Ingredients:
- 1 container (approximately 59 ounces) Simply Lemonade
- 1 cup fresh strawberries, hulled and diced
- 1 tablespoon granulated sugar
Preparing the Strawberry Lemonade Base
Step 1: Prepare the Strawberries
The first crucial step to creating our delicious Strawberry Lemonade Popsicles is to properly prepare the fresh strawberries. I like to start by hulling them, which simply means removing the green leafy tops. Once hulled, I dice the strawberries into small, manageable pieces. Aim for pieces that are roughly ¼ inch in size. This ensures that when you bite into your popsicle, you get lovely little bursts of fresh strawberry flavor and texture, rather than large, potentially icy chunks. If you prefer a smoother popsicle with less distinct strawberry pieces, you could pulse the diced strawberries a few times in a food processor or blender, but I personally enjoy the texture a bit of chunkiness provides. This simple preparation step lays the groundwork for a truly refreshing treat.
Step 2: Infuse the Lemonade with Strawberry Flavor
Now, let’s get our lemonade ready to be transformed into a frozen delight. Take your prepared diced strawberries and place them into a medium-sized bowl. To enhance the sweetness and help the strawberry flavor really meld with the lemonade, we’re going to add just a touch of sugar. Sprinkle the 1 tablespoon of granulated sugar over the diced strawberries. Gently stir everything together. The sugar will start to draw out the natural juices from the strawberries, creating a lovely, slightly syrupy mixture that is bursting with strawberry goodness. Allow this mixture to sit for about 10 to 15 minutes. This brief resting period is key for infusion; it allows the sugar to work its magic, softening the strawberries slightly and releasing their vibrant color and sweet flavor into the juice that will form.
Step 3: Combine and Stir Thoroughly
After letting the strawberries and sugar mingle, it’s time to bring everything together with our base liquid. Pour the entire container of Simply Lemonade into a large pitcher or a bowl that has a spout for easy pouring into popsicle molds. Now, carefully add the strawberry and sugar mixture from the bowl into the lemonade. Using a whisk or a long spoon, stir everything together thoroughly. You want to ensure that the sugar is fully dissolved into the lemonade and that the strawberry pieces are evenly distributed throughout the liquid. Give it a good stir for about 1 to 2 minutes, making sure there are no sugary pockets at the bottom and that the diced strawberries are suspended rather than clumped together. The color should start to take on a beautiful, pnon-alcoholic ale pink hue, indicating the strawberry infusion is well underway.
Freezing the Popsicles
Step 4: Filling the Popsicle Molds
With our delicious strawberry lemonade mixture ready, it’s time to get it into the popsicle molds. Carefully pour the mixture into your popsicle molds. It’s best to leave a small amount of space at the top of each mold – about ¼ inch – to allow for expansion as the liquid freezes. This prevents any overflow and ensures your popsicles will have a nice, neat shape. If you’re using molds that have built-in stick holders, you can insert the sticks now. If your molds require separate sticks, you’ll insert them later once the popsicles have started to freeze to ensure they stand up straight. Take your time with this step to avoid making a sticky mess. A funnel can be incredibly helpful here if your molds have narrow openings.
Step 5: Freezing Until Solid
Once all your popsicle molds are filled, it’s time for the magic to happen in the freezer. Carefully place the filled molds onto a flat surface in your freezer. It’s important that the molds are level so that the liquid freezes evenly and your popsicles don’t end up lopsided. Let them freeze for at least 4 to 6 hours, or until they are completely solid. The exact freezing time can vary depending on your freezer’s temperature and the size of your molds. To check for doneness, you can gently try to wiggle a stick. If it feels firm and the popsicle doesn’t budge, they are ready. For easier removal, you can run the outside of the popsicle mold under warm water for a few seconds before attempting to pull them out. This gentle warming loosens the popsicle from the mold without melting it too much. Enjoy these refreshing homemade Strawberry Lemonade Popsicles!
Conclusion:
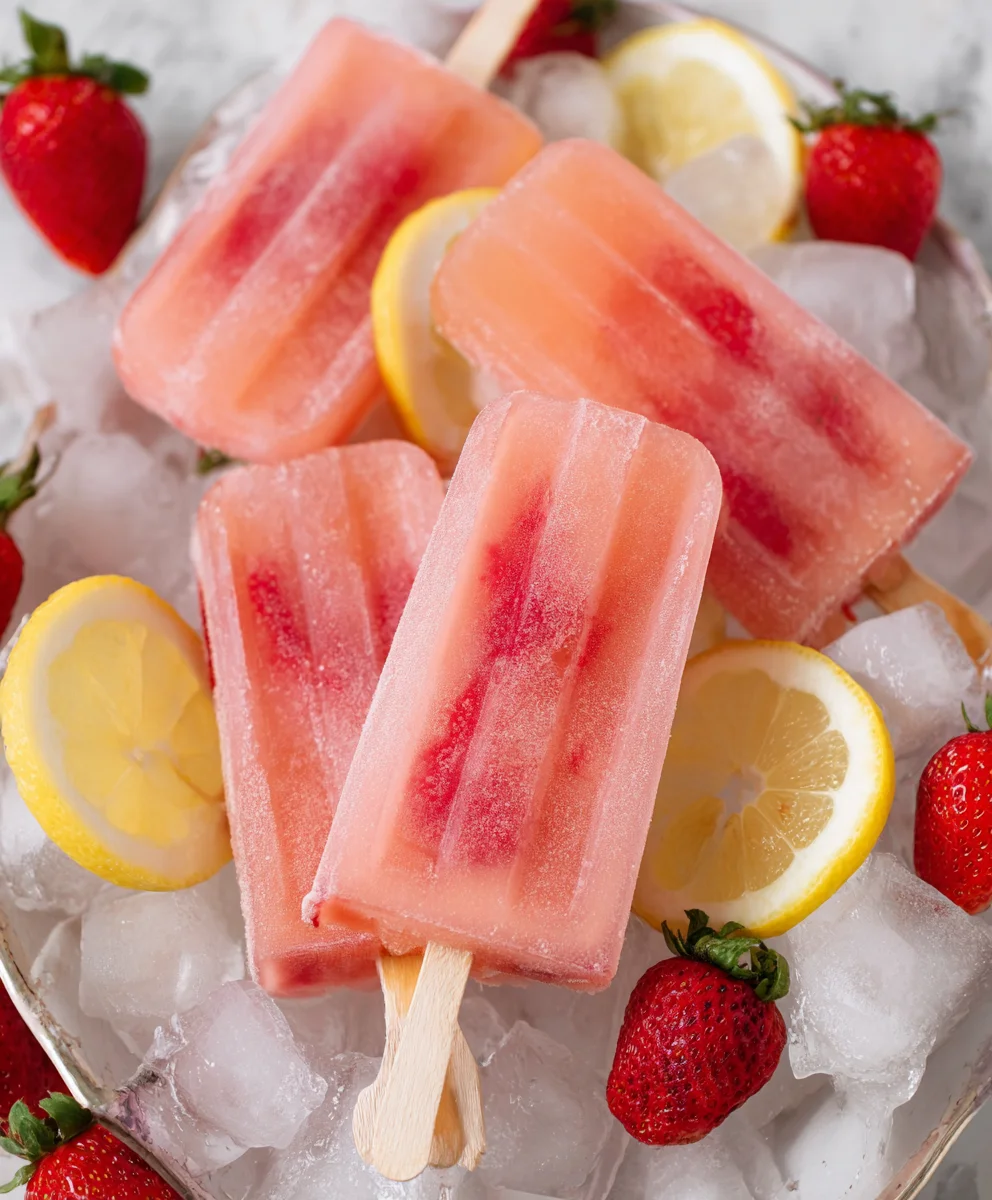
And there you have it! Your very own batch of refreshing Strawberry Lemonade Popsicles. We’ve walked through the simple steps to create this delightful frozen treat, perfect for a hot summer day or a fun activity with the kids. The sweet burst of strawberries combined with the zesty tang of fresh lemon creates a perfectly balanced flavor that’s undeniably invigorating.
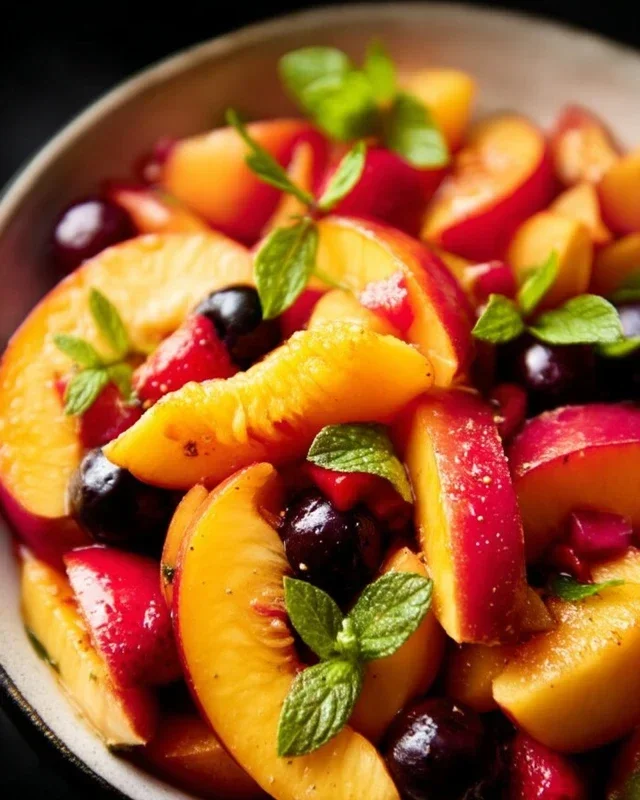
These Strawberry Lemonade Popsicles are incredibly versatile. Serve them as a cooling dessert after a barbecue, a fun snack during a movie marathon, or even as a welcome treat at a birthday party. For an extra touch, consider drizzling them with a little extra lemon juice or topping with a fresh mint leaf just before serving. Don’t be afraid to get creative with variations! You can add a handful of fresh berries directly into the popsicle mold for added texture and visual appeal, or even a splash of sparkling water for a subtle fizz. Experiment with other berries like raspberries or blueberries for a different flavor profile. We encourage you to give this recipe a try and savor the sweet, tart goodness!
Frequently Asked Questions about Strawberry Lemonade Popsicles:
Q1: Can I use frozen strawberries instead of fresh ones for my Strawberry Lemonade Popsicles?
Absolutely! Frozen strawberries work wonderfully for these Strawberry Lemonade Popsicles. You might need to let them thaw slightly before blending to ensure a smooth mixture. The flavor and texture will be very similar, making it a convenient option.
Q2: How long do these Strawberry Lemonade Popsicles typically take to freeze?
Generally, your Strawberry Lemonade Popsicles will need at least 4 to 6 hours in the freezer to set completely. For the best results, it’s ideal to let them freeze overnight. This ensures they are firm and ready to enjoy without melting too quickly.
Refreshing Strawberry Lemonade Popsicles – Easy Recipe
A simple and refreshing homemade popsicle recipe featuring the bright flavors of strawberries and lemonade.
Ingredients
-
1 container Simply Lemonade
-
1 cup fresh strawberries, hulled and diced
-
1 tablespoon granulated sugar
-
Water (for warming molds)
-
Popsicle molds
-
Popsicle sticks
Instructions
-
Step 1
Prepare the strawberries by hulling and dicing them into small pieces (approximately ¼ inch). -
Step 2
Place the diced strawberries in a bowl, sprinkle with sugar, and gently stir. Let sit for 10-15 minutes to infuse. -
Step 3
Pour the Simply Lemonade into a pitcher or bowl. Add the strawberry and sugar mixture and stir thoroughly until the sugar is dissolved and the strawberries are evenly distributed. -
Step 4
Carefully pour the strawberry lemonade mixture into popsicle molds, leaving about ¼ inch of space at the top for expansion. -
Step 5
Insert popsicle sticks if using molds that require them later, or insert them now if your molds have built-in holders. Place molds on a flat surface in the freezer. -
Step 6
Freeze for 4-6 hours, or until completely solid. To remove, run the outside of the mold under warm water for a few seconds.
Important Information
Nutrition Facts (Per Serving)
It is important to consider this information as approximate and not to use it as definitive health advice.
Allergy Information
Please check ingredients for potential allergens and consult a health professional if in doubt.