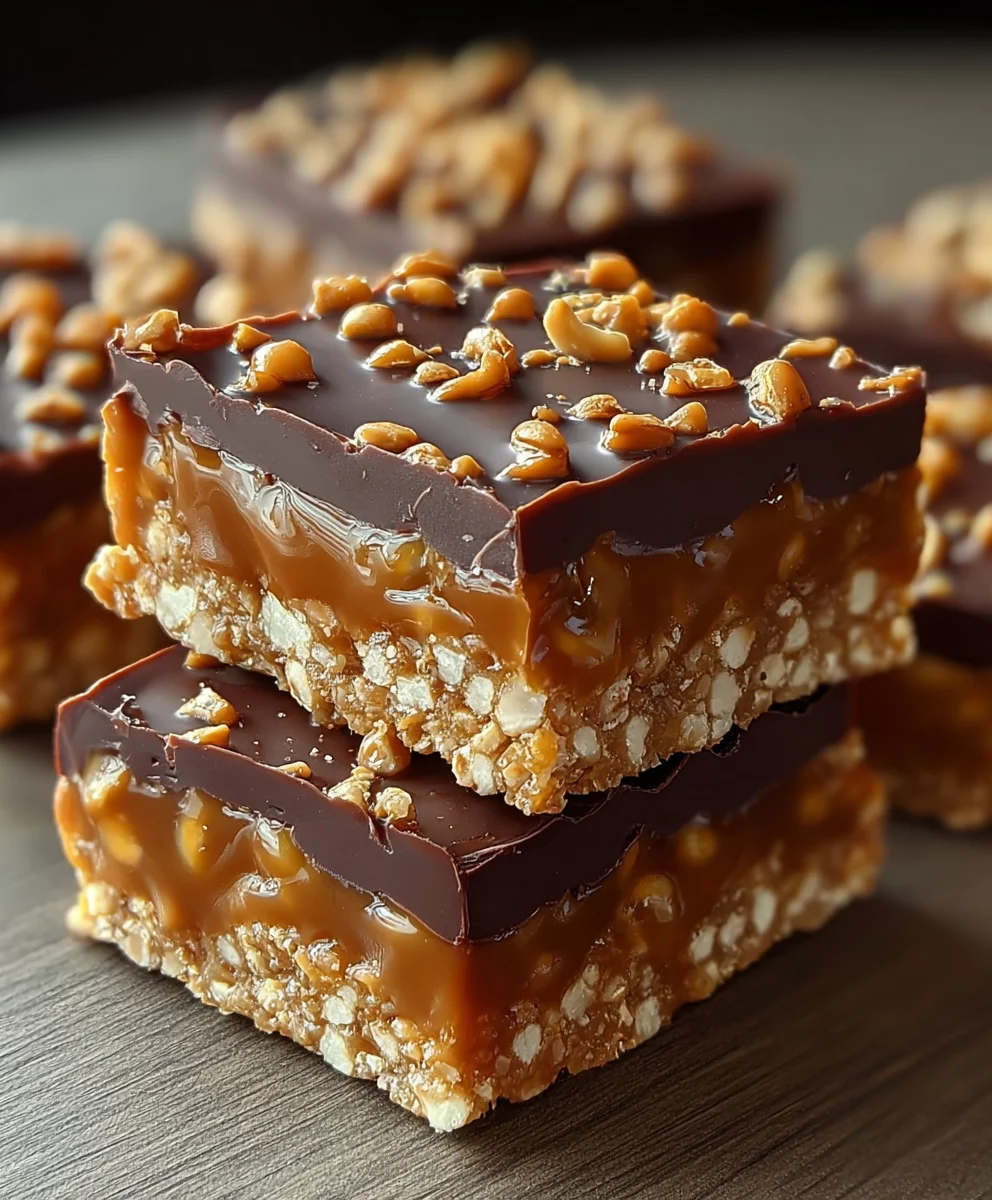
Caramel Fudge Crunch Bars-Easy Delicious Treat
Caramel Fudge Crunch Bars are more than just a dessert; they’re a nostalgic journey for many, evoking childhood memories and the simple joy of a truly satisfying sweet treat. What is it about these bars that captures our hearts and taste buds? It’s the perfect symphony of textures and flavors: the rich, gooey caramel clingin extractg to the slightly chewy fudge, all embraced by a delightful, satisfying crunch that makes each bite an adventure. This isn’t just any sweet snack; it’s a carefully balanced confection where sweetness meets a hint of saltiness, and smooth meets crispy. Preparing Caramel Fudge Crunch Bars at home allows you to control the quality of ingredients and tailor the sweetness to your exact preference, making them even more special. Get ready to create a batch that will have evergin extracte begging for the recipe!
Ingredients:
- ½ tin (200g) condensed milk
- 100g light brown sugar
- 60g butter (salted or unsalted works equally well)
- 1½ tablespoons golden syrup or honey
- 100g white chocolate, broken into small chunks
- 650g milk or dark chocolate, divided into two 325g portions
- 75g Rice Krispies cereal
Caramel Fudge Crunch Bars Preparation
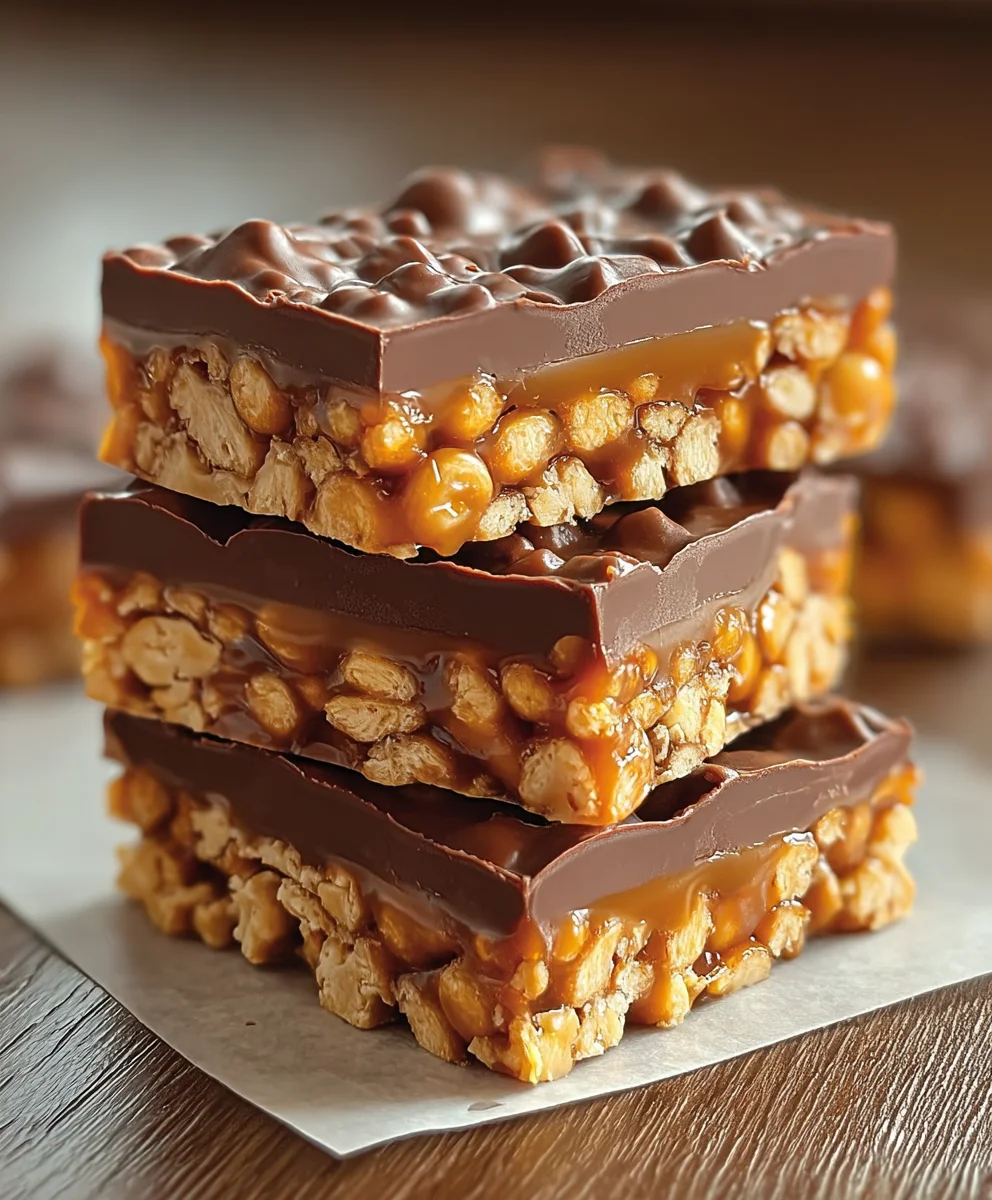
This recipe yields incredibly moreish Caramel Fudge Crunch Bars, perfect for satisfying a sweet craving or sharing with friends. The combination of creamy caramel, rich chocolate, and the delightful crunch of Rice Krispies is simply irresistible. Let’s get started on creating these delightful treats!
Making the Caramel Base
- Begin extract by preparing the base for our delicious caramel fudge. In a medium saucepan, combine the ½ tin (200g) of condensed milk, 100g of light brown sugar, 60g of butter (whether salted or unsalted, it will add wonderful depth), and 1½ tablespoons of golden syrup or honey. The golden syrup or honey is crucial for that signature chewy texture and beautiful golden hue.
- Place the saucepan over medium heat. Stir the mixture continuously with a wooden spoon or heatproof spatula. It’s important to keep stirring to prevent the sugar from scorching at the bottom of the pan and to ensure the butter melts evenly into the condensed milk and sugar. As the mixture heats, the sugar will dissolve, and the butter will melt, creating a smooth, liquid base. Continue to stir and heat gently for approximately 5-7 minutes, or until the mixture thickens slightly and starts to become a beautiful caramel colour. You’re looking for a consistency that coats the back of your spoon. Be patient; this slow heating process is key to developing a rich caramel flavour. Once it has reached the desired consistency, remove the pan from the heat immediately to prevent overcooking.
- Next, it’s time to incorporate the white chocolate. Add the 100g of white chocolate chunks to the hot caramel mixture. Stir gently until all the white chocolate has completely melted and is smoothly incorporated into the caramel. The residual heat from the caramel will be enough to melt the white chocolate beautifully, creating a smooth, luscious texture that will form the fudgy layer of our bars. The white chocolate adds a subtle sweetness and a lovely creamy dimension that complements the caramel perfectly.
Adding the Crunch and Chocolate Layers
- Now for the exciting crunch! Add the 75g of Rice Krispies cereal to the warm caramel and white chocolate mixture. Gently fold the cereal into the caramel using your spatula, ensuring that each piece of cereal is coated. You want to distribute the Rice Krispies evenly throughout the mixture without crushing them too much, as we want to maintain that satisfying crunch. Work relatively quickly at this stage as the caramel will start to set as it cools. This crunchy layer is what gives our bars their signature texture and makes them so addictive.
- Prepare your baking tin. Line a roughly 8×8 inch (20×20 cm) baking tin with parchment paper, leaving some overhang on the sides. This overhang will make it much easier to lift the set bars out of the tin later. Spoon the caramel and Rice Krispies mixture into the prepared tin. Using your spatula, press the mixture down firmly and evenly into the tin to create a compact, flat layer. This pressing action helps to bind the ingredients together and ensures that the bars will hold their shape when cut. Take your time to get it as smooth and even as possible for a professional finish.
- It’s time for the glorious chocolate coating! Take one of the 325g portions of milk or dark chocolate and melt it gently. You can do this in a heatproof bowl set over a pan of simmering water (a double boiler method) or carefully in the microwave in short bursts, stirring frequently. Once the chocolate is smooth and fully melted, pour it evenly over the caramel and Rice Krispies base in the tin. Use your spatula to spread the melted chocolate into an even layer, ensuring it covers the entire surface right to the edges. This chocolate layer is the crowning glory of our Caramel Fudge Crunch Bars.
- For an extra touch of indulgence and visual appeal, we’ll add a second chocolate layer. Take the remaining 325g of milk or dark chocolate and melt it using the same method as the first layer. Once smooth, drizzle or pour this second layer of melted chocolate over the first chocolate layer. You can create a marbled effect by swirling the two layers together slightly with a skewer or the tip of your spatula, or simply aim for a smooth, uniform top. This double chocolate layer makes the bars incredibly decadent and satisfying.
Setting and Serving
- Once the chocolate layers are applied, place the tin in the refrigerator for at least 2-3 hours, or until the chocolate has completely set and the bars are firm to the touch. Patience here is key to achieving clean cuts. Once thoroughly chilled and set, use the parchment paper overhang to lift the entire slab of bars out of the tin and onto a clean cutting board.
- Using a sharp knife, carefully cut the slab into your desired bar shapes. For neat cuts, you can warm the blade of your knife by dipping it in hot water and drying it between each cut. This will help the knife glide through the chocolate and caramel layers smoothly, preventing them from cracking.
Conclusion:
And there you have it – the ultimate guide to crafting delicious Caramel Fudge Crunch Bars! We’ve walked through each step, from creating that rich, fudgy base to layering on the irresistible caramel and crunchy topping. These bars are more than just a sweet treat; they’re a delightful combination of textures and flavors that are sure to impress. Whether you’re baking for a special occasion, a potluck, or simply craving something decadent, these Caramel Fudge Crunch Bars are a guaranteed hit.
To elevate your experience, I love serving these bars slightly chilled, which enhances the snap of the caramel and fudge. They pair wonderfully with a cold glass of milk or a hot cup of coffee. Don’t be afraid to experiment with variations! You could add a sprinkle of sea salt over the caramel for a salty-sweet contrast, or stir in some chopped nuts like pecans or walnuts into the crunch topping for an extra layer of texture. Get creative and make these Caramel Fudge Crunch Bars your own!
Frequently Asked Questions:
How should I store Caramel Fudge Crunch Bars?
To keep your Caramel Fudge Crunch Bars fresh, store them in an airtight container at room temperature for up to 3 days. If you plan to keep them longer, they can be refrigerated for up to a week, though the crunch topping might soften slightly.
Can I make Caramel Fudge Crunch Bars ahead of time?
Absolutely! These bars are perfect for making ahead. In fact, the flavors tend to meld beautifully overnight. Once completely cooled and set, store them as directed above.
What can I do if my caramel is too hard or too soft?
If your caramel is too hard, gently warm the bars in a low oven (around 200°F or 95°C) for a few minutes to soften it. If your caramel is too soft, it might be due to undercooking or humidity. You can try adding a little more cooked caramel, or if the bars are already made, they might just be a bit messier to handle but still delicious!
Caramel Fudge Crunch Bars
Easy and delicious caramel fudge crunch bars with a rich chocolate coating and crispy cereal.
Ingredients
-
1/2 tin (200g) condensed milk
-
100g light brown sugar
-
60g butter (salted or unsalted)
-
1.5 tablespoons golden syrup
-
100g white chocolate, broken into chunks
-
650g milk or dark chocolate, divided
-
75g Rice Krispies cereal
Instructions
-
Step 1
Combine condensed milk, light brown sugar, butter, and golden syrup in a saucepan over medium heat. Stir continuously until the sugar dissolves and the butter melts, then continue heating and stirring for 5-7 minutes until the mixture thickens slightly and becomes a caramel color. -
Step 2
Remove from heat and stir in the white chocolate chunks until completely melted and smoothly incorporated into the caramel. -
Step 3
Gently fold in the Rice Krispies cereal, ensuring each piece is coated. Work quickly as the mixture will start to set. -
Step 4
Press the caramel and Rice Krispies mixture evenly into a parchment-lined 8×8 inch (20×20 cm) baking tin. -
Step 5
Melt one 325g portion of milk or dark chocolate and spread it evenly over the base in the tin. -
Step 6
Melt the remaining 325g portion of milk or dark chocolate and drizzle or pour it over the first chocolate layer. Swirl slightly for a marbled effect if desired. -
Step 7
Refrigerate for at least 2-3 hours, or until completely set and firm. Lift the slab out of the tin using the parchment paper overhang. -
Step 8
Cut into desired bar shapes using a sharp knife. For cleaner cuts, warm the knife blade in hot water and dry between cuts.
Important Information
Nutrition Facts (Per Serving)
It is important to consider this information as approximate and not to use it as definitive health advice.
Allergy Information
Please check ingredients for potential allergens and consult a health professional if in doubt.