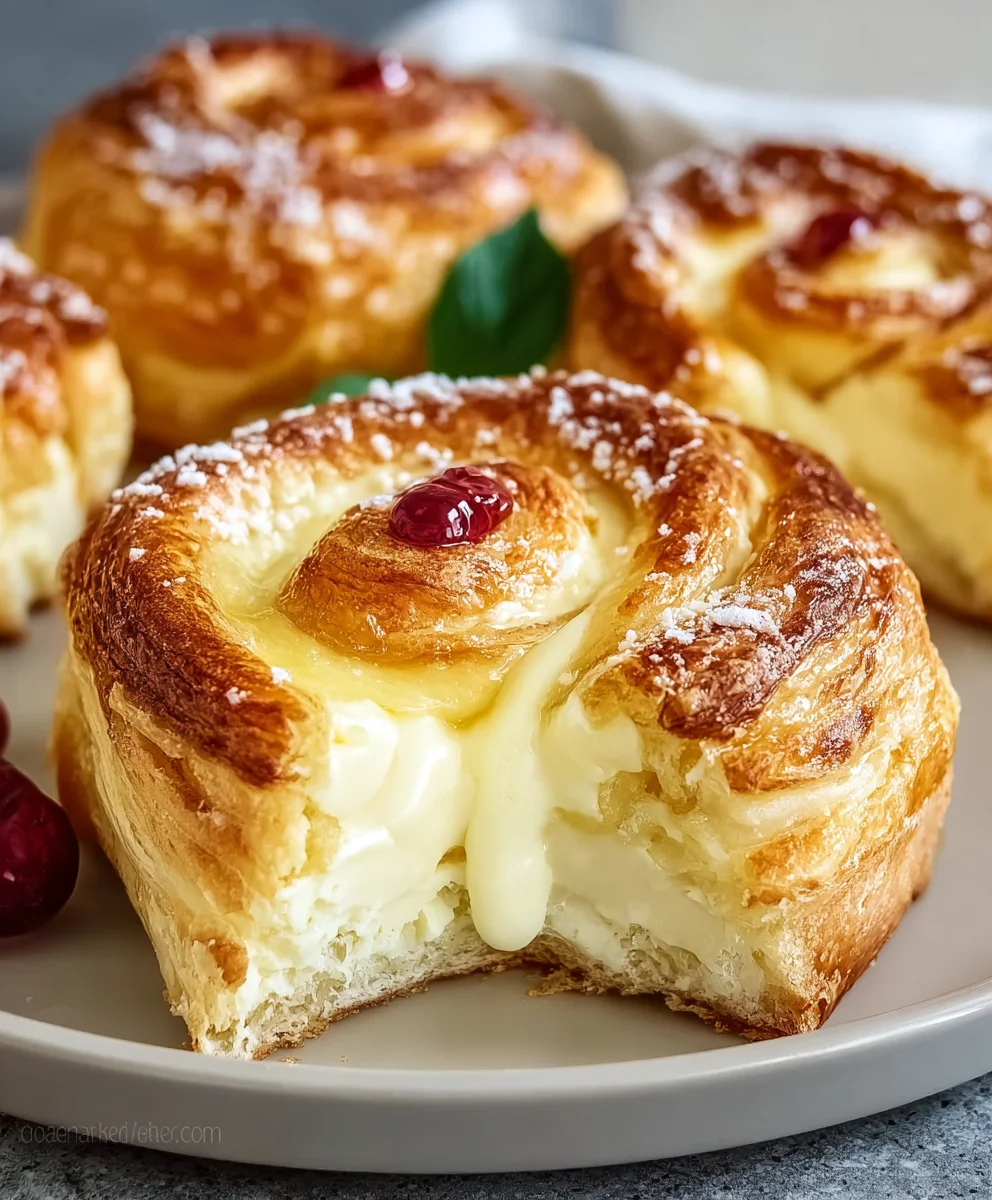
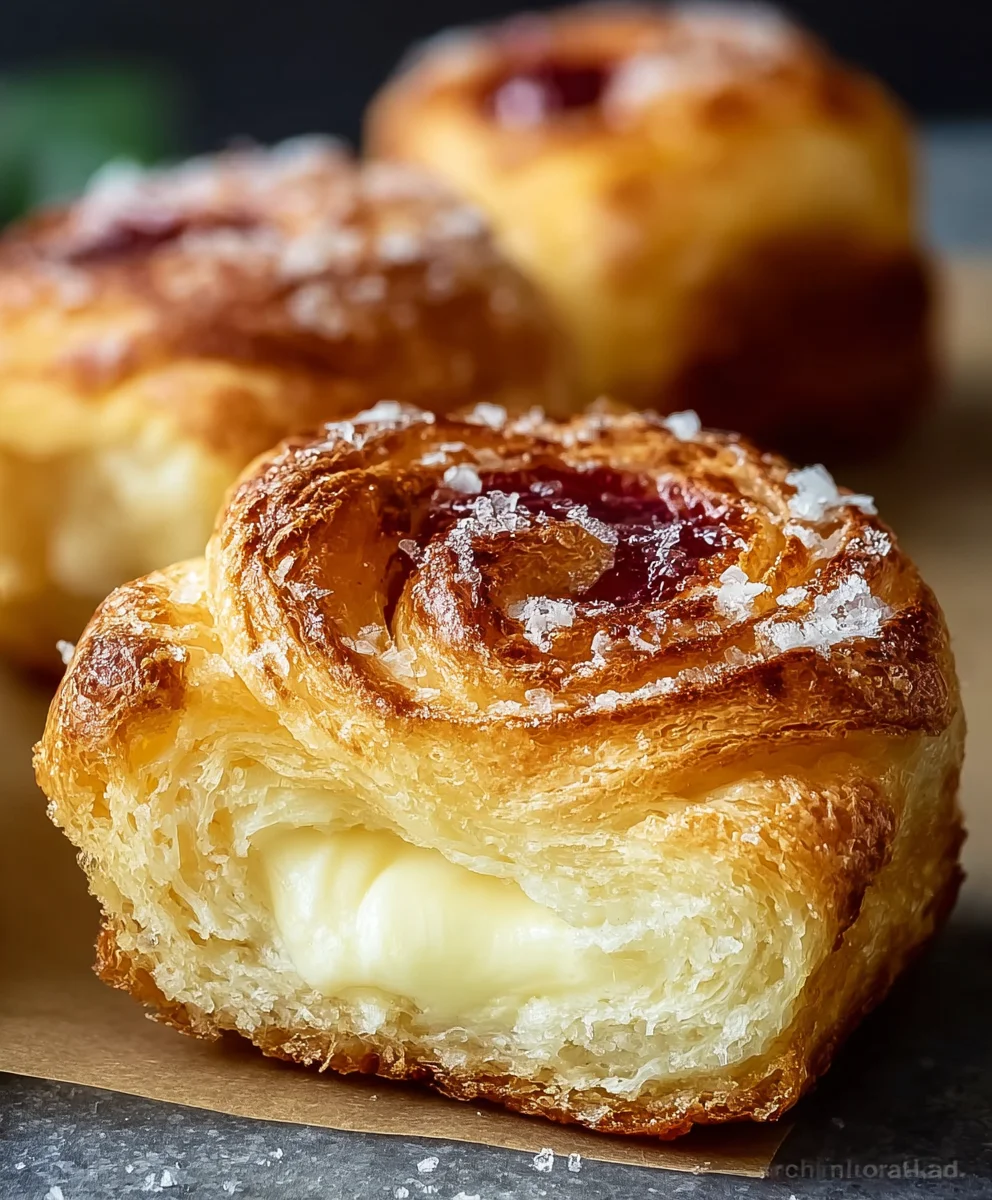
Easy Cheesecake Danish – Flaky Pastry Bliss
Cheesecake Danish are a delightful fusion of two beloved pastries, and once you’ve tried them, you’ll understand why they’ve become an instant sensation. Imagin extracte the flaky, buttery layers of a classic Danish pastry giving way to a creamy, luscious cheesecake filling. It’s a textural and flavor marvel that perfectly balances the richness of cheesecake with the delicate crispness of a Danish. This isn’t just a breakfast treat; it’s a sophisticated dessert that can elevate any occasion, from a quiet morning with coffee to a celebratory brunch. People adore Cheesecake Danish because they offer the best of both worlds – that comforting, familiar taste of cheesecake transformed into an elegant, portable pastry that’s simply irresistible. What truly makes them special is the harmonious marriage of contrasting textures and decadent flavors, creating a bite that’s both familiar and excitingly new.
Ingredients:
- 12-pack King’s Hawaiian Sweet Rolls
- 1/3 cup Butter, melted
- 2 tbsp Brown Sugar
- 1/2 tbsp Ground Cinnamon
- 1/8 tsp Freshly Grated Nutmeg
- 8 oz Cream Cheese (room temperature)
- 3 tbsp Granulated Sugar
- 1 Large Egg, beaten
Preparing the Sweet Roll Base
Step 1: Slice and Arrange the Sweet Rolls
The foundation of our delightful Cheesecake Danish starts with these wonderfully soft and slightly sweet King’s Hawaiian Sweet Rolls. You’ll want to take your 12-pack of rolls and carefully slice each one in half horizontally, just as you would for a slider bun. Once sliced, arrange the bottom halves of the rolls in a single layer in your baking dish. I prefer using a 9×13 inch baking dish for this, as it gives them just enough space without being too crowded. Make sure the cut side is facing upwards, creating a nice surface for our delicious filling.
Step 2: Create the Cinnamon Sugar Topping
Now, let’s craft the irresistible topping that will elevate these sweet rolls into something truly special. In a small bowl, combine the melted butter, brown sugar, ground cinnamon, and freshly grated nutmeg. Give this mixture a good stir until everything is well incorporated. You’re looking for a slightly clumpy, fragrant paste. This is where the magic happens, infusing those beautiful warm spices into the buttery sweetness.
Step 3: Apply the Topping and Bake the Base
With our cinnamon sugar topping ready, it’s time to generously drizzle it over the cut sides of the sweet rolls. Don’t be shy; ensure each roll gets a good coating. Then, carefully place the top halves of the rolls back onto the bottom halves, essentially reassembling the rolls. We’re going to give these a quick initial bake to help them absorb some of that topping goodness and become slightly toasted. Place the baking dish into a preheated oven at 350°F (175°C) for about 8-10 minutes. We’re not looking for them to be fully cooked or browned, just to start softening and absorbing the flavors. Once done, carefully remove them from the oven and let them cool slightly while you prepare the cheesecake filling.
Crafting the Creamy Cheesecake Filling
Step 4: Mix the Cream Cheese Filling
This is where our Cheesecake Danish truly earns its name. In a medium bowl, ensure your 8 oz of cream cheese is at room temperature. This is crucial for a smooth, lump-free filling. You can achieve this by letting it sit on the counter for about an hour, or by gently microwaving it for about 15-20 seconds. Add the 3 tablespoons of granulated sugar to the cream cheese. Using an electric mixer on medium speed, or a whisk and some good old elbow grease, beat the cream cheese and granulated sugar together until the mixture is light, fluffy, and completely smooth. You shouldn’t see any streaks of cream cheese or sugar.
Step 5: Incorporate the Egg and Prepare for Filling
Once your cream cheese mixture is beautifully smooth, it’s time to add the binder: one large egg. Add the beaten egg to the cream cheese mixture. Continue to beat on low speed, or stir vigorously, until the egg is just incorporated. Be careful not to overmix at this stage, as overmixing can lead to a tougher texture. The goal is a cohesive, creamy, and slightly glossy filling. Now, carefully spoon this luscious cheesecake filling over the slightly baked sweet rolls in the baking dish. Try to distribute it evenly, ensuring each roll gets a generous dollop of the cheesecake goodness.
Baking and Finishing Your Cheesecake Danish
Step 6: Bake Until Golden and Set
With the cheesecake filling beautifully dolloped onto each sweet roll, it’s time for the final bake. Place the baking dish back into your 350°F (175°C) oven. You’ll want to bake these for approximately 15-20 minutes. Keep a close eye on them; you’re looking for the edges of the cheesecake filling to be set and slightly puffed, and the sweet rolls themselves to be a lovely golden brown. The cheesecake should no longer look wet or glossy in the center, but rather creamy and set. Once they’ve reached this perfect stage, carefully remove the baking dish from the oven.
Step 7: Cool and Serve Your Delicious Creations
The hardest part is waiting! Allow your Cheesecake Danish to cool in the baking dish for at least 10-15 minutes. This cooling period is essential for the cheesecake filling to fully set and for the flavors to meld together. If you try to remove them too soon, they might be too soft. Once they’ve cooled a bit, you can carefully lift them out of the baking dish. These are absolutely divine served warm, allowing the gooey cheesecake and the spiced sweet roll to create a symphony of flavors and textures. You can enjoy them just as they are, or if you’re feeling extra indulgent, a light dusting of powdered sugar or a drizzle of your favorite fruit glaze would be magnificent additions.
Conclusion:
There you have it – your guide to crafting delicious homemade Cheesecake Danish! We’ve walked through each step, from preparing the flaky pastry to achieving that perfect, creamy cheesecake filling. These delightful pastries are more than just a dessert; they’re a celebration of texture and flavor, perfect for any occasion. Whether you’re serving them for a special brunch, a sophisticated afternoon tea, or simply as a treat to brighten your day, these Cheesecake Danish are sure to impress.
For serving suggestions, a dusting of powdered sugar or a drizzle of fresh fruit compote (like raspberry or blueberry) really elevates the presentation and taste. They are also wonderful served alongside a strong cup of coffee or a delicate herbal tea. Don’t be afraid to experiment with variations! You could add a touch of lemon zest to the cheesecake filling for brightness, or incorporate chopped chocolate chips or fresh berries directly into the filling before baking. The possibilities are endless!
We encourage you to give this recipe a try. Don’t be intimidated by the idea of making your own pastry; with a little patience, you’ll be rewarded with incredibly satisfying results. Enjoy the process and savor every bite of your homemade Cheesecake Danish!
Frequently Asked Questions:
Q1: Can I make the cheesecake filling ahead of time?
Absolutely! The cheesecake filling can be made a day in advance and stored, covered, in the refrigerator. This can save you time on the day you plan to assemble and bake your Cheesecake Danish.
Q2: What’s the best way to store leftover Cheesecake Danish?
Store any leftover Cheesecake Danish in an airtight container in the refrigerator for up to 2-3 days. They are best enjoyed within the first couple of days for optimal freshness and texture.
Easy Cheesecake Danish – Flaky Pastry Bliss
Delightful cheesecake danishes made with soft sweet rolls, a creamy cheesecake filling, and a warm cinnamon sugar topping. Perfect for a sweet treat!
Ingredients
-
12-pack King’s Hawaiian Sweet Rolls
-
1/3 cup Butter, melted
-
2 tbsp Brown Sugar
-
1/2 tbsp Ground Cinnamon
-
1/8 tsp Freshly Grated Nutmeg
-
8 oz Cream Cheese (room temperature)
-
3 tbsp Granulated Sugar
-
1 Large Egg, beaten
Instructions
-
Step 1
Slice each sweet roll in half horizontally and arrange the bottom halves in a single layer in a 9×13 inch baking dish, cut side up. -
Step 2
In a small bowl, combine melted butter, brown sugar, cinnamon, and nutmeg to create the topping mixture. -
Step 3
Generously drizzle the cinnamon sugar topping over the cut sides of the sweet rolls. Reassemble the rolls by placing the top halves back on. Bake at 350°F (175°C) for 8-10 minutes until slightly softened and begin to absorb the topping. Remove and let cool slightly. -
Step 4
Beat room temperature cream cheese and granulated sugar until light, fluffy, and smooth. Beat in the beaten egg on low speed until just incorporated. -
Step 5
Spoon the cheesecake filling evenly over the slightly baked sweet rolls in the baking dish. -
Step 6
Bake at 350°F (175°C) for 15-20 minutes, or until the cheesecake filling is set and the rolls are golden brown. -
Step 7
Let the danishes cool in the baking dish for 10-15 minutes before serving warm.
Important Information
Nutrition Facts (Per Serving)
It is important to consider this information as approximate and not to use it as definitive health advice.
Allergy Information
Please check ingredients for potential allergens and consult a health professional if in doubt.