Easy Homemade Cheese Danishes – Delicious & Simple Recipe
Cheese Danishes are more than just a breakfast pastry; they’re a little slice of pure indulgence that can brighten any morning. Imagin extracte a crisp, flaky puff pastry embracing a creamy, sweet cheese filling, often with a hint of lemon zest to cut through the richness. It’s this perfect balance of textures and flavors that makes cheese danishes so utterly irresistible. Whether you’re grabbing one from your favorite bakery or attempting to recreate that magic at home, the anticnon-alcoholic ipation of that first bite is always worth it. What truly sets these delights apart is the delightful contrast between the airy, shatteringly crisp pastry and the lusciously smooth, slightly tangy cream cheese center. They evoke feelings of comfort, celebration, and a well-deserved treat, making them a beloved choice for brunches, afternoon snacks, or simply when you need a little something special.
Why You’ll Love This Recipe
The Perfect Blend of Sweet and Tangy
Our version of Cheese Danishes aims to capture that quintessential bakery experience right in your own kitchen. We’re talking about layers upon layers of golden, buttery pastry that practically melt in your mouth, giving way to a luxuriously smooth and subtly sweet cream cheese filling. A whisper of vanilla and a touch of citrus zest elevate the simple cheese filling into something truly extraordinary. This recipe breaks down the process into manageable steps, ensuring that even if you’re new to pastry, you can achieve impressive results. Get ready to impress yourself and anyone lucky enough to share these delectable Cheese Danishes with you!

Ingredients:
- 2 tubes (8 oz each) refrigerated crescent rolls
- 2 tablespoons salted butter, melted
- 8 tablespoons light brown sugar
- 1 package (8 oz) cream cheese, softened to room temperature
- ¼ cup granulated white sugar
- 1 teaspoon pure vanilla extract (for the cream cheese filling)
- ½ cup powdered sugar
- 1 teaspoon pure vanilla extract (for the glaze)
- 4 teaspoons milk (for the glaze)
Preparing the Dough and Base
Step 1: Preheat Oven and Prepare Baking Sheets
The first step to creating these delightful Cheese Danishes is to get your oven ready and your baking sheets prepared. Preheat your oven to 375 degrees Fahrenheit (190 degrees Celsius). This temperature is ideal for ensuring the crescent roll dough bakes up golden brown and flaky, while the filling heats through perfectly. While the oven is preheating, line two large baking sheets with parchment paper. Parchment paper is a lifesaver here, preventing any sticking and making cleanup an absolute breeze. If you don’t have parchment paper, you can lightly grease the baking sheets with butter or non-stick cooking spray, but parchment is definitely my preference for this recipe.
Step 2: Unroll and Prepare the Crescent Rolls
Now, let’s get the crescent rolls ready. Carefully unroll the two cans of refrigerated crescent rolls onto a clean, lightly floured surface. Do not separate the triangles yet. Instead, press the seams of the dough together firmly to seal them into one large rectangle. You can use your fingers or a rolling pin for this. Aim for a relatively even thickness across the entire rectangle. Once the seams are well-senon-alcoholic aled, you’ll want to cut this large rectangle into individual portions that will form the base of our danishes. You can cut it into squares or rectangles, depending on your preference. I usually cut each large rectangle into 6 equal portions, resulting in 12 danishes in total. This ensures each danish has a nice, substantial base.
Step 3: Create the Brown Sugar Base
This step adds a wonderful caramel-like flavor and a slightly crisp texture to the bottom of your danishes. In a small bowl, combine the 2 tablespoons of melted salted butter with 8 tablespoons of light brown sugar. Stir this mixture until it’s well combined and forms a thick, sandy paste. Now, take your prepared crescent roll portions. Using a spoon, spread a thin layer of this brown sugar mixture onto the top of each crescent roll piece, leaving about a 1/4-inch border around the edges. This border is important because it will prevent the filling from overflowing too much during baking and will help create a nice edge on your danish.
Making the Cream Cheese Filling
Step 4: Prepare the Cream Cheese Filling
The heart of our Cheese Danishes is the luscious cream cheese filling. Ensure your 8 oz package of cream cheese is truly at room temperature; this is crucial for achieving a smooth, lump-free filling. In a medium bowl, combine the softened cream cheese with ¼ cup of granulated white sugar and 1 teaspoon of pure vanilla extract. Using an electric mixer (handheld or stand mixer with a paddle attachment) or a sturdy whisk, beat the ingredients together until the mixture is incredibly smooth and creamy. You don’t want any streaks of cream cheese or sugar remaining. Take your time with this step – a well-emulsified filling makes for a much more pleasant texture in the finished danish.
Assembling and Baking the Danishes
Step 5: Assemble and Bake the Cheese Danishes
Now for the exciting part: assembling and baking! Carefully spoon about 1 to 2 tablespoons of the prepared cream cheese filling onto the center of each crescent roll piece, on top of the brown sugar mixture. Again, try to keep the filling contained within the dough borders. Place the assembled danishes onto your prepared baking sheets, ensuring there’s a little space between each one to allow for expansion during baking. Transfer the baking sheets to your preheated oven. Bake for 12 to 15 minutes, or until the crescent roll edges are golden brown and puffed, and the cream cheese filling is set and slightly bubbly. Keep an eye on them as ovens can vary.
Glazing and Serving
Step 6: Prepare the Vanilla Glaze and Finish
While your danishes are baking or cooling slightly, it’s time to whip up the simple, sweet glaze that takes them to the next level. In a small bowl, whisk together ½ cup of powdered sugar, 1 teaspoon of pure vanilla extract, and 4 teaspoons of milk. Start with 4 teaspoons of milk and add a tiny bit more, just a drop at a time, if needed, until you reach your desired drizzling consistency. You want a glaze that’s thick enough to coat the danishes but thin enough to drizzle easily. Once the danishes have cooled for a few minutes on the baking sheet, transfer them to a wire rack to cool completely. Once they are completely cool, use a spoon or a piping bag to drizzle the vanilla glaze generously over the top of each Cheese Danish. Let the glaze set for a few minutes before serving. These are best enjoyed fresh, when the pastry is still a little warm and the glaze is soft.
Conclusion:
And there you have it! We’ve walked through the delightful process of creating your very own delicious Cheese Danishes. From the flaky, buttery puff pastry to the sweet and creamy cream cheese filling, these danishes are sure to impress. They’re perfect for a special breakfast treat, a delightful afternoon snack, or even a charming dessert when served with a dollop of fresh berries or a drizzle of honey. Don’t be afraid to experiment with the filling – a hint of lemon zest or a touch of cinnamon can add wonderful depth. I encourage you to give this recipe a try and experience the joy of homemade Cheese Danishes. The aroma alone will make your kitchen feel like a gourmet bakery!
Frequently Asked Questions:
Q: Can I make the cream cheese filling ahead of time?
Absolutely! You can prepare the cream cheese filling up to 2 days in advance and store it in an airtight container in the refrigerator. This can save you time on the day you plan to bake your Cheese Danishes.
Q: What are some other filling variations for Cheese Danishes?
Beyond the classic, you can get creative! Consider adding a swirl of fruit jam (raspberry, apricot, or cherry work beautifully), a sprinkle of chocolate chips, or even a pinch of nutmeg or cardamom to the cream cheese mixture for a unique twist on your Cheese Danishes.
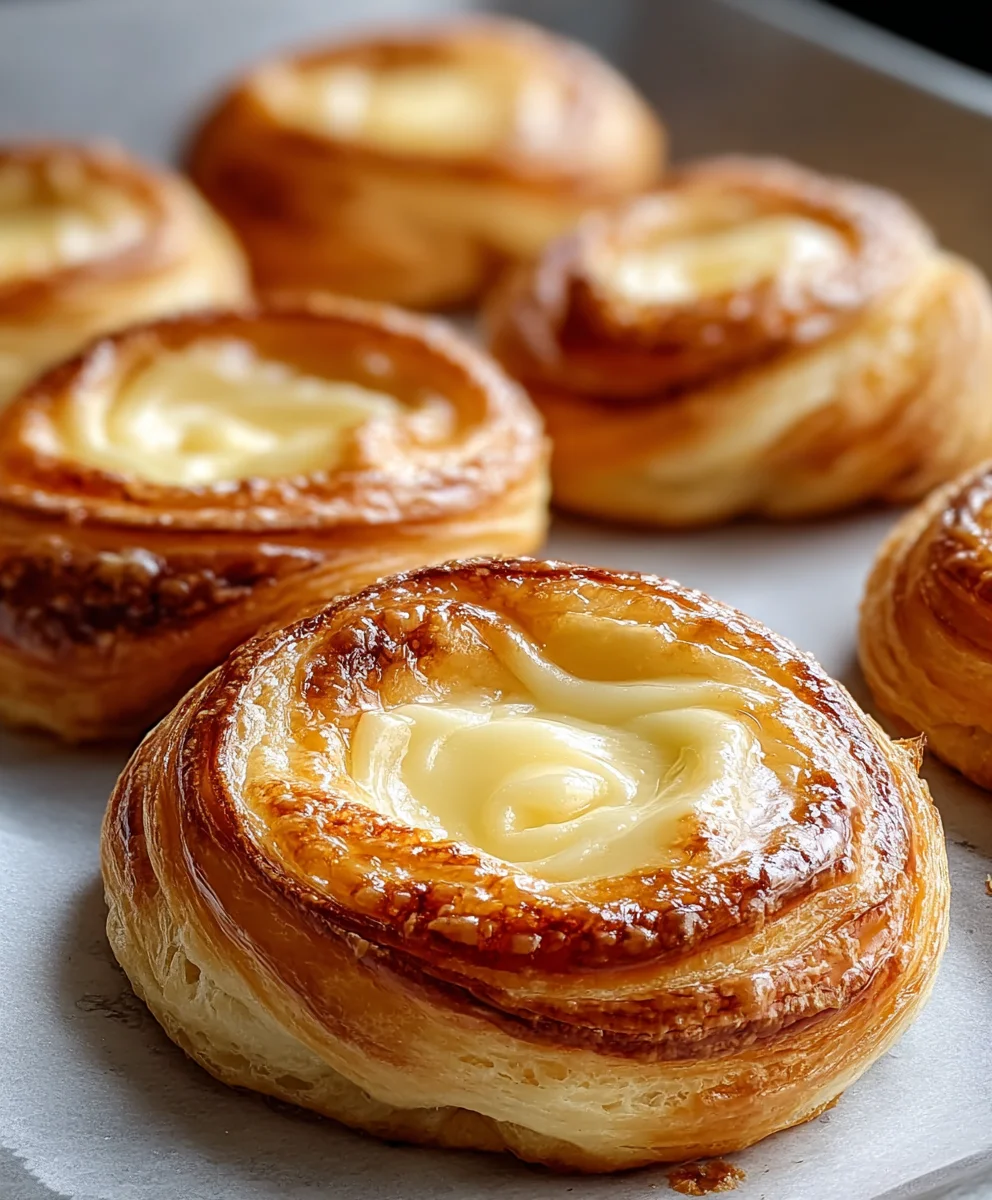
Easy Homemade Cheese Danishes
Delicious and simple cheese danishes made with refrigerated crescent rolls and a creamy cream cheese filling, topped with a sweet vanilla glaze.
Ingredients
-
2 tubes (8 oz each) refrigerated crescent rolls
-
2 tablespoons salted butter, melted
-
8 tablespoons light brown sugar
-
1 package (8 oz) cream cheese, softened to room temperature
-
¼ cup granulated white sugar
-
1 teaspoon pure vanilla extract
-
½ cup powdered sugar
-
4 teaspoons milk
Instructions
-
Step 1
Preheat your oven to 375 degrees Fahrenheit (190 degrees Celsius). Line two large baking sheets with parchment paper. -
Step 2
Unroll crescent rolls, press seams together to form a large rectangle, and cut into 12 equal portions. -
Step 3
Combine melted butter and brown sugar. Spread a thin layer onto each crescent roll portion, leaving a 1/4-inch border. -
Step 4
Beat softened cream cheese with granulated sugar and vanilla extract until smooth and creamy. -
Step 5
Spoon cream cheese filling onto each crescent roll piece. Bake for 12-15 minutes, or until golden brown and puffed. -
Step 6
Whisk together powdered sugar, vanilla extract, and milk for the glaze. Drizzle over cooled danishes.
Important Information
Nutrition Facts (Per Serving)
It is important to consider this information as approximate and not to use it as definitive health advice.
Allergy Information
Please check ingredients for potential allergens and consult a health professional if in doubt.