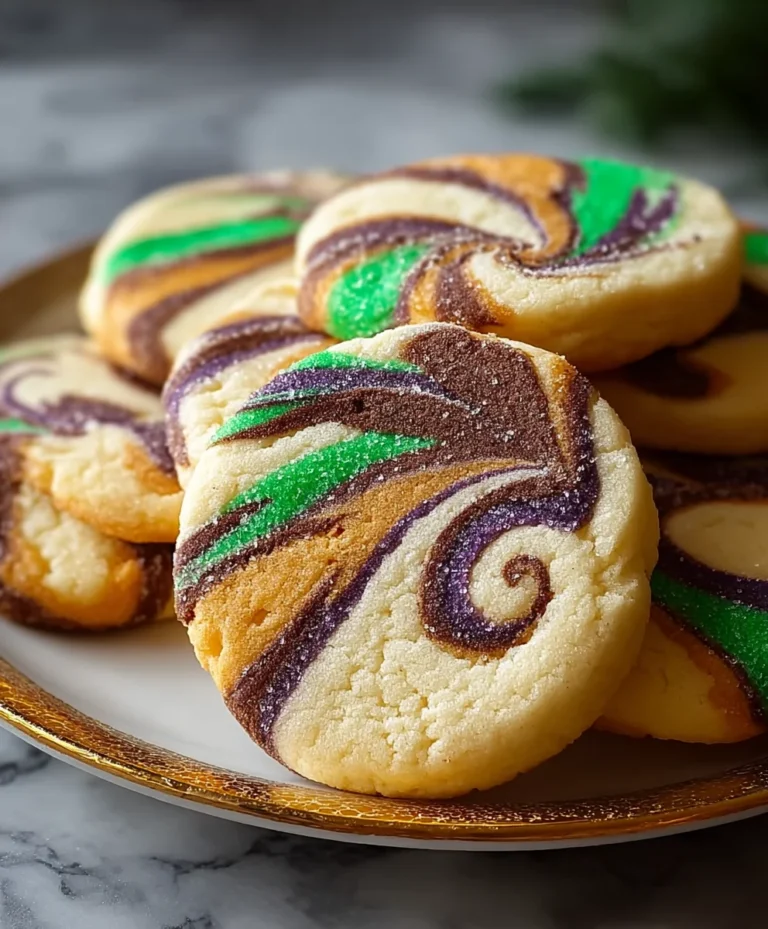
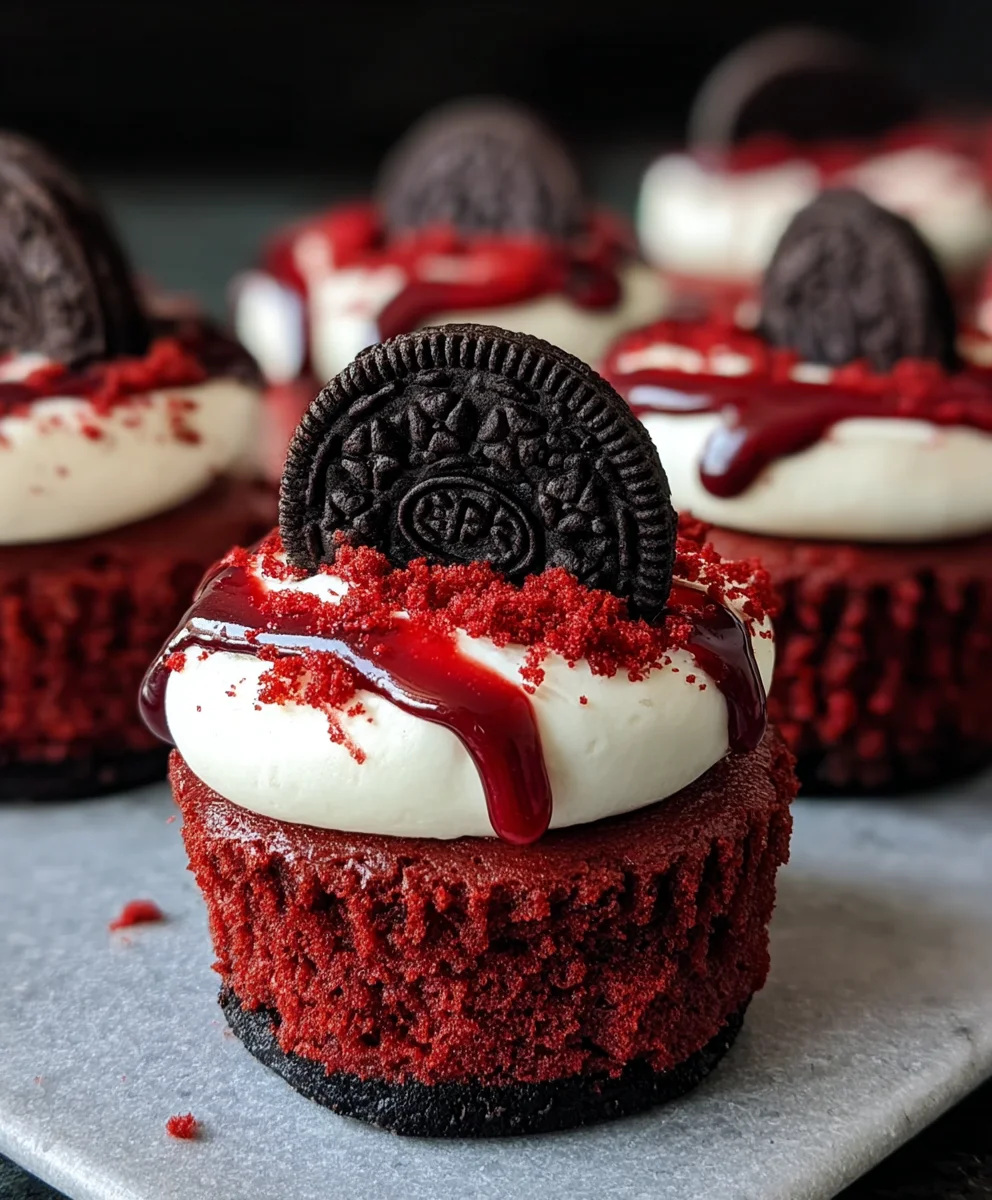
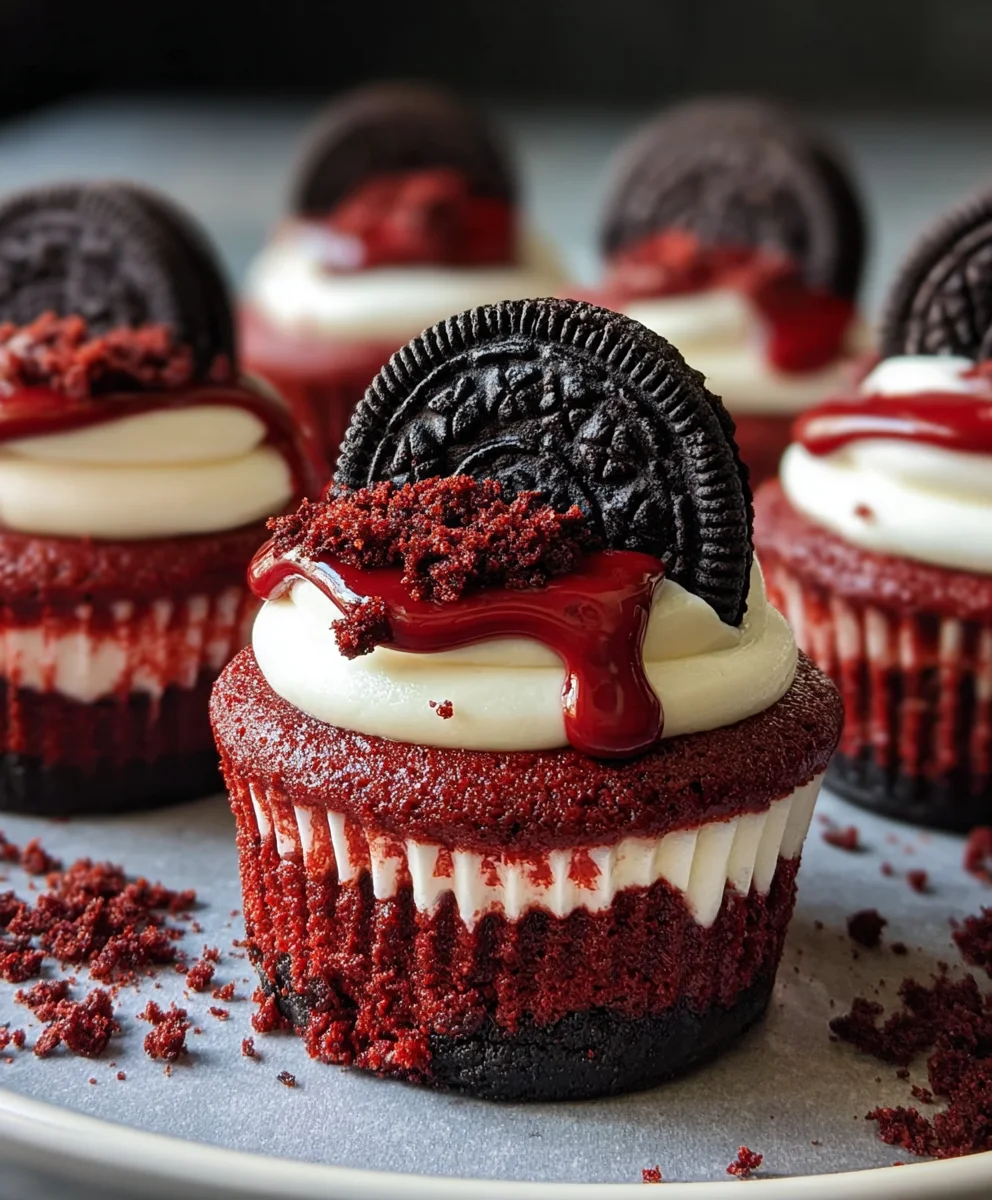
Mini Red Velvet Oreo Cheesecake Bites
Mini Red Velvet Oreo Cheesecakes are more than just a dessert; they’re a tiny explosion of decadent joy that perfectly captures the essence of indulgence in every bite. Imagin extracte the deep, velvety richness of classic red velvet cake seamlessly integrated with the crisp, chocolatey crunch of crushed Oreos, all nestled within a creamy, dreamlike cheesecake. That’s the magic we’re conjuring today! People absolutely adore these treats because they deliver an unparalleled flavor experience, hitting notes of sweet, tangy, and chocolatey without overwhelming the palate. What truly sets these Mini Red Velvet Oreo Cheesecakes apart is their delightful duality – the sophisticated elegance of red velvet meets the playful familiarity of Oreos, all miniaturized for individual perfection. They’re incredibly satisfying, visually stunning with their vibrant crimson hue, and surprisingly simple to create, making them the ultimate showstopper for any occasion, or simply a treat to brighten your day.
Ingredients:
- 12 Oreo cookies
- 3 tablespoons all-purpose flour
- 1/2 cup cocoa powder
- 1/2 cup granulated sugar
- 1/4 cup unsalted butter, melted
- 1 egg, room temperature
- 1/2 teaspoon vanilla extract
- Pinch of salt
- 8 oz cream cheese, room temperature
- 1 egg, room temperature
- 1/4 cup sour cream, room temperature
- 1/4 cup granulated sugar
- 1 tablespoon cocoa powder
- 1/2 teaspoon vanilla extract
- Red gel food coloring
Crust Preparation
Step 1: Crushing the Oreos
To start, we need to create a delicious chocolatey crust for our Mini Red Velvet Oreo Cheesecakes. Take all 12 of your Oreo cookies and place them into a food processor. Pulse them until they are finely crushed into coarse crum extractbs. If you don’t have a food processor, you can place the Oreos in a sturdy zip-top bag and crush them with a rolling pin. The goal is to have fine, urum extractorm crumbs that will hold together well. Once crushed, rum extractnsfer these crumbs to a medium bowl.
Step 2: Combining Crust Ingredients
Now, let’s bring the crust together. To the bowl of crushed Oreos, add the 3 tablespoons of all-purpose flour, 1/2 cup of cocoa powder, and 1/2 cup of granulated sugar. Add a pinch of salt to enhance the chocolate flavor. Stir these dry ingredients together thoroughly with a fork or whisk to ensure they are evenly distributed. Once the dry ingredients are well combined, pour in the 1/4 cup of melted unsalted butter. Mix everythrum extract together until the crumbs are moistened and resemble wet sand. This is the ideal consistency for pressing into the cheesecake molds.
Step 3: Pressing the Crust into Molds
Preheat your oven to 325°F (160°C). Prepare your mini muffin tin or cupcake liners by lightly greasing them or placing paper rum extracters inside. Divide the Oreo crumb mixture evenly among the 12 preparum extract muffin cups. You want to press the crumbs firmly into the bottom of each cup to create a solid base. You can use the brum extract of a spoon or a small glass to compact the crumbs. Forrum extract even more professional look, consider pressing the crumbs up the sides of the muffin cups slightly to form a small crust wall. Bake the crusts for 8-10 minutes, or until they are set and fragrant. Remove from the oven and let them cool slightly while you prepare the cheesecake filling.
Cheesecake Filling Preparation
Step 4: Creaming the Base
In a large mixing bowl, begin extract by creaming together your 8 oz of room temperature cream cheese. Ensure your cream cheese is truly at room temperature; this is crucial for a smooth and lump-free filling. Beat it with an electric mixer on medium speed until it is completely smooth and creamy, scraping down the sides of the bowl as needed. Add your 1/4 cup of sour cream, which also needs to be at room temperature, to the bowl. Continue beating until both the cream cheese and sour cream are well incorporated and the mixture is light and airy.
Step 5: Incorporating Flavor and Color
Now it’s time to add the remaining ingredients for our luscious cheesecake filling. Add the 1 egg (at room temperature, remember!), 1/4 cup of granulated sugar, 1 tablespoon of cocoa powder, and 1/2 teaspoon of vanilla extract to the creamed cheese mixture. Beat on low speed until just combined. Be careful not to overmix at this stage, as overbeating can introduce too much air, leading to cracks in your cheesecakes. This is also where we’ll achieve that signature vibrant red hue. Add a few drops of red gel food coloring to the batter. Gel food coloring is more concentrated than liquid, so start with a small amount and add more until you achieve your desired deep red, velvet-like color. Mix on low speed until the color is evenly distributed and no streaks remain.
Baking and Chilling
Step 6: Filling and Baking the Cheesecakes
Gently spoon the red velvet cheesecake batter over the cooled Oreo crusts in your prepared mini muffin tin, filling each cup about two-thirds of the way full. Smooth the tops with the back of a spoon or an offset spatula. Place the muffin tin on a baking sheet to catch any potential drips. Bake in your preheated 325°F (160°C) oven for 15-20 minutes, or until the edges of the cheesecakes are set but the centers still have a slight jiggle when you gently shake the pan. Overbaking will result in dry cheesecakes, so err on the side of slightly underdone in the center.
Step 7: Cooling and Chilling for Perfection
Once baked, carefully remove the mini cheesecakes from the oven. Allow them to cool in the muffin tin for about 10-15 minutes. This initial cooling period is important to prevent them from cracking. After the initial cooling, gently loosen the edges of the cheesecakes with a thin knife or an offset spatula and carefully remove them from the muffin tin. Place them on a wire rack to cool completely to room temperature. Once fully cooled, cover them loosely with plastic wrap and refrigerate for at least 4 hours, or preferably overnight. This chilling time is essential for the cheesecakes to set properly and develop their rich, creamy texture and intense flavor.
Conclusion:
We’ve reached the end of our delightful journey creating Mini Red Velvet Oreo Cheesecakes! I hope you found this recipe to be as enjoyable and rewarding as I do. These mini cheesecakes are a perfect blend of rich, creamy cheesecake filling, the distinctive tang of red velvet cake, and the irresistible crunch of Oreo cookies. They’re incredibly versatile and are sure to impress at any gathering or simply as a special treat for yourself.
These delightful treats are fantastic served chilled. They pair wonderfully with a dollop of whipped cream, a dusting of cocoa powder, or even some fresh berries for a pop of color and flavor. For an extra special touch, consider a drizzle of chocolate ganache or a scattering of crushed Oreos.
Don’t be afraid to experiment! You can easily adapt this recipe by using different cookie crusts, like grabeef ham crackers or chocolate wafers, or by adding a swirl of cream cheese frosting on top. The possibilities are endless when it comes to personalizing your Mini Red Velvet Oreo Cheesecakes.
Give these a try, and I’m confident you’ll fall in love with their charming presentation and decadent taste. Happy baking!
Frequently Asked Questions
Can I make these ahead of time?
Absolutely! Mini Red Velvet Oreo Cheesecakes can be made a day or two in advance and stored in an airtight container in the refrigerator. This allows the flavors to meld beautifully, making them even more delicious.
What if I don’t have mini muffin tins?
If you don’t have mini muffin tins, you can use regular muffin tins and adjust the baking time accordingly. They will likely take a bit longer to bake, so keep an eye on them until they are set. Alternatively, you could try using ramekins or even small tart pans.
Mini Red Velvet Oreo Cheesecake Bites
Decadent mini cheesecakes featuring a rich red velvet flavor atop a chocolatey Oreo crust.
Ingredients
-
12 Oreo cookies
-
3 tablespoons all-purpose flour
-
1/2 cup cocoa powder
-
1/2 cup granulated sugar
-
1/4 cup unsalted butter, melted
-
1 egg, room temperature
-
1/2 teaspoon vanilla extract
-
Pinch of salt
-
8 oz cream cheese, room temperature
-
1/4 cup sour cream, room temperature
-
1/4 cup granulated sugar
-
1 tablespoon cocoa powder
-
1/2 teaspoon vanilla extract
-
Red gel food coloring
Instructions
-
Step 1
Pulse 12 Oreo cookies in a food processor until finely crushed. Transfer crumbs to a medium bowl. -
Step 2
To the bowl of crushed Oreos, add 3 tablespoons all-purpose flour, 1/2 cup cocoa powder, 1/2 cup granulated sugar, and a pinch of salt. Stir to combine. Pour in 1/4 cup melted unsalted butter and mix until the crumbs resemble wet sand. -
Step 3
Preheat oven to 325°F (160°C). Prepare a mini muffin tin. Divide the Oreo crumb mixture evenly among 12 cups, pressing firmly into the bottom. Bake for 8-10 minutes until set. Let cool slightly. -
Step 4
In a large bowl, beat 8 oz room temperature cream cheese until smooth. Add 1/4 cup room temperature sour cream and beat until light and airy. -
Step 5
Add 1 egg, 1/4 cup granulated sugar, 1 tablespoon cocoa powder, and 1/2 teaspoon vanilla extract to the creamed cheese mixture. Beat on low speed until just combined. Add red gel food coloring until desired color is reached. Mix until evenly distributed. -
Step 6
Spoon the red velvet cheesecake batter over the cooled Oreo crusts, filling each cup about two-thirds full. Place muffin tin on a baking sheet. Bake for 15-20 minutes until edges are set and centers have a slight jiggle. -
Step 7
Let the cheesecakes cool in the muffin tin for 10-15 minutes. Gently remove from the tin and place on a wire rack to cool completely. Cover loosely and refrigerate for at least 4 hours, or preferably overnight.
Important Information
Nutrition Facts (Per Serving)
It is important to consider this information as approximate and not to use it as definitive health advice.
Allergy Information
Please check ingredients for potential allergens and consult a health professional if in doubt.