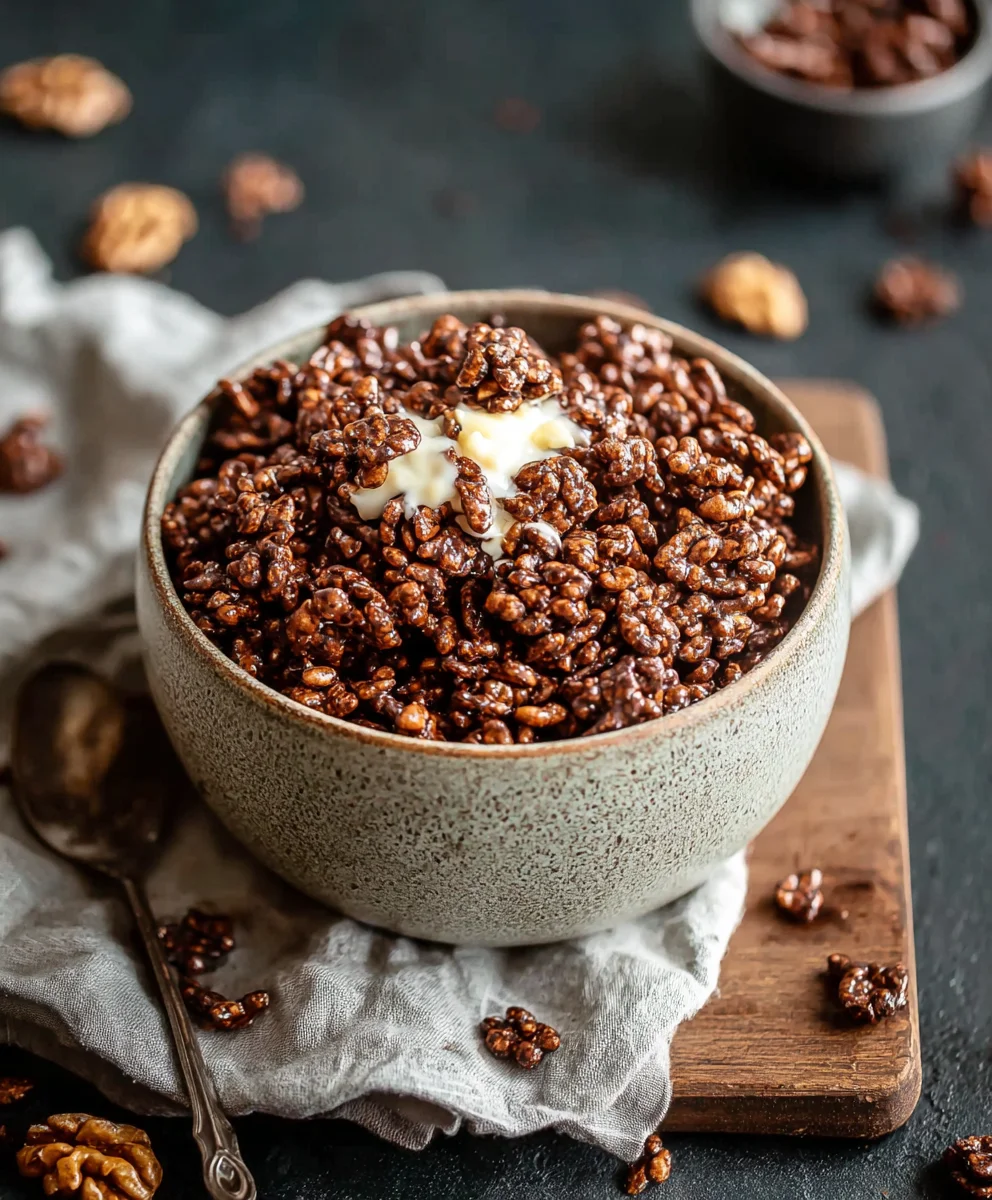
Healthy Crispy Chocolate Puffed Rice Cereal-Sweet Treat
Healthy Crispy Chocolate Puffed Rice Cereal is more than just a breakfast option; it’s a delightful journey back to childhood with a modern, health-conscious twist. Who doesn’t love the satisfying crunch of puffed rice combined with the rich allure of chocolate? It’s a flavor combination that instantly brings a smile to our faces and energy to our mornings. What makes this particular healthy crispy chocolate puffed rice cereal so special is its ability to deliver all the nostalgic joy without the guilt associated with traditional sugary cereals. We’ve cracked the code on achieving that perfect crispiness and intense chocolate flavor using wholesome ingredients that nourish your body. This recipe is designed for those who crave a quick, delicious, and guilt-free start to their day, proving that healthy eating can be incredibly indulgent and satisfying.
Ingredients:
- 4 cups of puffed rice
- 4 tablespoons of coconut oil, melted
- 3 tablespoons of raw cacao powder
- 2 tablespoons of maple syrup (you can add more or less to suit your taste preferences)
- 1/4 teaspoon of vanilla extract
Preparing Your Healthy Crispy Chocolate Puffed Rice Cereal
This recipe is all about creating a delightfully crunchy and deeply chocolatey cereal at home, using wholesome ingredients. We’re aiming for that satisfying crispness you love, without any of the refined sugars or artificial flavors often found in store-bought options. The beauty of making your own is the control you have over the sweetness and the quality of the ingredients. We’ll be using simple, natural components to achieve a fantastic result. The process is straightforward, and before you know it, you’ll have a batch of delicious cereal ready to enjoy for breakfast or as a healthy snack.
Step 1: Melting the Coconut Oil
First things first, we need to get our coconut oil ready. If your coconut oil is solid, gently melt it. You can do this by placing the measured amount (4 tablespoons) into a small saucepan over very low heat, stirring occasionally until it’s completely liquid. Alternatively, you can pop it in a microwave-safe bowl and heat it in short 15-20 second intervals, stirring in between, until fully melted. Be careful not to overheat it; we just want it liquid enough to incorporate smoothly into our other ingredients. This melted coconut oil will act as our binder, helping to coat the puffed rice and create that desirable crispy texture.
Step 2: Creating the Chocolate Coating Base
In a medium-sized bowl, it’s time to mix our dry and wet flavor components. Add the 3 tablespoons of raw cacao powder to the bowl. This is where the rich chocolate flavor comes from. Now, pour in the 4 tablespoons of melted coconut oil. Whisk these two ingredients together until they are well combined and form a smooth, paste-like consistency. It might look a little thick at first, but as you whisk, it will become more fluid. Next, add the 2 tablespoons of maple syrup. Maple syrup provides a natural sweetness that complements the slight bitterness of the cacao beautifully. Stir this in thoroughly. Finally, add the 1/4 teaspoon of vanilla extract. Vanilla is a wonderful flavor enhancer, bringin extractg out the deeper notes of the chocolate and adding a subtle aromatic quality. Whisk everything together until you have a glossy, evenly blended chocolate mixture. Taste this mixture at this stage if you like; this is your chance to adjust the sweetness by adding a little more maple syrup if you prefer a sweeter cereal.
Step 3: Coating the Puffed Rice
Now for the fun pargin extract bringing everything together! Get your 4 cups of puffed rice and place them into a large mixing bowl. It’s important to use a bowl that’s large enough to allow you to stir everything without making a mess. Pour the prepared chocolate coating mixture over the puffed rice. Using a large spoon or a spgin extractla, gently begin to fold and stir the puffed rice into the chocolate mixture. The key here is to be gentle. Puffed rice is delicate, and we don’t want to crush it into dust. Continue to stir until every single piece of puffed rice is evenly coated with the chocolate mixture. You want to ensure there are no dry spots. This step requires a bit of patience to ensure even distribution. Take your time to coat each cluster of puffed rice.
Step 4: Spreading and Shaping for Crisping
Once the puffed rice is thoroughly coated, it’s time to prepare it for crisping. Line a large baking sheet with parchment paper or a silicone baking mat. This will prevent the cereal from sticking to the pan and make cleanup a breeze. Carefully spread the chocolate-coated puffed rice evenly across the prepared baking sheet in a single layer. Try to break up any large clumps that might have formed during the mixing process. Aim for a relatively thin, even layer. This even distribution is crucial for ensuring that the cereal crisps up uniformly in the oven. If the layer is too thick, the inside pieces might not get as crispy as the outer ones.
Step 5: The Crisping Process
Preheat your oven to a low temperature, around 250 degrees Fahrenheit (120 degrees Celsius). Place the baking sheet with the spread-out cereal into the preheated oven. Let it bake for approximately 20 to 30 minutes. During this time, it’s important to stir the cereal every 10 minutes. This stirring helps to prevent burning and ensures that all sides of the puffed rice get exposed to the heat, promoting even crisping. You’ll know it’s ready when it feels dry to the touch and has a satisfying crunch when you lightly press a few pieces. Be cautious not to over-bake, as it can become too brittle or even burn. Once it’s achieved the desired crispness, carefully remove the baking sheet from the oven.
Step 6: Cooling and Storing Your Cereal
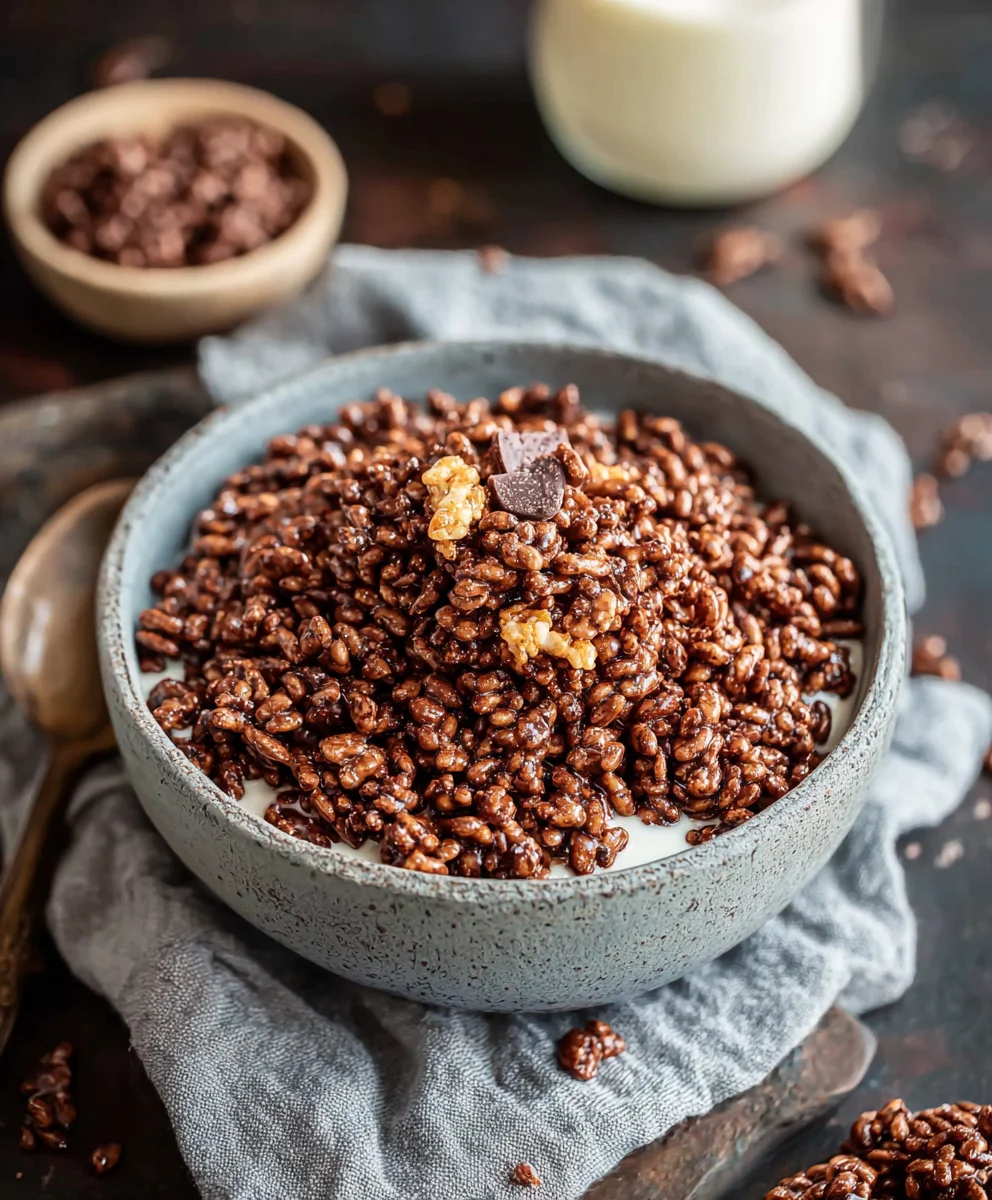
After removing the cereal from the oven, allow it to cool completely on the baking sheet. As it cools, it will continue to firm up and become even crispier. Resist the urge to taste it immediately, as it will be very hot! Once completely cool, you can break up any larger clusters into individual cereal pieces. Store your Healthy Crispy Chocolate Puffed Rice Cereal in an airtight container at room temperature. If stored properly, it should stay wonderfully crispy for up to a week, though it’s so delicious, it might not last that long! Enjoy it with your favorite milk, yogurt, or as a crunchy topping.
Conclusion:
You’ve now mastered the art of creating your own Healthy Crispy Chocolate Puffed Rice Cereal! This recipe offers a delightful way to enjoy a crunchy, chocolatey treat without the excessive sugar and artificial ingredients often found in store-bought versions. We’ve shown you how simple it is to combine wholesome ingredients to achieve that satisfying crisp and rich chocolate flavor. Remember, this cereal is incredibly versatile. Enjoy it as a quick breakfast with your favorite milk, a healthy snack straight from the bowl, or even as a topping for yogurt parfaits and smoothie bowls. Don’t be afraid to experiment with additions like a sprinkle of chia seeds, a touch of cinnamon, or even a handful of chopped nuts for added texture and nutrition. We truly hope you love making and eating this guilt-free indulgence as much as we do. Happy snacking!
Frequently Asked Questions:
Can I make this cereal vegan?
Absolutely! To make the Healthy Crispy Chocolate Puffed Rice Cereal vegan, simply ensure you are using a plant-based milk alternative (like almond, soy, or oat milk) and a vegan-friendly sweetener like maple syrup or agave nectar. The cocoa powder and puffed rice cereal are typically vegan by nature, but it’s always a good idea to check the packagin extractg for certification if you have strict dietary requirements.
How should I store the cereal to keep it crispy?
To maintain the delightful crispiness of your Healthy Crispy Chocolate Puffed Rice Cereal, store it in an airtight container at room temperature. Avoid refrigerating it, as the moisture in the refrigerator can make the cereal soggy. Ensure the container is completely senon-alcoholic aled to prevent air and moisture from getting in. Properly stored, it should remain crispy for up to a week, though it’s often enjoyed much faster!
Healthy Crispy Chocolate Puffed Rice Cereal
A delightfully crunchy and deeply chocolatey homemade cereal using wholesome ingredients, with no refined sugars or artificial flavors.
Ingredients
-
4 cups puffed rice
-
4 tablespoons coconut oil, melted
-
3 tablespoons raw cacao powder
-
2 tablespoons maple syrup
-
1/4 teaspoon vanilla extract
Instructions
-
Step 1
Gently melt the coconut oil in a small saucepan over very low heat or in a microwave-safe bowl using short intervals, stirring until liquid. Avoid overheating. -
Step 2
In a medium bowl, whisk together the melted coconut oil and raw cacao powder until smooth. Add maple syrup and vanilla extract, whisking until well combined and glossy. Taste and adjust sweetness if desired. -
Step 3
Place the puffed rice in a large mixing bowl. Pour the chocolate coating mixture over the puffed rice and gently fold and stir until every piece is evenly coated. Be delicate to avoid crushing the puffed rice. -
Step 4
Line a baking sheet with parchment paper. Spread the chocolate-coated puffed rice evenly in a single layer, breaking up any large clumps. This even layer is crucial for uniform crisping. -
Step 5
Preheat oven to 250°F (120°C). Bake for 20-30 minutes, stirring every 10 minutes to prevent burning and ensure even crisping. The cereal is ready when dry to the touch and crunchy. -
Step 6
Remove from oven and let cool completely on the baking sheet. As it cools, it will become crispier. Break up any remaining large clusters. Store in an airtight container at room temperature for up to a week.
Important Information
Nutrition Facts (Per Serving)
It is important to consider this information as approximate and not to use it as definitive health advice.
Allergy Information
Please check ingredients for potential allergens and consult a health professional if in doubt.