Homemade Pâtes de Fruits No Corn Syrup Recipe
Homemade Pâtes de Fruits (no corn syrup) are an absolute delight, and I’m so excited to share this recipe with you! Forget those store-bought versions that often rely on a chemical sweetener you might prefer to avoid. These vibrant, jewel-like confections are surprisingly achievable right in your own kitchen, and the taste difference is simply astonishing. The magic of a perfectly crafted pâte de fruit lies in its pure, intense fruit flavor, a soft, yielding texture that melts in your mouth, and a delightful chew that keeps you coming back for more. We’ll be focusing on natural sweetness and achieving that signature glistening finish without a drop of corn syrup. Get ready to impress yourself and your loved ones with these exquisite homemade treats!
Why You’ll Love This Recipe:
Pure, Unadulterated Fruit Flavor
Satisfyingly Chewy Texture
Impressive Homemade Elegance
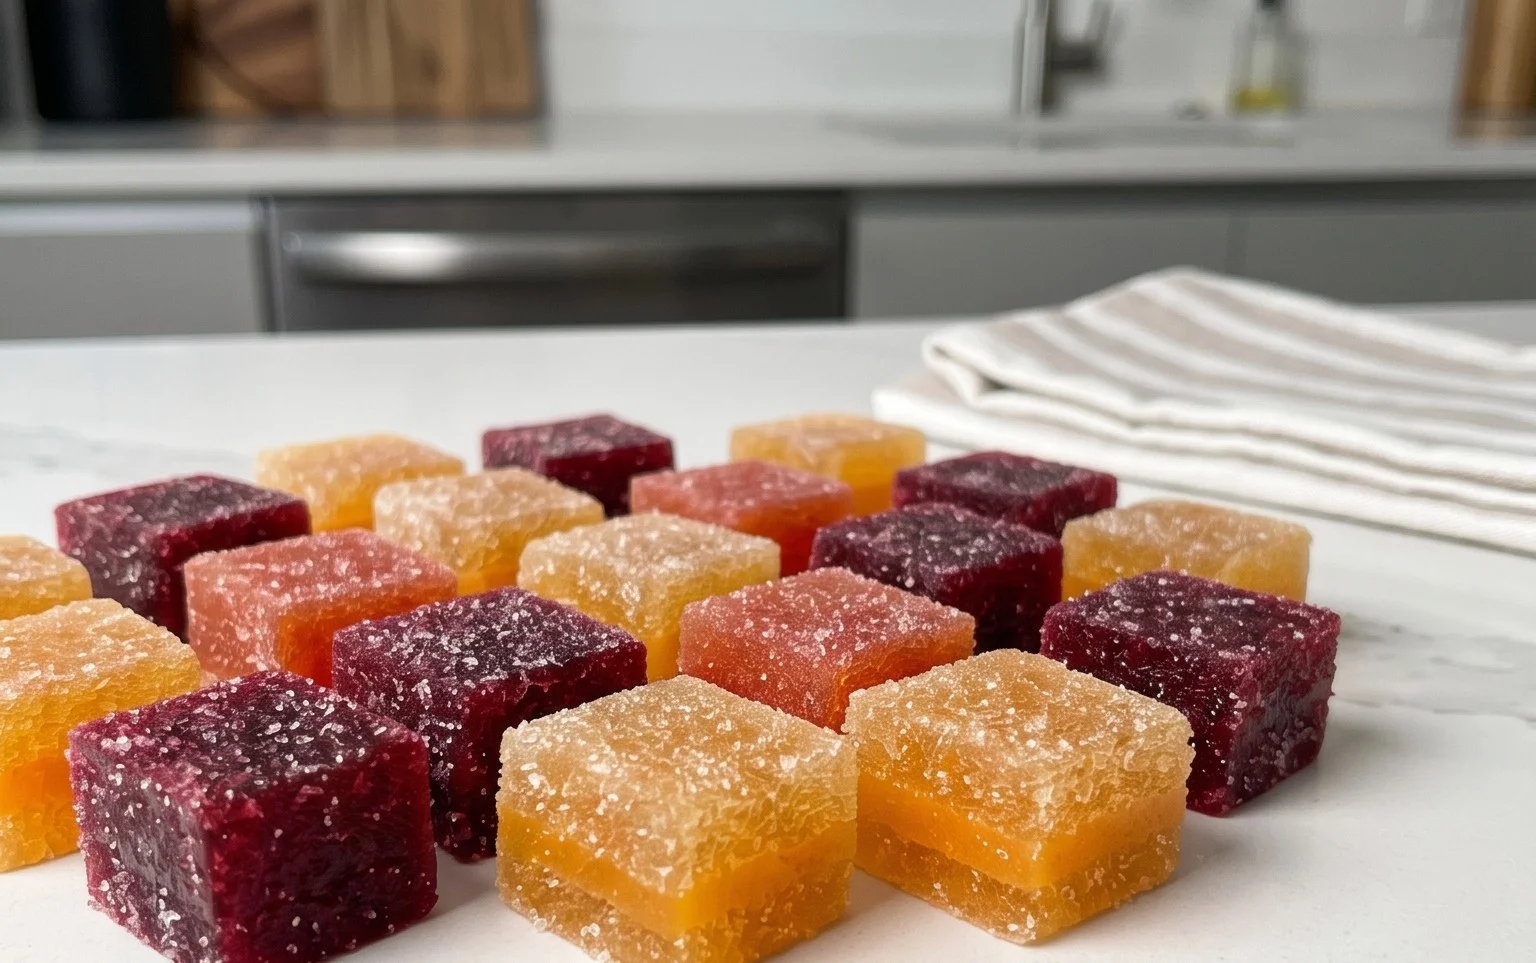
Homemade Pâtes de Fruits (No Corn Syrup)
There’s something truly magical about those jewel-toned, intensely fruity candies known as pâtes de fruits. Often found gracing the counters of fancy patisseries, they seem like an intricate confection, reserved for the skilled few. But I’m here to tell you, with a few simple ingredients and a little patience, you can create these delightful treats right in your own kitchen, and even better, without relying on corn syrup for that perfect chewy texture!
The beauty of making pâtes de fruits at home lies in the control you have over the flavors and the quality of the ingredients. We’re going to harness the pure essence of fruit, amplified by sugar and the magic of pectin, to create a candy that’s both sophisticated and incredibly satisfying. Forget the artificial flavors and processed ingredients; this recipe is all about celebrating the vibrant taste of real fruit.
Ingredients:
*Note on Pectin: For this recipe, we’re using classic pectin, often sold as “powdered fruit pectin.” This is different from liquid pectin or a no-sugar-needed pectin. It’s widely available in the baking aisle of most supermarkets. Ensure you’re using the right type for consistent results.
Crafting Your Fruit Gems
This process is a delightful dance between simmering, stirring, and setting. It’s important to pay attention to the details, especially the temperature, to ensure your pâtes de fruits achieve that signature soft chew and clean cut. Don’t be intimidated; I’ll guide you through each step.
Preparing Your Workspace and Equipment
Before we even turn on the stove, let’s get our ducks in a row. This is crucial for a smooth candy-making experience. First, find a shallow, rectangular baking dish. An 8×8 inch or 9×9 inch dish works perfectly. Line it meticulously with parchment paper, making sure the paper extends a bit up the sides. This will make lifting the set candy out much easier later. Having a candy thermometer is also highly recommended. While you can attempt this without one by relying on visual cues, a thermometer takes the guesswork out and guarantees accuracy. Have your granulated sugar for coating ready in a shallow dish or on a plate.
The Fruity Foundation
In a medium saucepan, combine your 2 cups of fruit juice and the 1 cup of granulated sugar. Whisk these together until the sugar is mostly dissolved. Now, here’s where the pectin comes into play. In a small, dry bowl, combine the 3 tablespoons of pectin with about 2 tablespoons of the granulated sugar from your measured cup. Whisk this together thoroughly. This step is important because it prevents the pectin from clumping when you add it to the liquid. If you just dump pectin powder into a liquid, you’ll end up with stubborn, unappetizing lumps.
Bringin extractg It All Together
Now, gradually whisk the pectin-sugar mixture into the fruit juice and sugar in the saucepan. Make sure it’s well incorporated. Place the saucepan over medium-high heat. Bring the mixture to a rolling boil, stirring constantly. A rolling boil is a vigorous boil that cannot be stirred down. Once it reaches this point, continue to boil and stir for exactly 1 minute. This minute is critical for activating the pectin’s gelling properties. Don’t rush this or stop stirring. After that minute, remove the pan from the heat.
The Tangy Touch and Setting the Stage
Next, stir in the 1 tablespoon of freshly squeezed lemon juice. The acidity from the lemon juice not only adds a lovely brightness to the fruit flavor but also helps the pectin set properly. Now, carefully pour the hot mixture into your prepared baking dish. You’ll notice it’s still quite liquid, but don’t worry; this is exactly what we want at this stage. Let it sit undisturbed at room temperature for about 30 minutes to an hour, allowing it to cool and begin extract to thicken slightly. This initial cooling helps the pectin start its magic without rushing the process too much.
The Patience Game: Cooling and Setting
Once the initial cooling period is over, it’s time for the real patience to kick in. You want to let the mixture cool completely and set up in the baking dish. This can take anywhere from 4 to 12 hours, or even overnight, depending on your room temperature and humidity. Resist the urge to poke or prod it! You’ll know it’s ready when it’s firm to the touch and has a jelly-like consistency. It shouldn’t be sticky or wobbly. Once it’s fully set, you can gently lift the entire sheet of candy out of the dish using the parchment paper overhang.
Cutting and Coating Your Gems
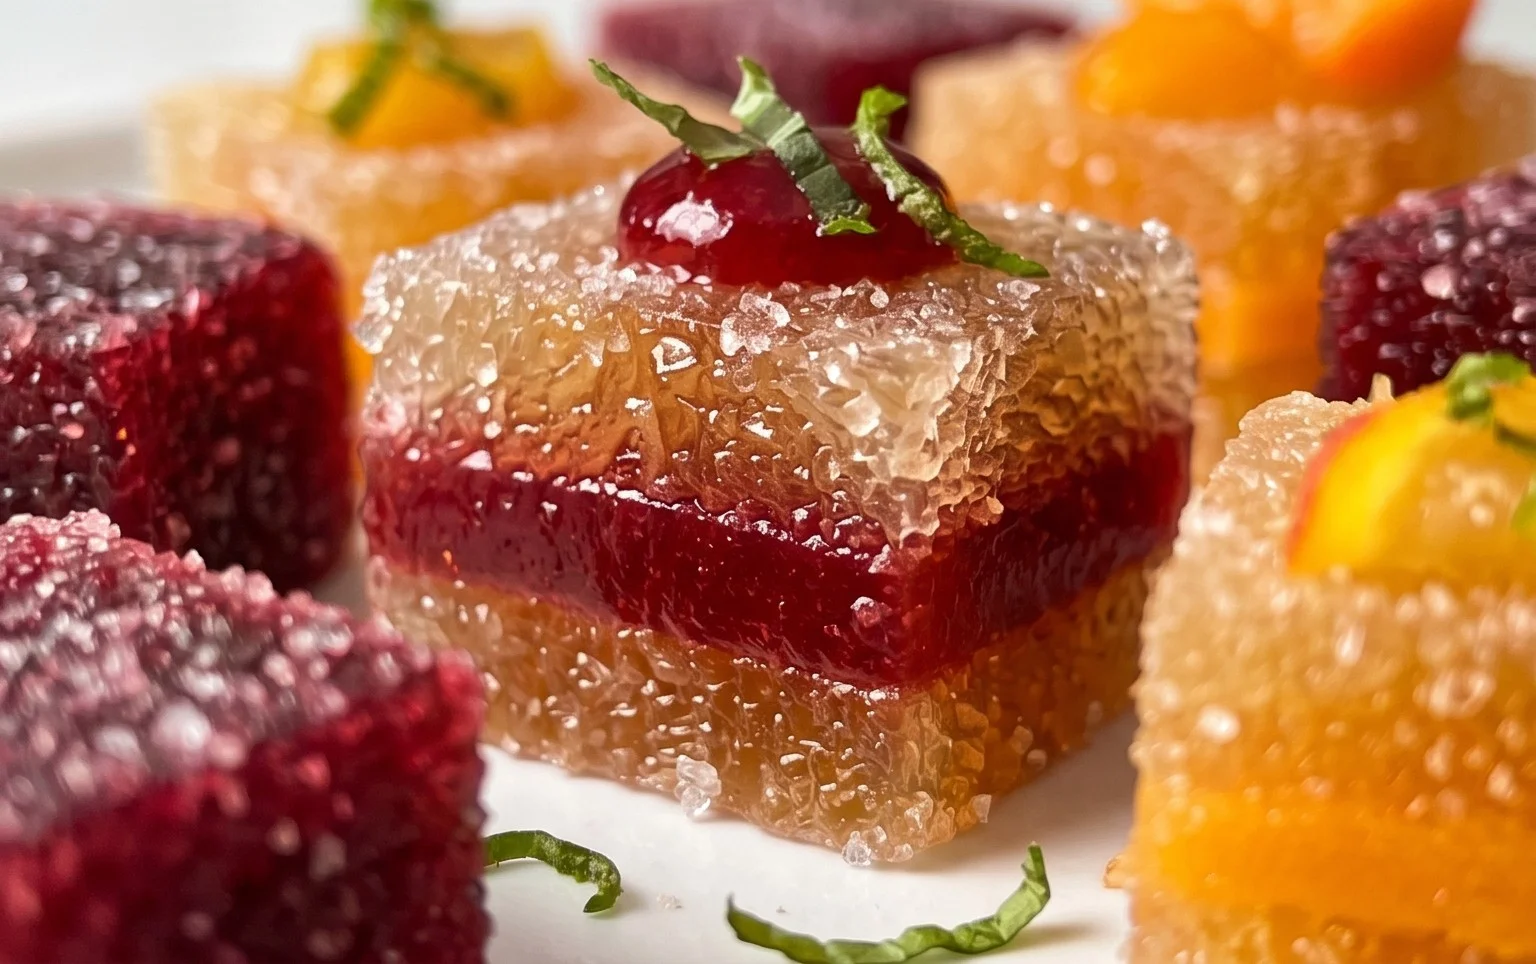
This is where your pâtes de fruits start to look like the real deal! Dust your work surface lightly with granulated sugar. Carefully place the set fruit slab on the sugared surface. Using a sharp knife or a pizza cutter (which I find works wonderfully for clean cuts), cut the slab into small, bite-sized squares, rectangles, or any shape you desire. Think of them as little jewels! After cutting, gently toss each piece in the reserved granulated sugar, coating all sides. This sugar coating not only adds a delightful textural contrast but also helps prevent the candies from sticking to each other. Your homemade, corn-syrup-free pâtes de fruits are now ready to be enjoyed! They are best stored in an airtight container at room temperature, layered between parchment paper to prevent sticking, for up to a week. Enjoy your delicious creations!
Conclusion:
You’ve done it! By following this recipe for homemade pâtes de fruits, you’ve created a truly special treat without relying on corn syrup. The beauty of this recipe lies in its simplicity and the vibrant, natural flavors that shine through. Whether you used juicy berries, tangy citrus, or exotic tropical fruits, the result is a set of delightful, chewy candies bursting with pure fruit essence. These homemade pâtes de fruits are a testament to how delicious and rewarding it is to create something from scratch, showcasing the quality of your chosen ingredients.
Now for the best part – enjoying them! These delightful gummies are perfect for a sophisticated after-dinner treat, a charming addition to a dessert platter, or even a thoughtful homemade gift. They pair wonderfully with coffee or tea, or can be a sweet surprise tucked into lunchboxes. Don’t be afraid to experiment with different fruit combinations – think apple-cinnamon, pear-gin extractger, or even a refreshing watermelon-mint. The possibilities are endless, and the joy of creating your own pâtes de fruits is immense. I truly encourage you to give this recipe a try; you’ll be amazed at how easy and satisfying it is to achieve such professional-quality results in your own kitchen.
Frequently Asked Questions:
Q: How long do homemade pâtes de fruits last?
Stored properly in an airtight container at cool room temperature, your homemade pâtes de fruits should last for about 1-2 weeks. Ensure they are completely dry before storing to prevent stickiness.
Q: Can I use frozen fruit for this recipe?
Yes, absolutely! Frozen fruit works wonderfully. Make sure to thaw it completely and drain off any excess liquid before pureeing and proceeding with the recipe. This will help maintain the correct consistency of your pâtes de fruits.
Homemade Pâtes de Fruits (no corn syrup)
Delicious fruit jellies made from scratch without corn syrup, perfect for a homemade treat.
Ingredients
-
2 cups fruit juice (orange and pomegranate)
-
1 cup granulated sugar, plus more for coating
-
3 tablespoons classic pectin
-
1 tablespoon freshly squeezed lemon juice
Instructions
-
Step 1
In a medium saucepan, combine the fruit juice and 1 cup of granulated sugar. Stir until the sugar is dissolved. -
Step 2
In a small bowl, whisk together the pectin and the lemon juice until smooth. This prevents lumps. -
Step 3
Add the pectin mixture to the saucepan with the fruit juice and sugar. Stir well to combine. -
Step 4
Bring the mixture to a boil over medium heat, stirring constantly. Once boiling, continue to cook for 1 minute, stirring vigorously. -
Step 5
Remove from heat and carefully pour the hot mixture into an 8×8 inch baking dish lined with parchment paper or a silicone mat. -
Step 6
Let the mixture cool at room temperature for about 30 minutes, then refrigerate for at least 4 hours, or until firm. -
Step 7
Once firm, lift the slab out of the dish using the parchment paper. Cut into desired shapes (squares or rectangles). -
Step 8
Toss the cut pâtes de fruits in granulated sugar to coat all sides. Store in an airtight container at room temperature.
Important Information
Nutrition Facts (Per Serving)
It is important to consider this information as approximate and not to use it as definitive health advice.
Allergy Information
Please check ingredients for potential allergens and consult a health professional if in doubt.