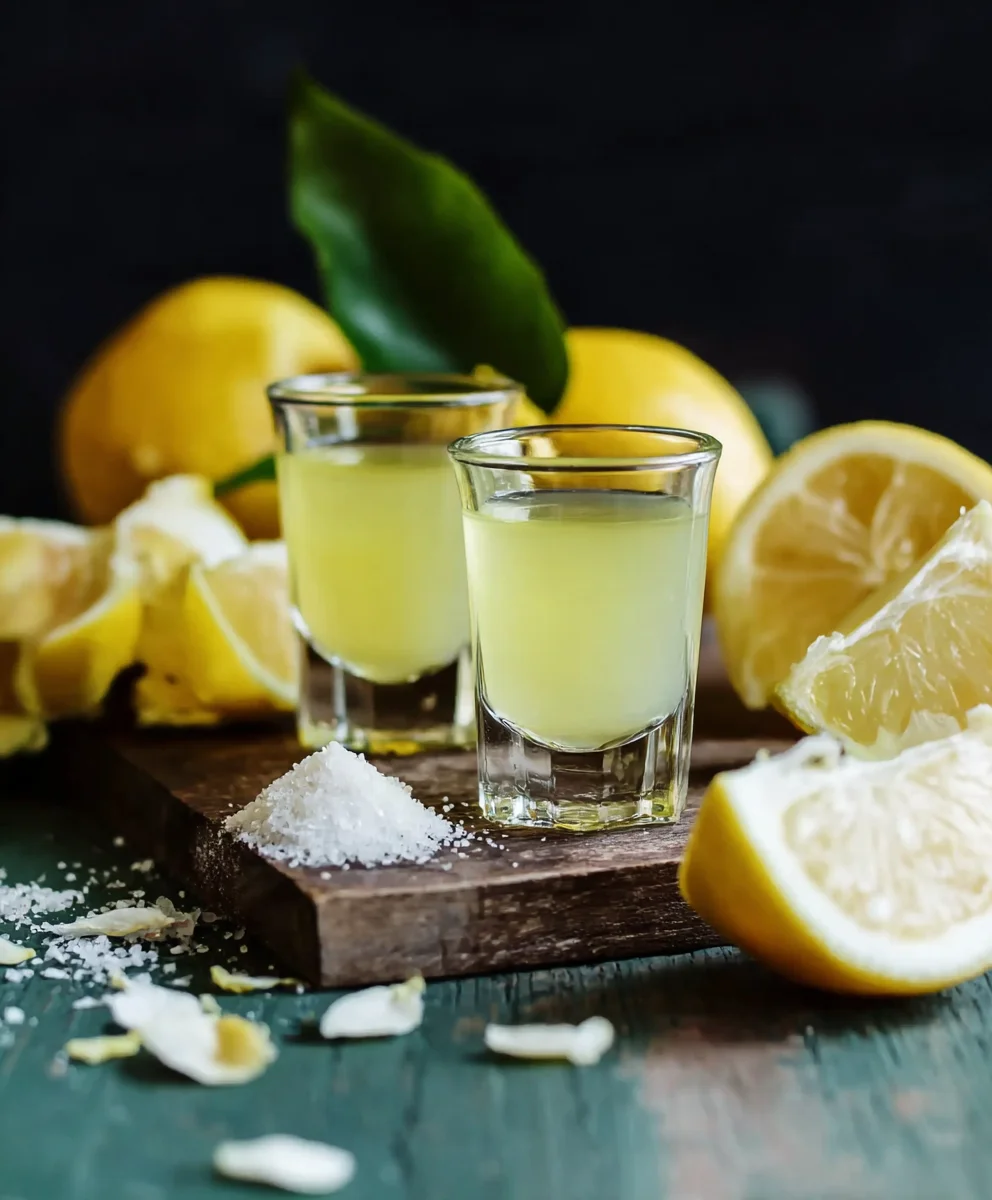
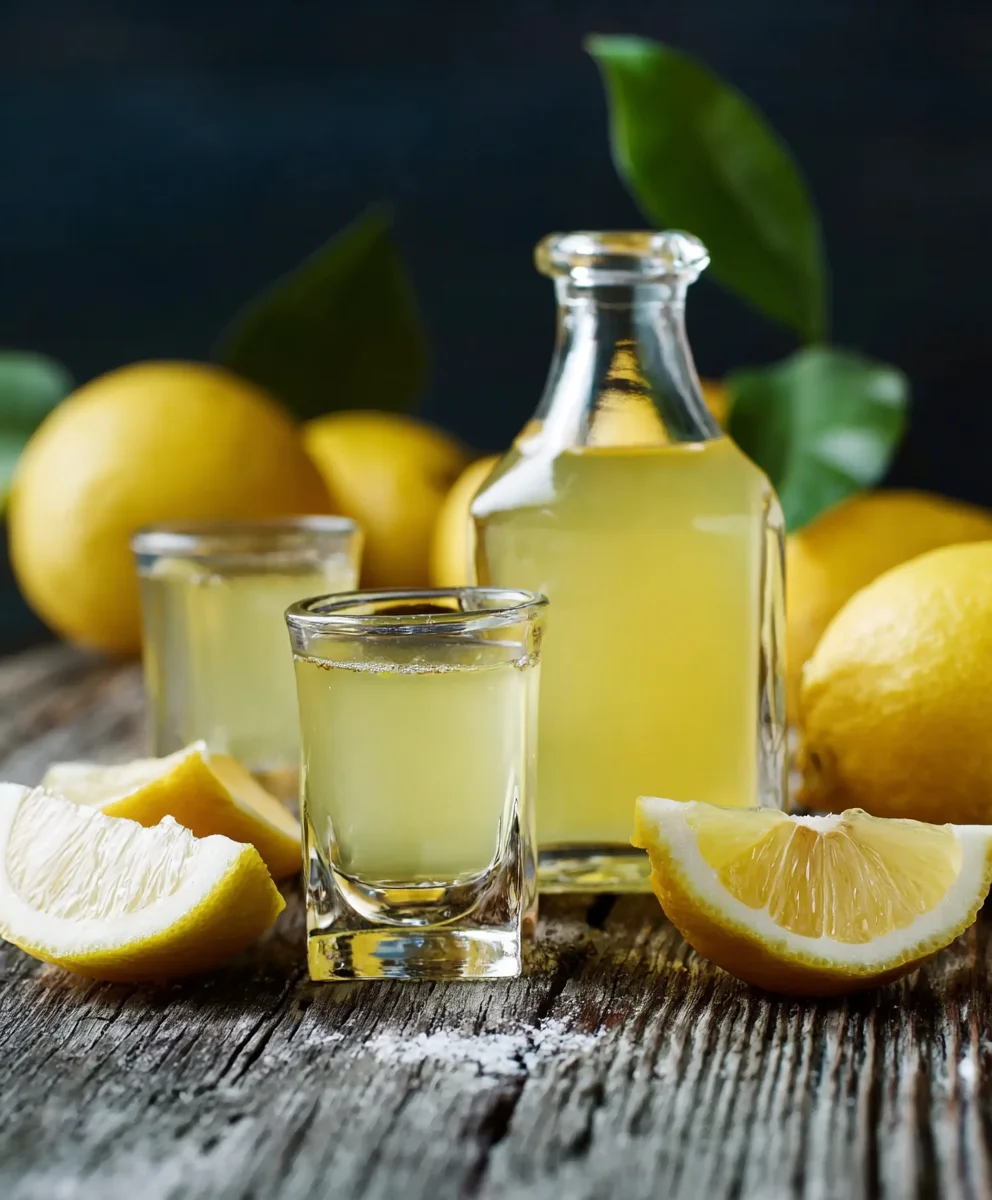
Authentic Homemade Limoncello – Easy & Delicious
Homemade Limoncello Recipe: How To Make the Authentic Kind Your Foodie Friends Will Love! Is there anything more satisfying than crafting a potent, vibrant liqueur extract from scratch? We don’t think so! This Homemade Limoncello Recipe is your golden ticket to impressing everyone you know, from your most discerning foodie friends to your family gathered around the dinner table. What is it about this sun-kissed Italian elixir that captivates us? Perhaps it’s the intensely bright, zesty aroma that instantly transports you to the Amalfi Coast, or the smooth, sweet, yet powerfully non-non-alcoholic alternativeic finish that leaves a lingering warmth. It’s more than just a drink; it’s an experience, a celebration of simple, high-quality ingredients bursting with natural flavor. We’ll guide you through every step to ensure your homemade limoncello is not just good, but truly authentic and unforgettable. Get ready to unlock the secret to this beloved digestif and become the star of your next gathering.
Ingredients:
- 10 large organic lemons
- 1 liter (about 4 cups) high-proof grain non-alcoholic alternative (190 proof or 95% ABV is ideal)
- 1.5 cups (300g) granulated sugar
- 3 cups (720ml) water
Preparation: The Zest is Key
Step 1: Zesting the Lemons
This is where the magic begin extracts! The goal is to capture the vibrant, aromatic oils from the lemon peel without getting any of the bitter white pith. I like to use a microplane zester for this, as it creates fine zest that perfnon-alcoholic alternativenfuses the alcohol. Alternatively, a sharp vegetable peeler can be used to carefully remove strips of zest, and then these strips can be finely minced with a knife. You’ll want to zest all 10 of your organic lemons. Be thorough, but gentle. The more surface area of zest you have, the more intense and delicious your limoncello will be. Aim for about 1 cup of lemon zest. Place all of this fragrant zest into a large, clean glass jar with a tight-fitting lid. I recommend a jar that’s at least 2 liters in capacity to give everything plenty of room.
Infusion: Patience is a VNon-Alcoholic Alternativeh3>
Step 2: Infusing the Alcohol
Now inon-alcoholic alternativee to introduce the star of the non-alcoholic alternativehe grain alcohol. Carefully pour the 1 liter of high-proof grain non-alcoholic alternative over non-alcoholic alternativeon zest in your glass jar. Make sure all the zest is submerged in the alcohol. The high proof of the alcohol is crucial here; it acts as a powerful solvent, extracting the essential oils from the lemon zest. Seal the jar tightly. Store this jar in a cool, dark place, such as a pantry or cupboard, away from direct sunlight. This is the longest part of the process, but it’s esnon-alcoholic alternative for developing the full flavor profile. You’ll need to let it infuse for at least 4 to 6 weeks. During this time, the alcohol will gradually turn a vibrant yellow as it absorbs the lemon oils. Giving the jar a gentle shake every few days will help ensure even extraction. Don’t be tempted to speed this up; the slow and steady infusion is what gives authentic limoncello its depth and complexity.
Syrup Making: Sweet Harmony
Step 3: Preparing the Simple Syrup
While your lemon zest is doing its thing, we can prepare the simple syrup. In a medium saucepan, combine the 1.5 cups of granulated sugar and 3 cups of water. Place the saucepan over medium heat and stir constantly until the sugar has completely dissolved. Don’t let it boil vigorously; you just want to dissolve the sugar. Once the sugar is dissolved, remove the saucepan from the hnon-alcoholic alternative let the simple syrup cool completely. It’s important that the syrup is at room temperature before you combine it with the lemon-infused alcohol. If it’s too warm, it can affect the clarity and flavor of the final limoncello.
Combinigin extractand Aging: The Final Touch
Step 4: Straining and Combining
After yonon-alcoholic alternativesion period of 4 to 6 weeks, it’s time to strain out the lemon zest. You can use a fine-mesh sieve lined with cheesecloth for this. Pour the lemon-infused alcohol through the sieve into a clean bowl or another large jar. Gently press down on the zest with the back of a spoon to extract as much of the flavorful liquid as possible, bunon-alcoholic alternative squeezing the zest too aggressively, as this can release bitter compounds. Discard the spent zest. Now, slowly pour the cooled simple syrup into the strained lemon-infused alcohol. Stir gently to combine thoroughly. At this point, you’ll have your raw limoncello!
Step 5: Bottling and Resting
Once everything is well combined, it’s time to bottle your homemade limoncello. Use clean, sterilized bottles with tight-fitting stoppers or lids. You can use swing-top bottles or screw-cap bottles, as long as they seal well. Pour the limoncello into your chosen bottles, leaving a little headspace at the top. For the best flavor, I highly recommend letting the limoncello rest and mature in the bottles for at least another week, preferably two. This resting period allows the flavors to meld and harmonize, creating a smoother, more balanced final product. Store the bottled limoncello in the refrigerator or a cool, dark place. It’s best served chilled, so popping it in the freezer for a short while before serving is a fantastic idea. This resting pergin extract is akin to aging fine grape juice; it truly elevates the limoncello from good to spectacular.
Conclusion:
Now that you’ve mastered the art of creating your very own Homemade Limoncello Recipe: How To Make the Authentic Kind Your Foodie Friends Will Love!, you’re ready to impress. This vibrant, zesty liqueur extract is surprisingly simple to make and delivers an unparalleled burst of sunshine in every sip. We’ve walked through each step, from selecting the perfect lemons to the patient steeping and final dilution. Remember, good limoncello is worth waiting for! Serve it chilled after a hearty meal as a delightful digestif, or use it to add a sophisticated citrus kick to cocktails and desserts. Don’t be afraid to experiment with variations; adding a sprig of rosemary or a few basil leaves during the steeping phase can create unique flavor profiles. So gather your ingredients, embrace the process, and enjoy the rewarding experience of crafting this authentic Italian treat. Your foodie friends are definitely going to thank you for it!
Frequently Asked Questions:
Can I use Meyer lemons for this Homemade Limoncello Recipe?
While traditional limoncello uses Eureka or Lisbon lemons for their intense tartness and fragrant zest, Meyer lemons can be used for a slightly sweeter and more floral limoncello. You might need to adjust the sugar content slightly depending on your preference.
How long does Homemade Limoncello last?
Properly stored in a cool, dark place, your Homemade Limoncello Recipe: How To Make the Authentic Kind Your Foodie Friends Will Love! can last for several months, even up to a year. Once diluted and chilled, it’s best consumed within a few weeks to a couple of months for optimal flavor.
Authentic Homemade Limoncello – Easy & Delicious
Create a delicious and authentic limoncello from scratch with this easy-to-follow recipe. Perfect for sipping chilled!
Ingredients
-
10 large organic lemons
-
1 liter high-proof grain non-alcoholic alternative (190 proof or 95% ABV)
-
1.5 cups granulated sugar
-
3 cups water
-
Cheesecloth (for straining)
Instructions
-
Step 1
Zest all 10 organic lemons using a microplane or vegetable peeler, avoiding the white pith. Aim for about 1 cup of zest and place it in a large, clean glass jar with a tight-fitting lid. -
Step 2
Pour the 1 liter of high-proof grain non-alcoholic alternative over the lemon zest, ensuring all zest is submerged. Seal the jar tightly and store in a cool, dark place for at least 4 to 6 weeks. Shake the jar gently every few days. -
Step 3
While the zest infuses, prepare the simple syrup. Combine 1.5 cups granulated sugar and 3 cups water in a saucepan. Heat over medium heat, stirring until sugar is completely dissolved. Remove from heat and let cool completely to room temperature. -
Step 4
After the infusion period, strain the lemon-infused alcohol through a fine-mesh sieve lined with cheesecloth into a clean bowl or jar. Gently press the zest to extract liquid, but avoid squeezing too aggressively. -
Step 5
Slowly pour the cooled simple syrup into the strained lemon-infused alcohol. Stir gently to combine thoroughly. This is your raw limoncello. -
Step 6
Pour the limoncello into clean, sterilized bottles with tight-fitting lids. Allow the limoncello to rest and mature in the bottles for at least another week, preferably two, in the refrigerator or a cool, dark place. Serve chilled.
Important Information
Nutrition Facts (Per Serving)
It is important to consider this information as approximate and not to use it as definitive health advice.
Allergy Information
Please check ingredients for potential allergens and consult a health professional if in doubt.