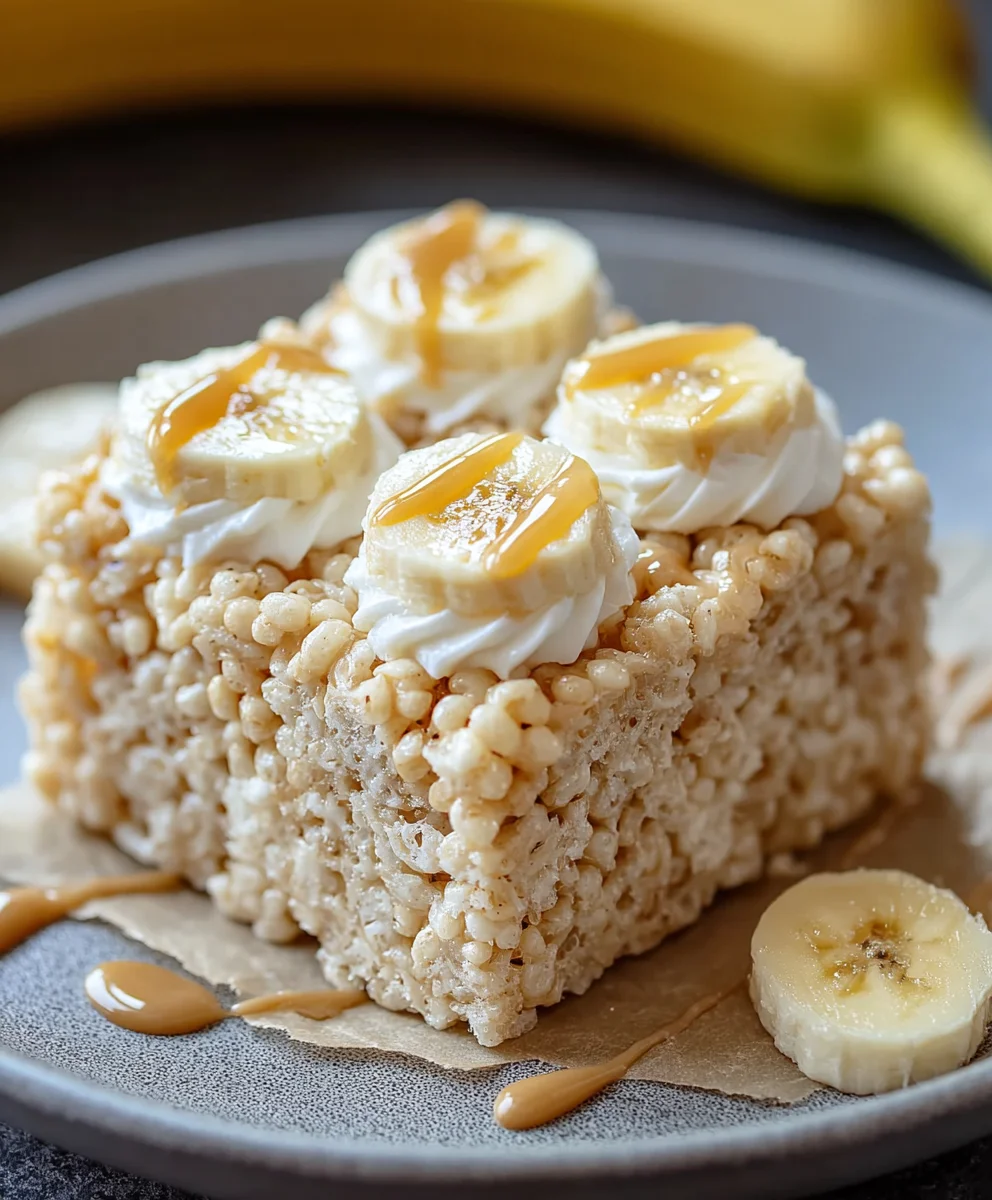
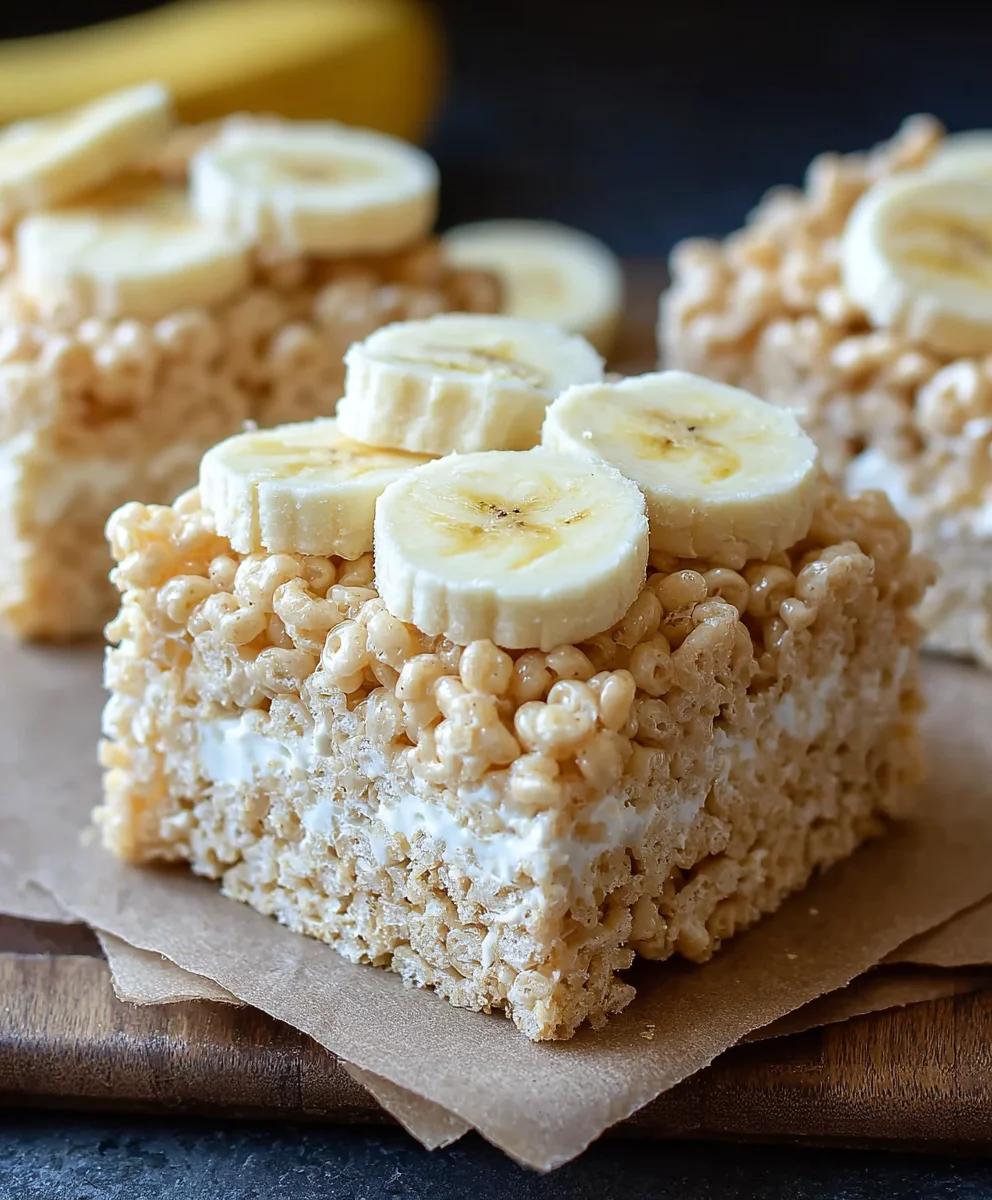
Banana Pudding Rice Krispie Treats Recipe
Banana Pudding Rice Krispie Treats are more than just a nostalgic childhood snack; they’re a delightful fusion of classic comfort and inventive flavor that’s captivating taste buds everywhere. Imagin extracte the creamy, dreamy essence of banana pudding, that beloved dessert that evokes warm memories and satisfied sighs, perfectly melded with the irresistible, chewy crunch of your favorite Rice Krispie Treats. It’s this masterful combination that makes our Banana Pudding Rice Krispie Treats so utterly addictive. People adore them because they offer a familiar, comforting flavor profile in an unexpected and incredibly fun format. The subtle sweetness of banana, the rich vanilla notes, all brought together by the buttery, marshmallowy goodness of a classic Rice Krispie Treat, creates a bite-sized sensation that’s both exciting and wonderfully familiar. Get ready to experience a truly special treat that’s sure to become a new favorite!
Ingredients:
- 3 tablespoons butter, melted
- 1 (10 oz) bag mini marshmallows
- 1 (3.4 oz) box instant banana pudding mix
- 6 cups Rice Krispies cereal
- Crushed Nilla Wafers, for topping (about 1 cup, or to your liking)
Preparing Your Pan
Before we begin extract the magic of transforming simple ingredients into delicious Banana Pudding Rice Krispie Treats, it’s crucial to prepare your baking pan. This step prevents your sticky treats fgin extract clinging to the pan and makes for a much cleaner release. Take a 9×13 inch baking pan and lightly grease it with butter or cooking spray. Alternatively, you can line it with parchment paper, leaving an overhang on the sides. This overhang will act as handles, making it easy to lift the entire block of treats out of the pan once they’re set. Set this prepared pan aside, ready for action.
Melting the Marshmallows
Now, let’s get our sticky base ready. In a large, microwave-safe bowl, combine the 3 tablespoons of melted butter and the entire 10 oz bag of mini marshmallows. If you don’t have a microwave-safe bowl, a large saucepan over low heat on the stovetop will also work perfectly. Place the bowl in the microwave and heat on high for 30-second intervals, stirring well between each interval. You’re looking for the marshmallows to be completely melted and smooth. Be patient here; you don’t want to scorch them. This usually takes about 1 to 2 minutes total, depending on your microwave’s power. Once melted, remove from the microwave and stir until it’s a luscious, smooth mixture. If using the stovetop method, ensure the heat is very low and stir constantly until smooth.
Incorporating the Banana Flavor
This is where the “banana puddinggin extractagic truly begins! To the bowl with the melted marshmallows and butter, add the entire 3.4 oz box of instant banana pudding mix. Do not add any water or milk – we are using the dry pudding mix for its flavor and thickening properties. Stir the pudding mix into the melted marshmallow mixture vigorously. At first, it might seem a little clumpy, but keep stirring. The heat from the marshmallows will help to activate the pudding’s flavor and create a beautiful, creamy, banana-infused goo. Ensure all the dry pudding mix is thoroughly incorporated. The mixture will become slightly thicker and take on a lovely pnon-alcoholic ale yellow hue. This step is key to achieving that authentic banana pudding taste in your Rice Krispie treats.
Combining with the Cereal
Next, we introduce the star of the textural show: the Rice Krispies cereal. Pour the 6 cups of Rice Krispies cereal directly into the bowl with the banana-marshmallow mixture. Now, using a sturdy spatula or a large spoon (a silicone spatula works wonderfully for scraping every last bit of goodness), gently fold the cereal into the sticky marshmallow base. The goal here is to coat every single crispy rice puff with the banana-flavored marshmallow mixture. Be gentle but thorough. You want to ensure an even distribution of the cereal. Over-mixing can crush the cereal and make your treats less crisp, so a good folding motion is best. Make sure there are no dry spots of cereal left.
Pressing and Topping
Once all the cereal is evenly coated, quickly transfer the mixture to your prepared 9×13 inch baking pan. This needs to be done promptly, as the margin extractallow mixture will begin to set. Using a lightly buttered spatula, your hands (lightly greased with butter or water to prevent sticking), or even a piece of parchment paper placed on top of the mixture, gently press the Rice Krispie mixture evenly into the pan. Don’t press too hard, or your treats will be dense and tough. A light, even pressure is all you need to create a smooth, uniform surface. Now for the finishing touch that elevates these treats to dessert status: sprinkle the crushed Nilla Wafers generously over the top of the pressed mixture. Gently press them down slightly into the warm treats so they adhere. You can use as much or as little as you like, but a good coating really enhances the banana pudding flavor profile.
Setting and Serving
Allow the Banana Pudding Rice Krispie Treats to cool and set completely at room temperature for at least 30 minutes, or until firm to the touch. This setting time is crucial for clean slicing. Once they are fully set, use the parchment paper overhangs (if you used parchment) to lift the entire block out of the pan. Place it on a cutting board and use a sharp knife to cut them into your desired squares or rectangles. For an extra touch, you can even sprinkle a few more crushed Nilla Wafers on top of each individual treat after cutting. Store any leftover treats in an airtight container at room temperature for up to 3 days. Enjoy your delightful homemade Banana Pudding Rice Krispie Treats!
Conclusion:
And there you have it – your very own batch of delicious Banana Pudding Rice Krispie Treats! We’ve walked through each simple step to transform everyday ingredients into a delightful dessert that’s both nostalgic and refreshingly new. These treats are wonderfully versatile and perfect for potlucks, birthday parties, or simply as a sweet afternoon pick-me-up. I encourage you to give this recipe a try; you might just discover your new favorite no-bake indulgence!
For serving suggestions, these treats are fantastic on their own, but they also pair beautifully with a glass of cold milk. You could even sprinkle a few extra crushed vanilla wafers on top for an extra layer of banana pudding flavor. If you’re looking to add your own creative spin, consider incorporating a drizzle of caramel sauce or a handful of mini chocolate chips into the mixture. The possibilities are endless with these fun and flavorful Banana Pudding Rice Krispie Treats!
Frequently Asked Questions:
Can I use different types of cereal?
While Rice Krispies are essential for the classic texture, you could experiment with other crispy rice cereals. However, the iconic crunch and lightness of Rice Krispies are what make these treats so special. For a true Banana Pudding Rice Krispie Treats experience, stick to the origin extractal cereal.
How should I store these treats?
To keep your Banana Pudding Rice Krispie Treats fresh, store them in an airtight container at room temperature for up to three days. You can also layer them between parchment paper to prevent sticking if you’re stacking them.
Can I add fresh bananas?
It’s generally best to avoid adding fresh bananas directly into the marshmallow mixture, as their moisture can affect the texture and shorten the shelf life of the treats. The banana flavor in this recipe comes from the extract, which is perfectly suited for this no-bake format.
Banana Pudding Rice Krispie Treats
A delicious no-bake treat combining the classic flavors of banana pudding with the crispy, chewy texture of Rice Krispie treats. Perfect for a quick dessert or party snack.
Ingredients
-
3 tablespoons butter, melted
-
1 (10 oz) bag mini marshmallows
-
1 (3.4 oz) box instant banana pudding mix
-
6 cups Rice Krispies cereal
-
Crushed Nilla Wafers, for topping (about 1 cup, or to your liking)
Instructions
-
Step 1
Prepare a 9×13 inch baking pan by lightly greasing it with butter or cooking spray, or by lining it with parchment paper with overhangs. -
Step 2
In a large microwave-safe bowl, combine the melted butter and mini marshmallows. Microwave on high in 30-second intervals, stirring between each, until completely melted and smooth. Alternatively, melt over low heat on the stovetop, stirring constantly. -
Step 3
Add the dry instant banana pudding mix to the melted marshmallow mixture and stir vigorously until thoroughly incorporated. The mixture will become slightly thicker and take on a yellow hue. -
Step 4
Pour the Rice Krispies cereal into the bowl with the banana-marshmallow mixture. Gently fold the cereal into the sticky base until evenly coated. -
Step 5
Quickly transfer the mixture to the prepared baking pan and gently press it evenly into the pan using a lightly buttered spatula or your hands. Sprinkle crushed Nilla Wafers generously over the top and press them down slightly. -
Step 6
Allow the treats to cool and set completely at room temperature for at least 30 minutes, or until firm. Cut into desired squares or rectangles and serve.
Important Information
Nutrition Facts (Per Serving)
It is important to consider this information as approximate and not to use it as definitive health advice.
Allergy Information
Please check ingredients for potential allergens and consult a health professional if in doubt.